Spyder 3 CL User's Manual PRELIMINARY 15
DALSA 03-032-20008-03
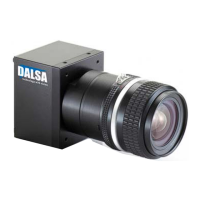
2 Setting Up the Camera
2.1 Installation Overview
When installing your camera, you should take these steps:
1. Power down all equipment.
2. Following the manufacturer’s instructions, install the framegrabber (if applicable). Be
sure to observe all static precautions.
3. Install any necessary imaging software.
4. Before connecting power to the camera, test all power supplies. Ensure that all the
correct voltages are present at the camera end of the power cable. Power supplies
must meet the requirements defined in section
2.3 Power Connector.
5. Inspect all cables and connectors prior to installation. Do not use damaged cables or
connectors or the camera may be damaged.
6. Connect Camera Link and power cables.
7. After connecting cables, apply power to the camera.
8. Check the diagnostic LED. See below for an LED description.
2.2 Input/Output Connectors and LED
The camera uses:
• A diagnostic LED for monitoring the camera. See below for details.
• High-density 26-pin MDR26 connector for Camera Link control signals, data signals,
and serial communications. See below for details.
• One 6-pin Hirose connector for power. Refer to the section below for details.
• Camera link connector
This installation
overview assumes you
have not installed any
system components yet.
 Loading...