XPS Card Printer Driver User’s Guide 35
4. Configure the network printers for printer pooling.
a. Display the Devices and Printers window for your operating system.
b. Right-click the card printer icon and select Printer properties to display the Printer
Properties window.
Windows Server 2008 and Windows Server 2012: Select the printer and click Print server
properties on the menu bar.
c. Select the Ports tab.
Windows Server 2008 and Windows Server 2012: On the Print Server Properties Ports
tab, scroll down and highlight the printer to add to the pool. Click Change Port Settings.
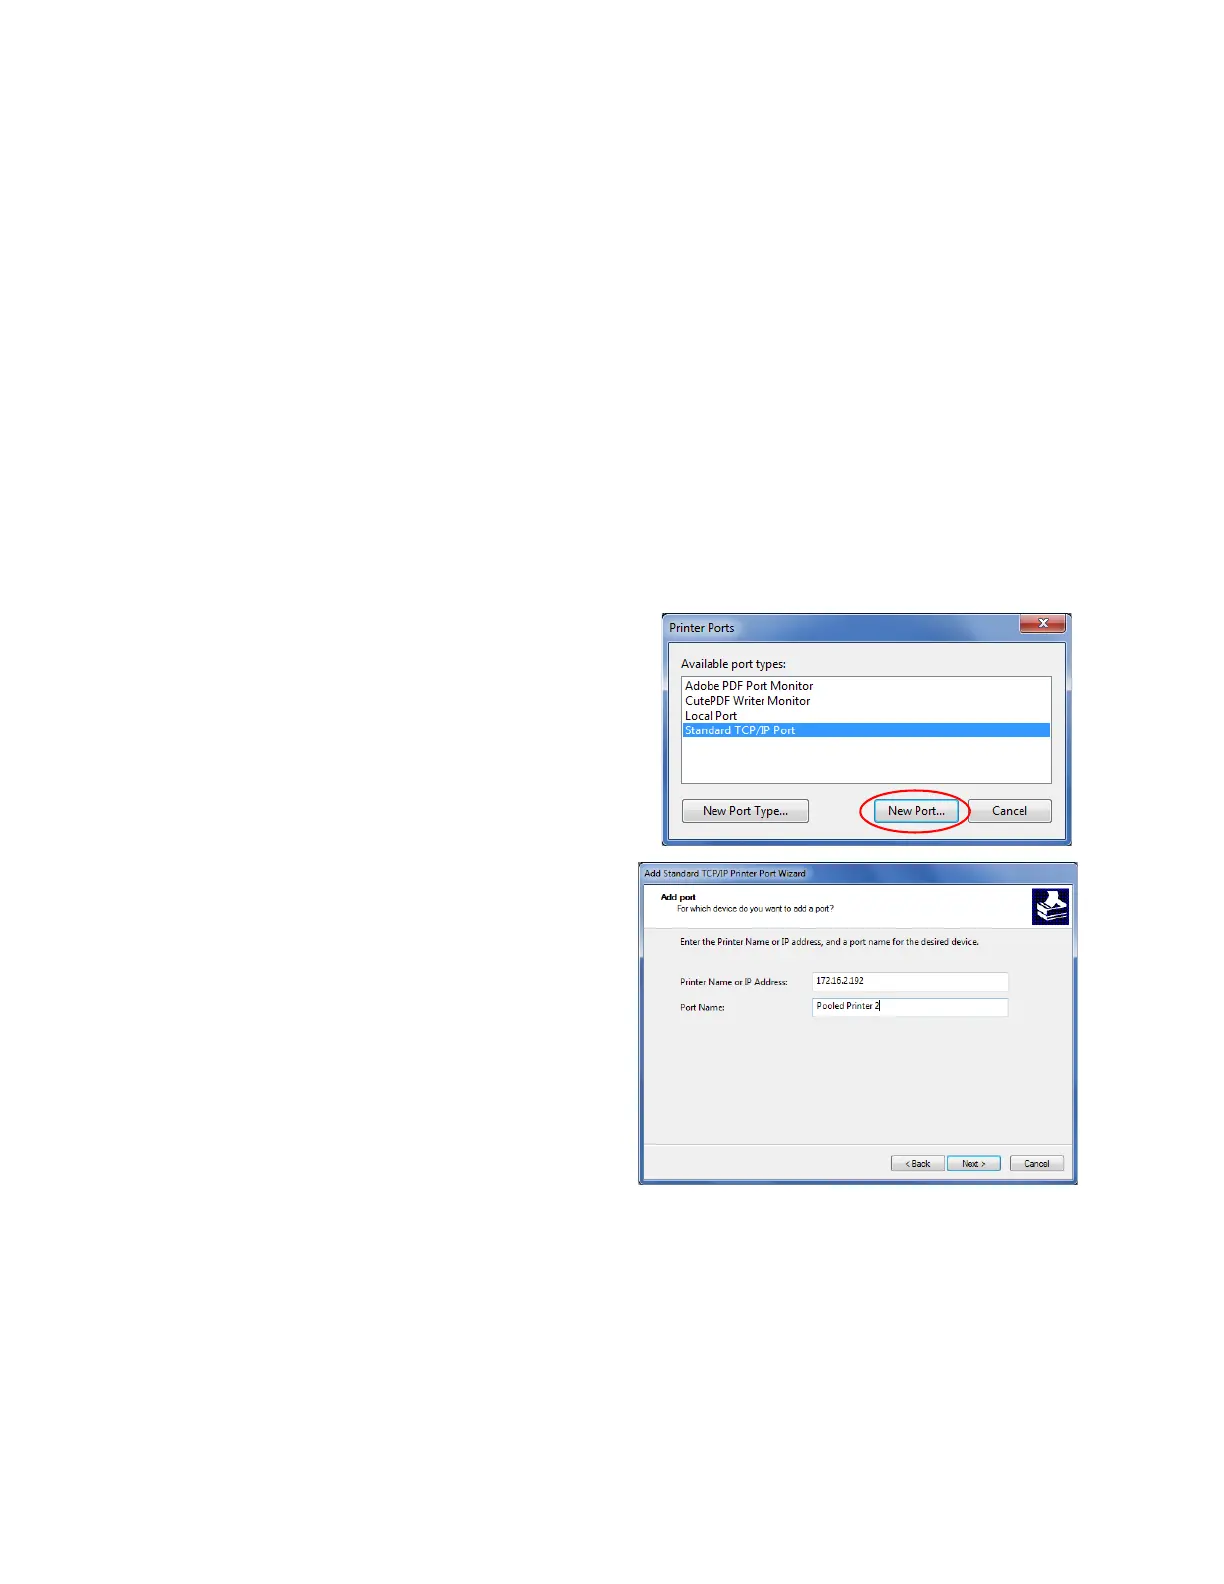
d. Click Add Port.
The Printer Ports window displays.
e. Select Standard TCP/IP Port, and click
New Port. The Add Standard TCP/IP
Printer Port Wizard page displays.
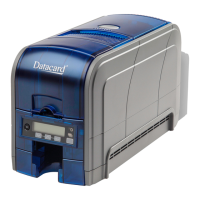
f. Follow the instructions in the wizard to
add the port. Click Next to display each
step in the wizard.
g. In the Printer Name or IP Address
field, enter the name or IP address of
the printer you are adding.
h. In the Port Name field, enter a name,
such as Pooled Printer 2.
i. Click Next.
If the Additional Port Information
Required page displays, select
Custom and click Next.
j. When the last page of the wizard
displays, click Finish.
k. Repeat these steps for each printer you want to add to the pool.
l. Close the Printer Ports window.