DataLocker DL3 User Guide
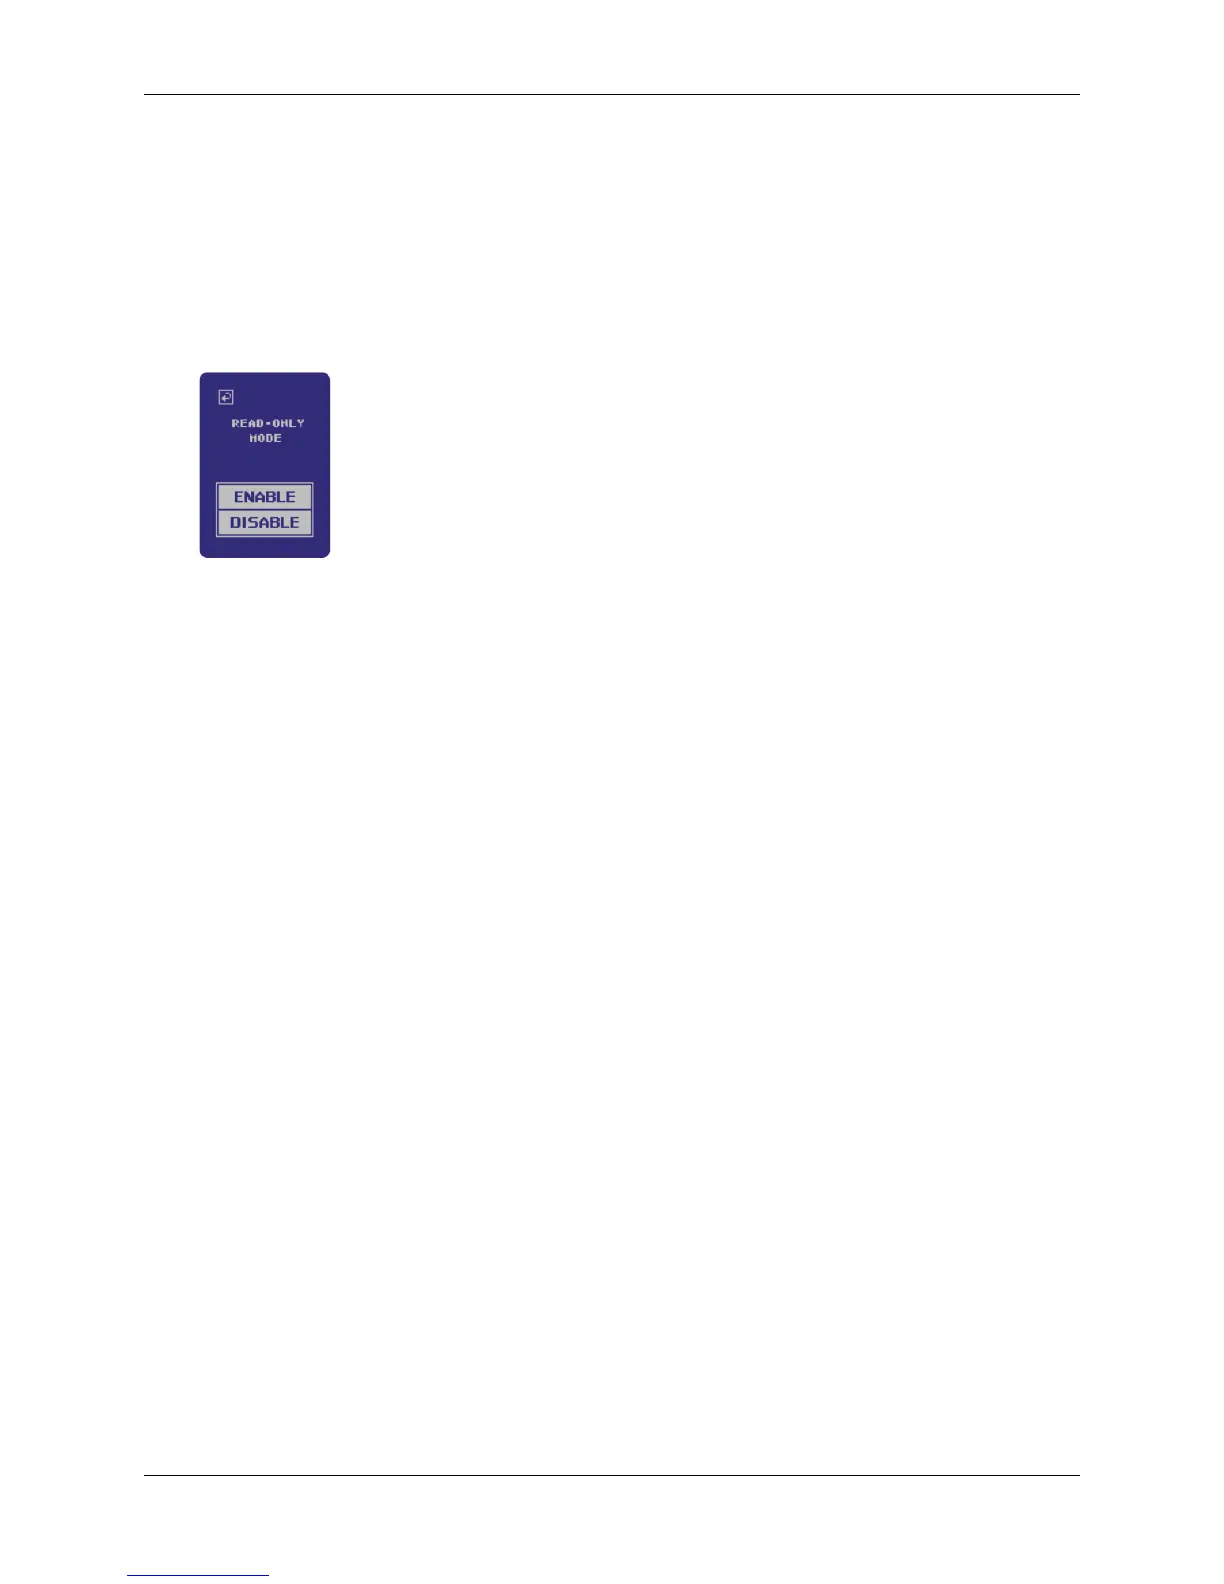
To enable forced Read-Only Mode, follow these steps:
1. Navigate to the Setup menu. For more information, see Accessing The Setup Menu.
2. At the Setup menu, press the System button.
3. Select Read-Only Mode.
Note: This option is located on the second page of the System menu.
4. Change to Enable.
Individual Read-Only Mode
The administrator and the user can each set Read-Only Mode individually, by checking the box
on the Connection screen after entering the password. Checking the box will enable Read-Only
Mode for a single login. Upon disconnecting and logging in again, the setting can be toggled.
Note:
After checking the Read-Only Mode box and disconnecting, the option will remain checked
until the user unchecks it.
Auto-Lock
Auto-lock is a security feature available on the DL3. This feature is disabled by default but can be
enabled by the administrator and the user. The amount of idle time required to time out the device
is configurable from 10 to 180 minutes in increments of 10 minutes.
Auto-lock will disconnect the drive once it is idle (i.e. zero activity) for the configured amount of
time. The device will beep and display a 30 second countdown on the touchscreen before the
timeout limit is reached. Modifying the contents on the drive or even viewing the files will reset the
timeout counter.
To enable auto-lock, follow these steps:
1. Navigate to the Setup menu. For more information, see Accessing The Setup Menu.
2. At the setup menu, press the System button.
3. Press the Next Page button two times to arrive at the System 3/3 screen.
4. Select Auto-Lock.
5. Adjust the minutes of idle time required.
© 2018 DataLocker Inc. All rights reserved. 15