DataLocker DL3 User Guide
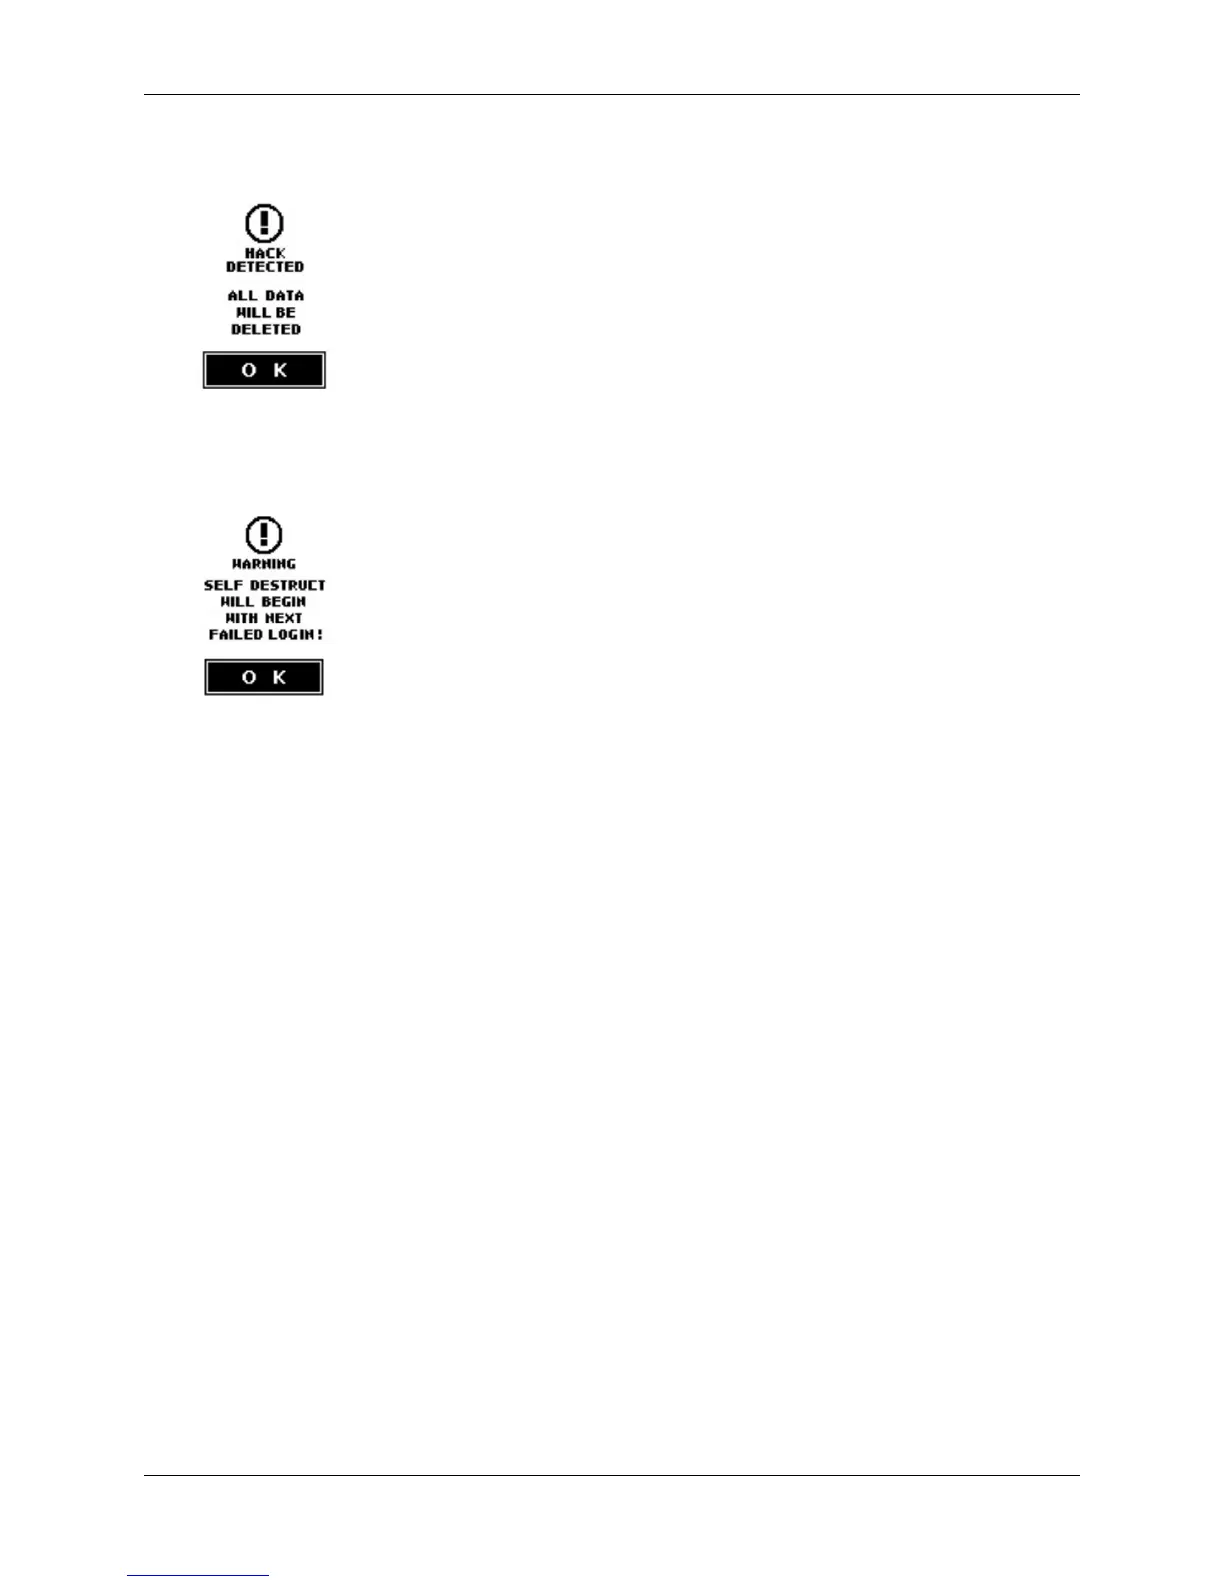
3. If you are within the final three tries you will be alerted with a “Hack Detected” warning.
4.
After 9 unsuccessful attempts you will see the “Self-destruct Will Begin” warning. If the next
attempt fails, the self-destruct function will destroy all encryption keys on the DL3 drive. This
process is instantaneous and all data will be inaccessible.
5.
The DL3 drive will emit a steady alert tone and will not stop until you unplug the USB cable from
the computer. The drive will have to be reinitialized and formatted to work with your operating
system again.
Zeroize
Zeroizing the device will wipe all data on the drive and return the device to factory settings.
Note: The SafeConsole feature must be disabled to use the Zeroize function.
To zeroize the DL3:
1. Navigate to the Setup menu. For more information see, Accessing The Setup Menu.
2. Find and press the System button to access the System menu.
3. Press the Zeroize button.
Note: The option is on the second page of the System menu.
4. Follow the onscreen prompts to complete the process.
5.
The DL3 will power off and back on automatically when it has finished zeroizing. To use your DL3
once again, you will need to reinitialize it. See How To Initialize Your Drive for more information.
RFID Authentication
The DL3 FE features an optional RFID module for a second layer of authentication. A maximum
of five RFID tags can be registered on each DL3 drive. RFID models of the DL3 FE come with two
RFID tags. If you would like to pair your own tag, the DL3 RFID module supports ISO 14443A and ISO
15693 with a frequency of 13.56 MHz.
© 2018 DataLocker Inc. All rights reserved. 12