DL4 FE Encrypted External Hard Drive - v1.49/6.5.0 - User Guide
5. Confirm your password from Step 4 and tap the Ë-button.
If the confirmed password does not match the password entered in Step 4, the device will
ask you to enter a new password and to confirm the password again. This process will repeat
itself until the passwords match each other.
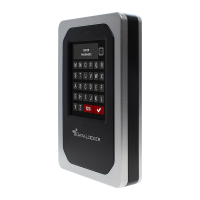
6. After the device password is input, the connect screen is shown. Tap Connect to connect
the DL4 instantly. Otherwise, the device will automatically connect to the computer after 10
seconds. Selecting Read-Only Mode will connect the device with read-only access - allowing
data to be read from the device, but not modified or deleted. Tapping the 2-icon on the
screen will take you to the administrator menu. See Using the Administrator Menu for more
information. Tap the globe to change display language, you confirm the language selection
when you tap Connect.
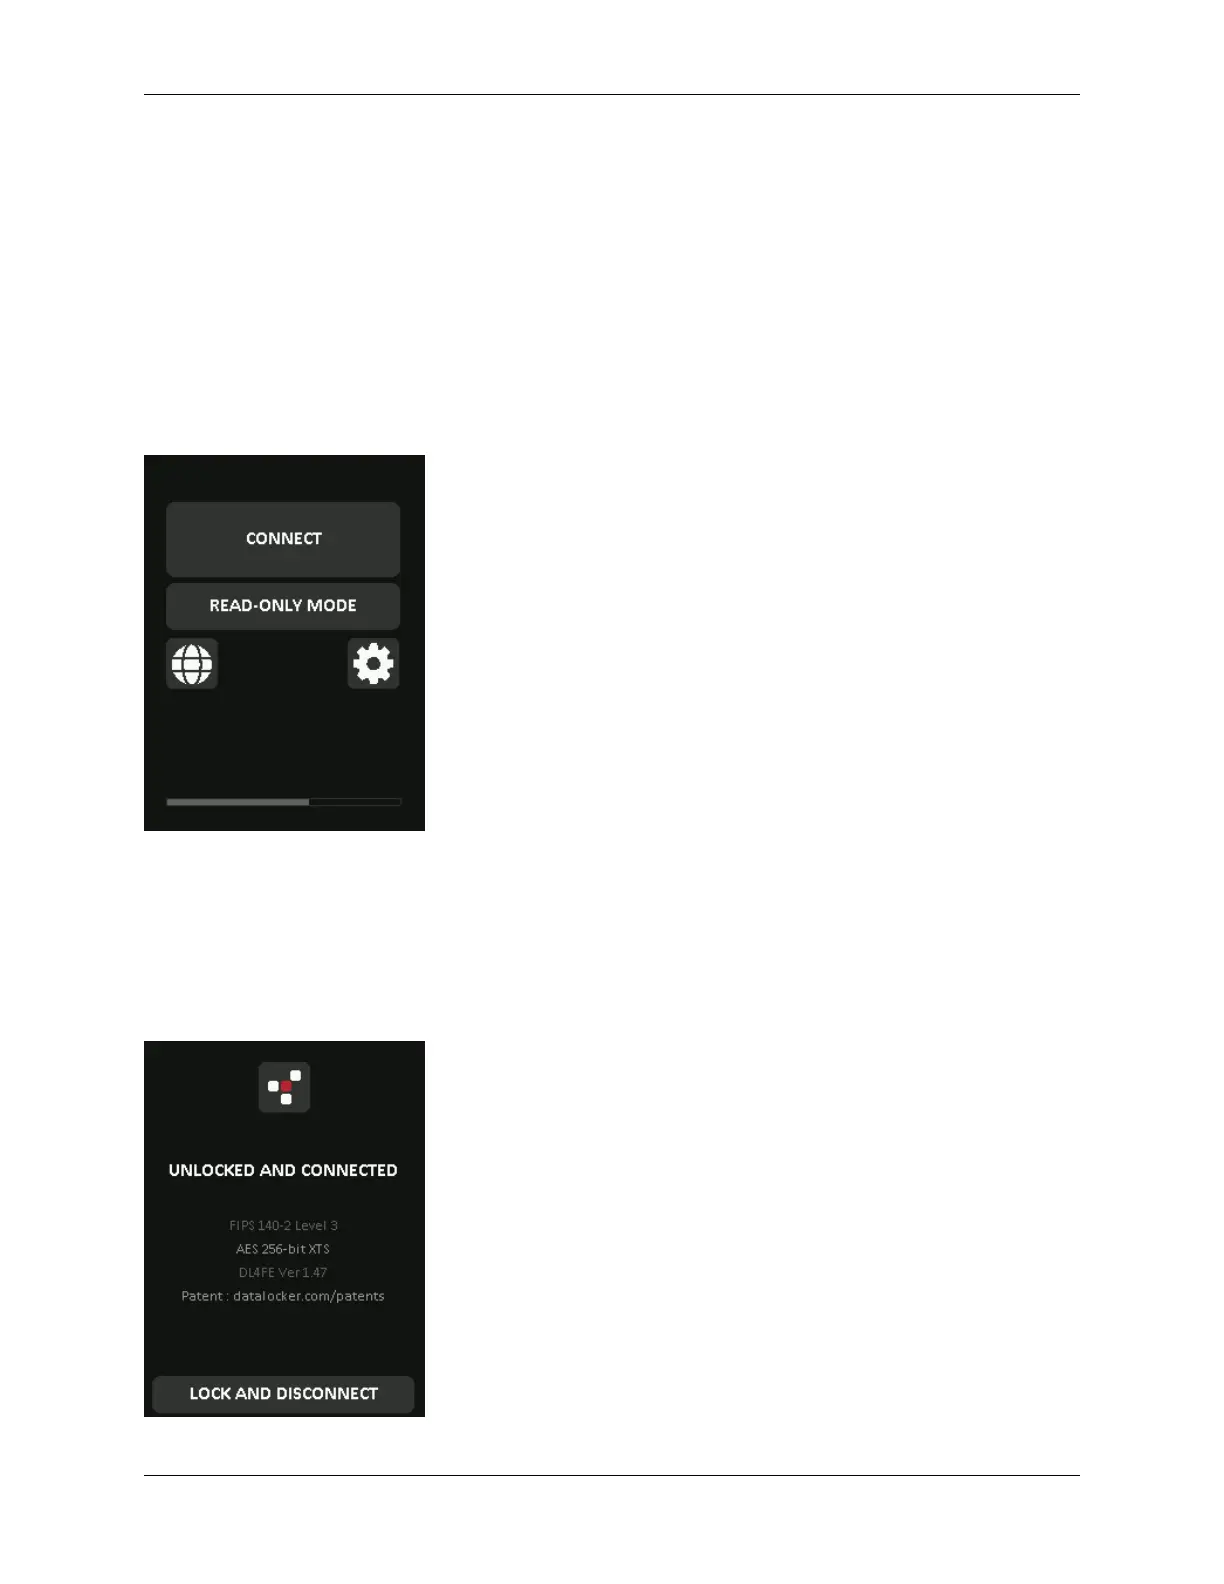
7. After the device successfully connects, the DL4 will show the Unlocked and Connected-
screen with a Lock and Disconnect option available. A volume labeled “DataLocker” will
be mounted to the computer and be available for use. You can now work with the device
as if it was standard storage device in your computer. All data is transparently encrypted by
the hardware when you store it on the DL4.
Note: Tapping Lock and Disconnect will disconnect the DL4 drive from the computer. To prevent
© 2021 DataLocker Inc. All rights reserved. 8