1
Overview
This document describes the contents, installation, and use of the Thermal Transfer option for the H-
Class printer. After verifying the kit contents and tools required, follow the steps below to install and begin
using the option. A ribbon selection guide and a parts listing are also included, so keep this
documentation for future reference.
CAUTION
For your safety and to avoid damaging the equipment, turn ‘Off’ power and unplug the AC
power cord from the printer before beginning this installation.
Contents of the Thermal Transfer Option
This kit contains the following items:
Thermal Transfer Assembly
Mounting Screws (3)
Static Brush (6” and 8” kits only)
1
2
Tools Required
To install this option, you will need a standard and a Phillips screwdriver.
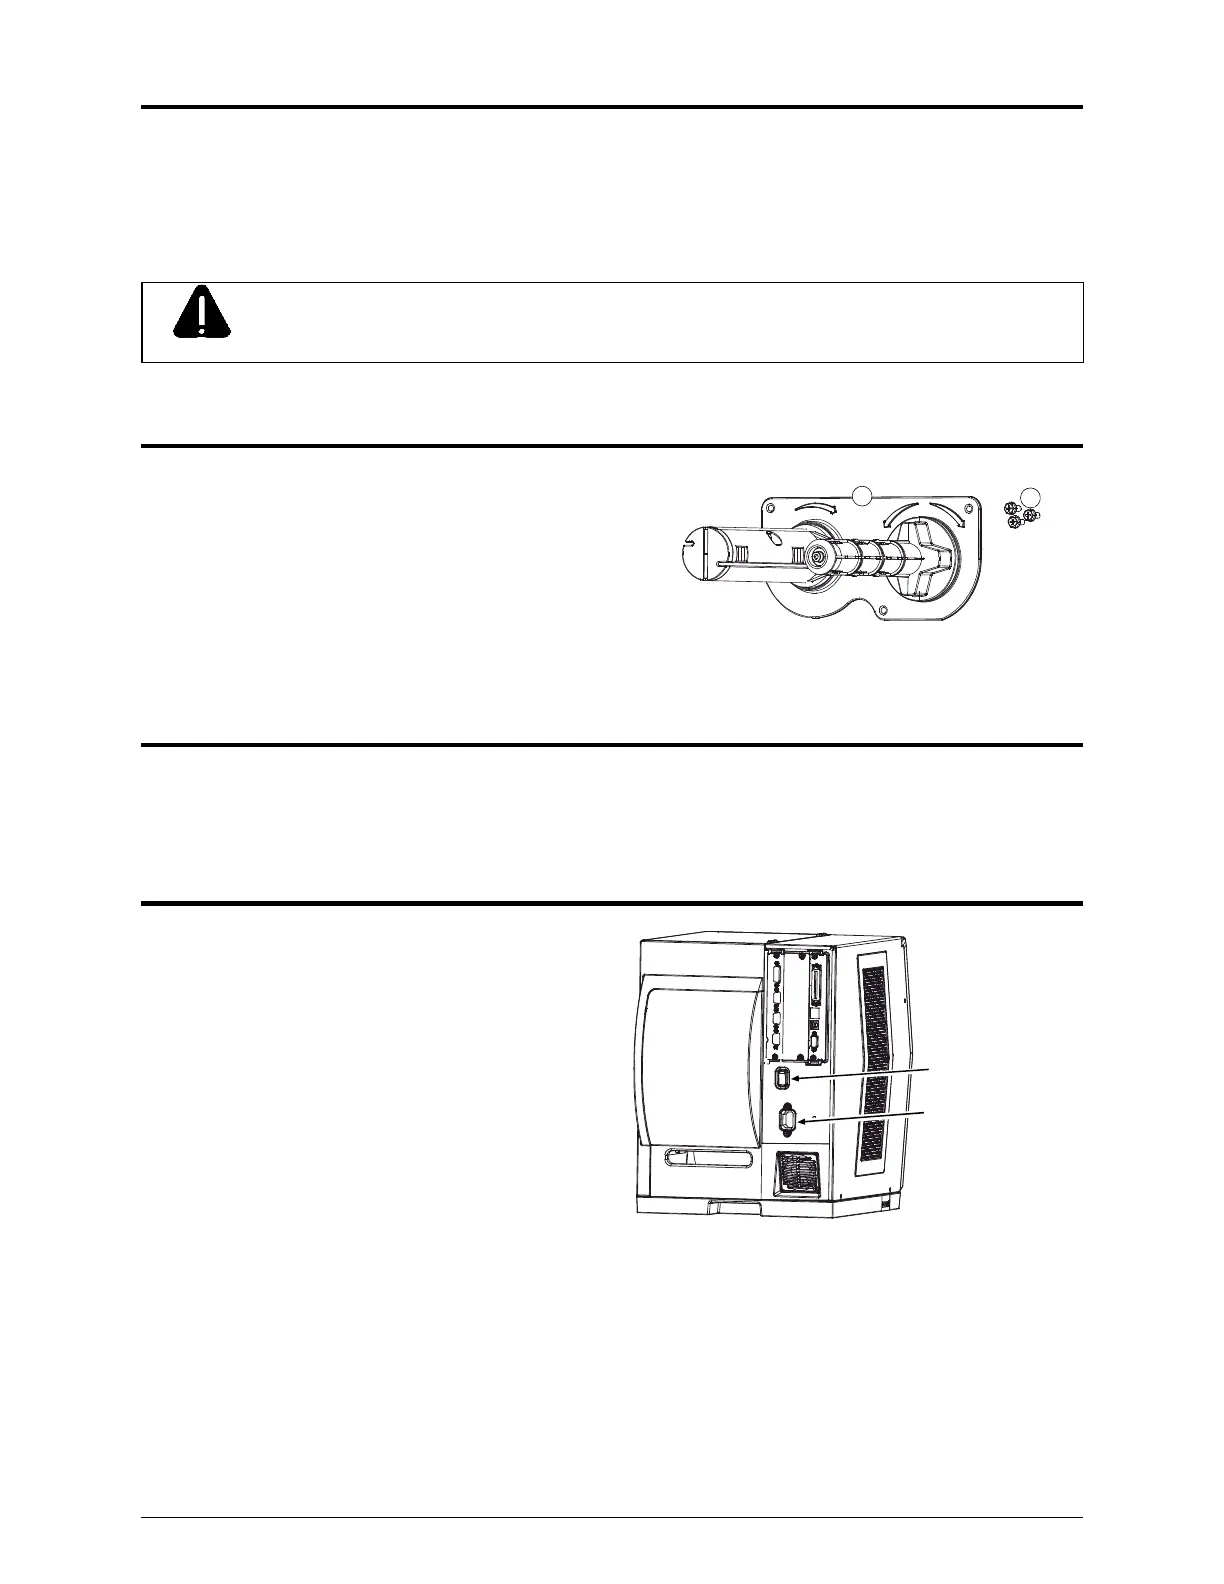
Step 1: Preparing the Printer
A) Turn ‘Off’ the Power Switch and unplug the
power cord from the AC Receptacle.
AC Receptacle
Power Switch