37
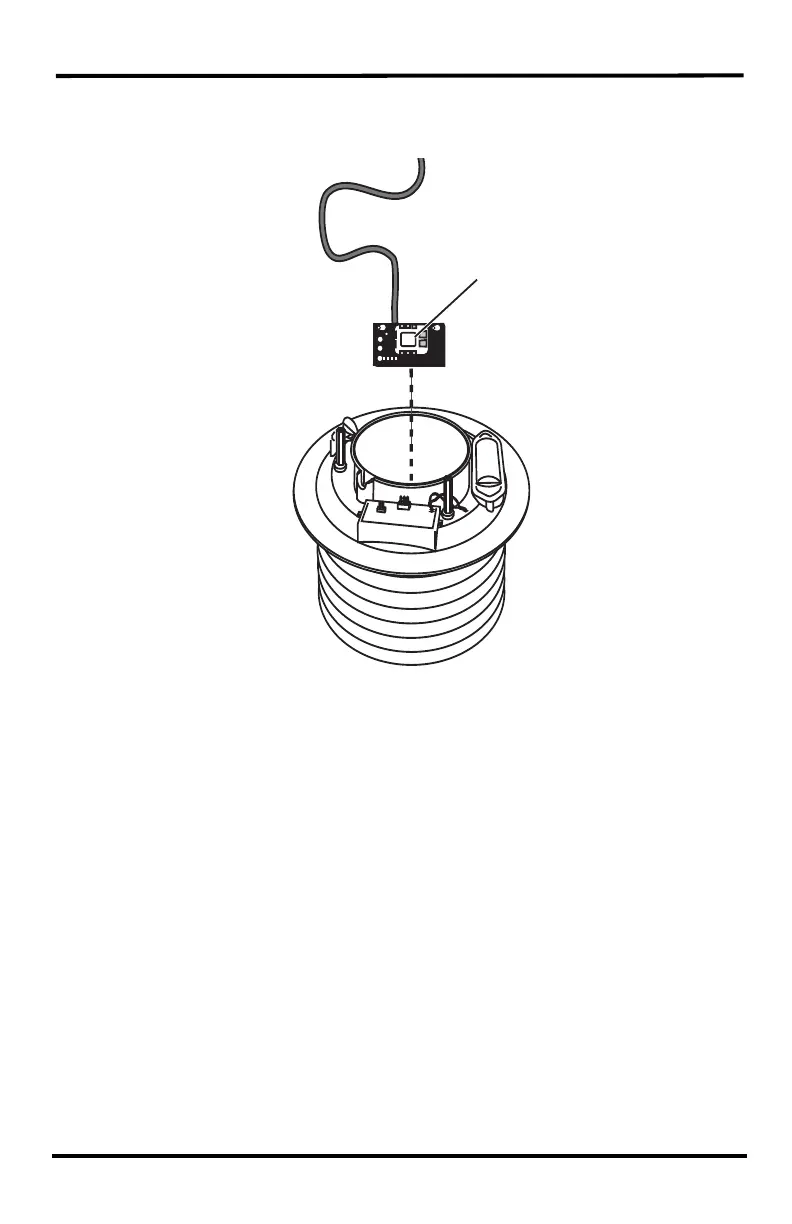
10. Unscrew the temperature/humidity sensor from the standoffs at the bottom of
the plate stack and pull the temperature/humidity sensor up and out. Use a soft
brush to clean the white plastic and gold mesh of the sensor.
11. Remove all debris from inside the shield and fan and wipe the interior surfaces
with a damp cloth.
12. Wipe the interior of the radiation shield clean.
13. Replace the temperature/humidity sensor by reattaching the sensor to its
standoffs at the bottom of the plate stack. (The sensor mounts face-down.)
Route the cable up through the channel and replace the fan deflector with the
cable channels correctly aligned with the sensor cable. If a new fan and batteries
are needed, See “24-Hour and Daytime Fans: Replacing the Fan Motor and
Batteries” on page 40.
14. Replace the fan and plug the fan power cable back into the junction board. The
fan should start to rotate.
Replace the junction board cover.
Temperature/
Humidity
Sensor