Your 4077's "Standard Channel Configuration" was given in Section
1.d, above. To cause the current "live" reading of any channel—either
"scanned" or "unscanned"—to be displayed on both the DIGITAL and
BARGRAPH displays, you need only
1.
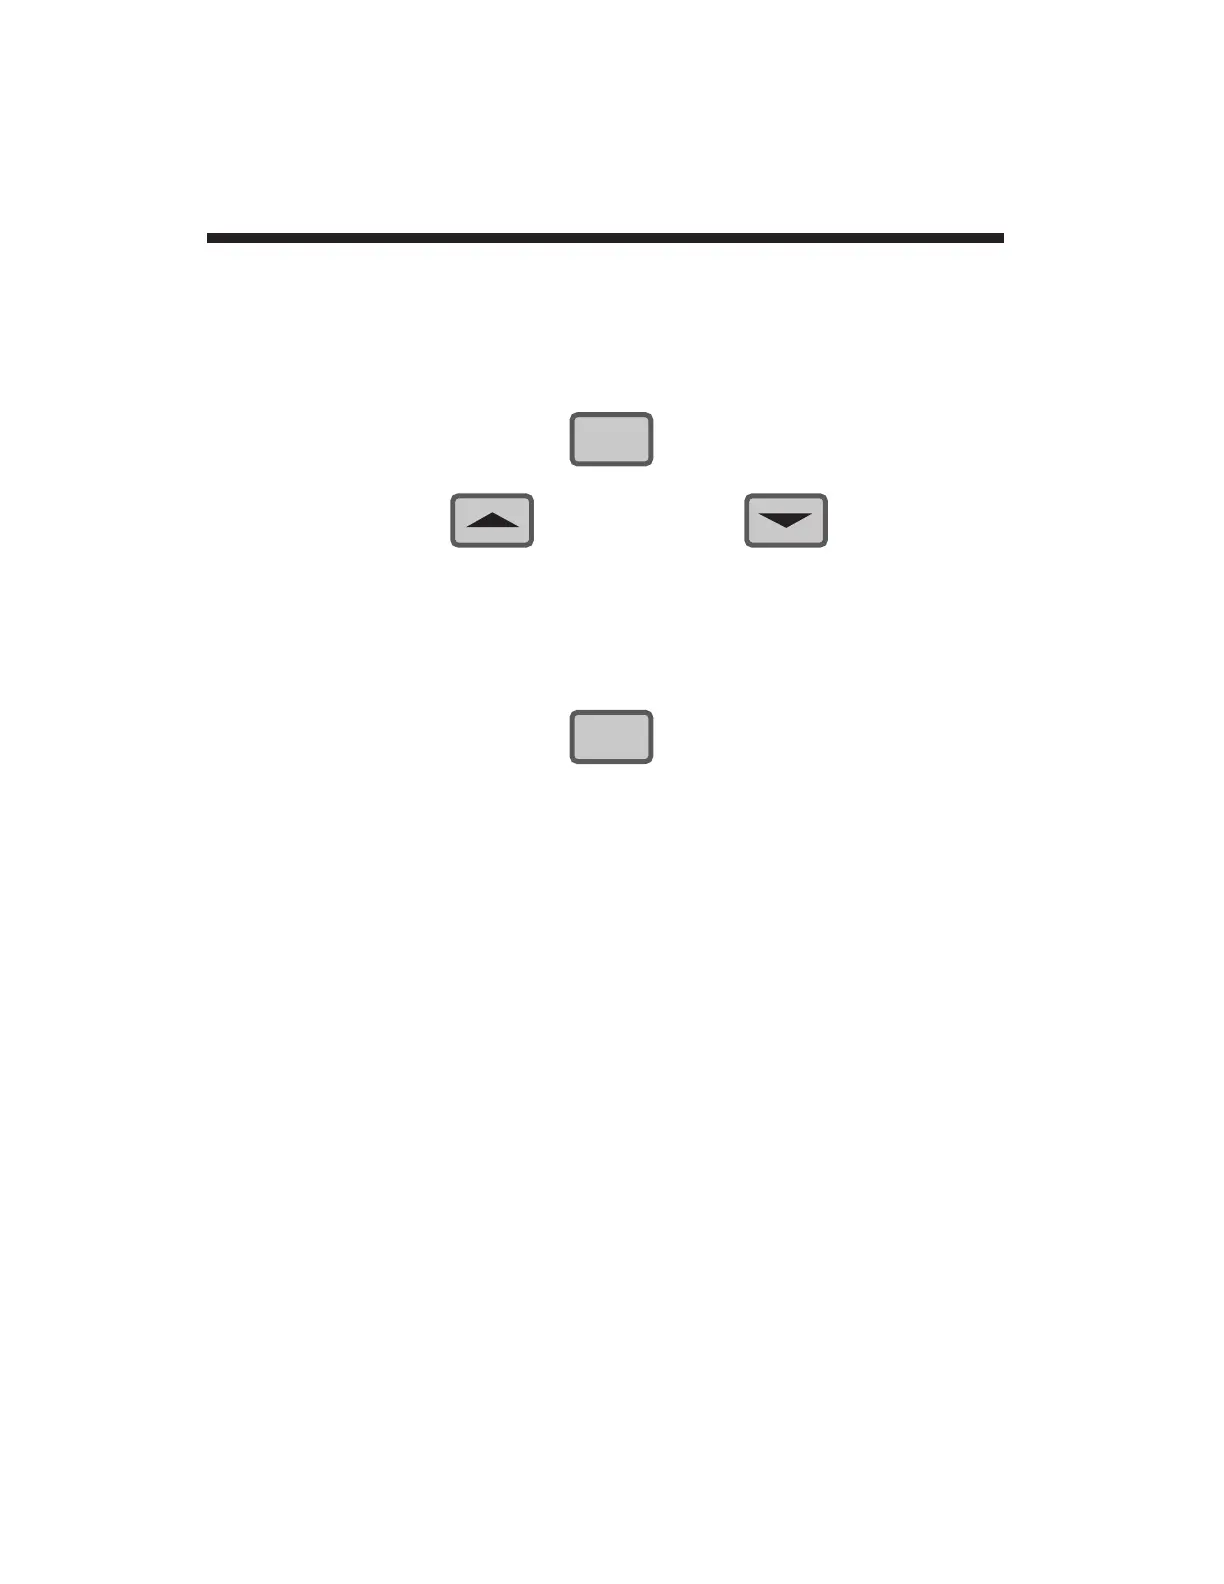
PRESS THE BUTTON
2.
PRESS THE BUTTON OR THE BUTTON
repeatedly until the number of the desired channel appears in the
main
LCD display (the original channel number will continue to
flash in the small mnemonic display under the engineering
legends).
3. Again
PRESS THE BUTTON
The number of the displayed channel should now appear in the
mnemonic display, with the "live" reading of this channel in the
main LCD display.
NOTE: As explained in Section 3, you can always use the LIVE
DISPLAY button—when not in "SETUP MODE"—to call to display your
4077's Channel 5 ("tared" analog input). You can also use the
MAX/MIN/MAX-MIN STEP button to cycle sequentially through
Channels 5 through 8.
2.d Selecting a Channel for Display
2.8

 Loading...