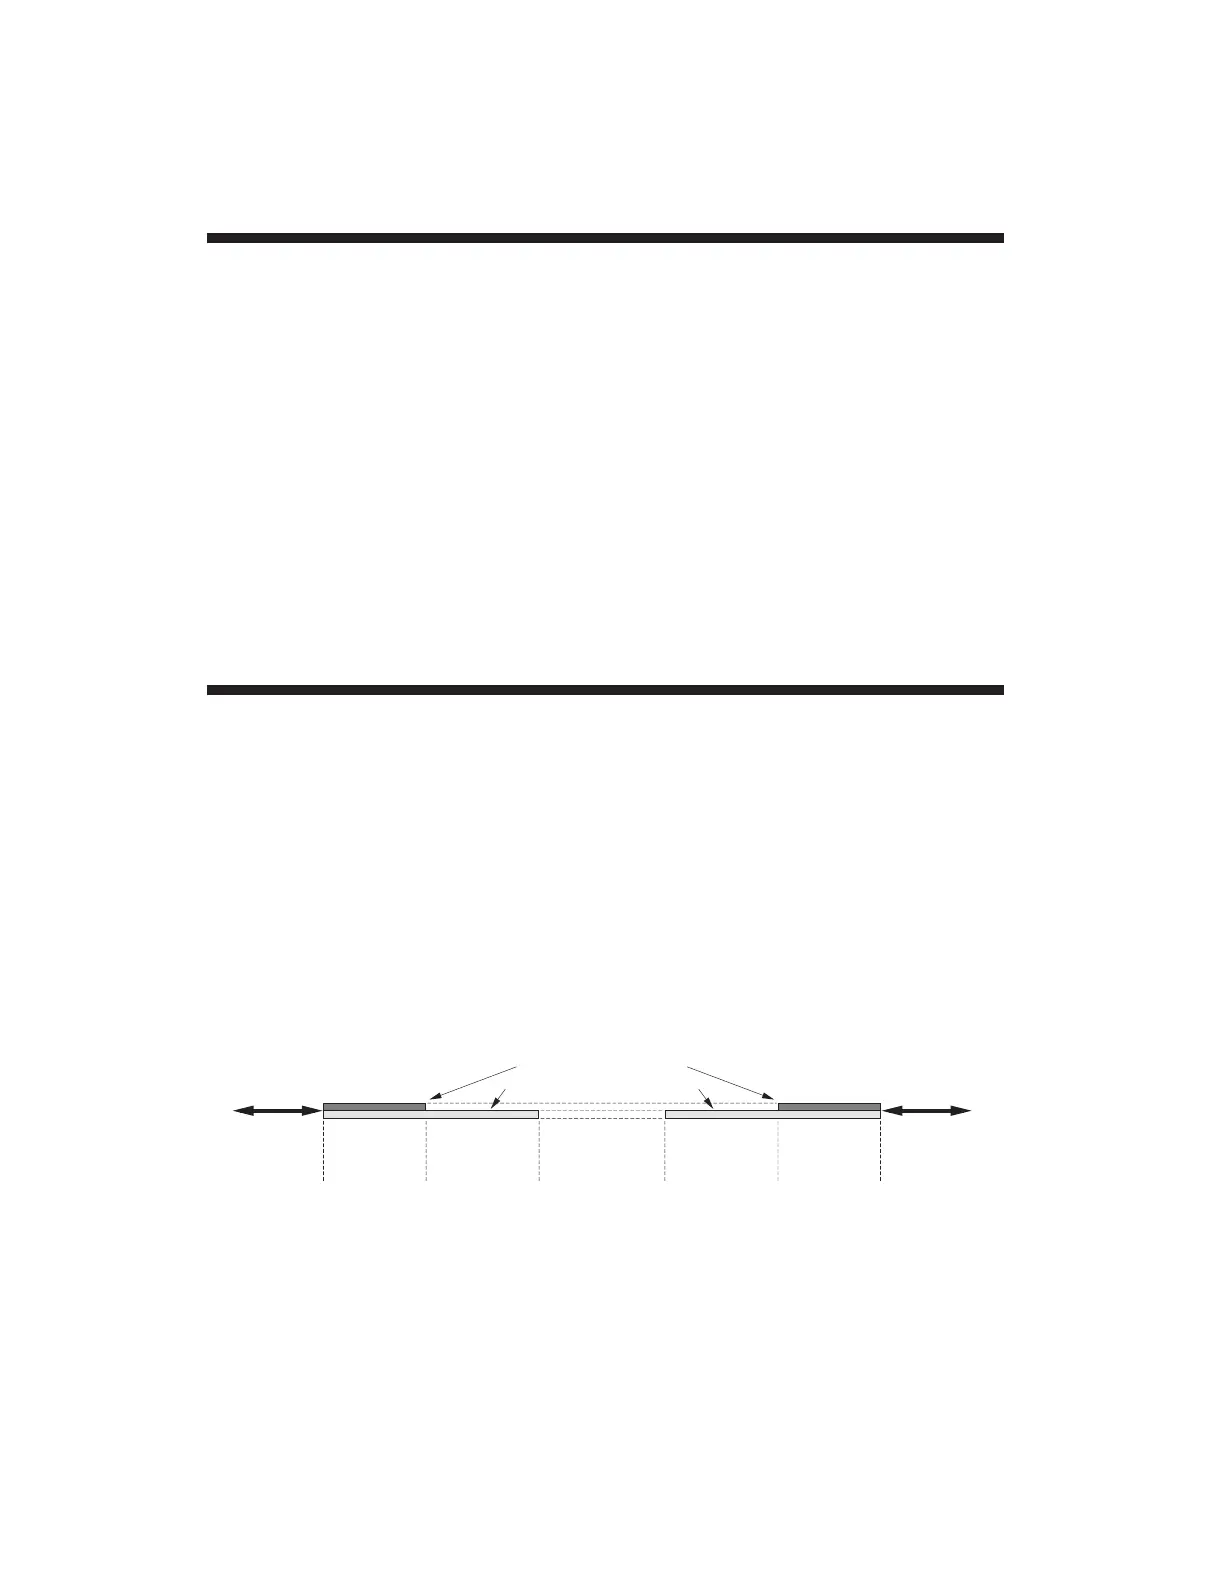
NOTE, however, that the 4077's front panel furnishes a "truncated"
numeric display of the two endpoint values of the currently displayed
bargraph (see Fig. 1). That is, the endpoint numbers will appear with
all but the first two significant digits converted to "0."
THE RESULTING
PRECISION OF THE DISPLAYED "LEP" AND "HEP" VALUES DOES
NOT REFLECT THE PRECISION OF THE ACTUAL BARGRAPH
ENDPOINTS CURRENTLY IN EFFECT. If, for example, a "HEP" of
"3495.0" is entered, this value is still in effect,
to that precision
, even
though it is displayed as "3400." In order to update the decimal-point
position in the numeric HEP and LEP displays after rescaling the bar-
graph, it is necessary to "recall" the channel—i.e., to display another
channel and then return to the original one.
Scaling the Bargraph Display 2.g
Defining Limit Zones 2.h
Once you have set the endpoints of Channel 5's bargraph display, you
can define seven discrete
limit zones
with respect to that bargraph, as
shown in Fig. 8: "BELOW BARGRAPH" ZONE (less than LEP);
LOWER "DANGER" ZONE (LEP to LLL); LOWER "CAUTION" ZONE
(LLL to LOL); SAFETY (NO VIOLATION) ZONE (LOL to HIL); UPPER
"CAUTION" ZONE (HIL to HHL); UPPER "DANGER" ZONE (HHL to
HEP); and "ABOVE BARGRAPH" ZONE (greater than HEP). These
limit zones are represented by pairs of smaller bars that light up above
the main bargraph. The upper and lower "CAUTION" ZONES are
indicated by the YELLOW bars; and the upper and lower "DANGER"
ZONES by the RED ones.
Using the same "SETUP" button techniques as before, enter desired
values for these Channel 5 parameters:

 Loading...