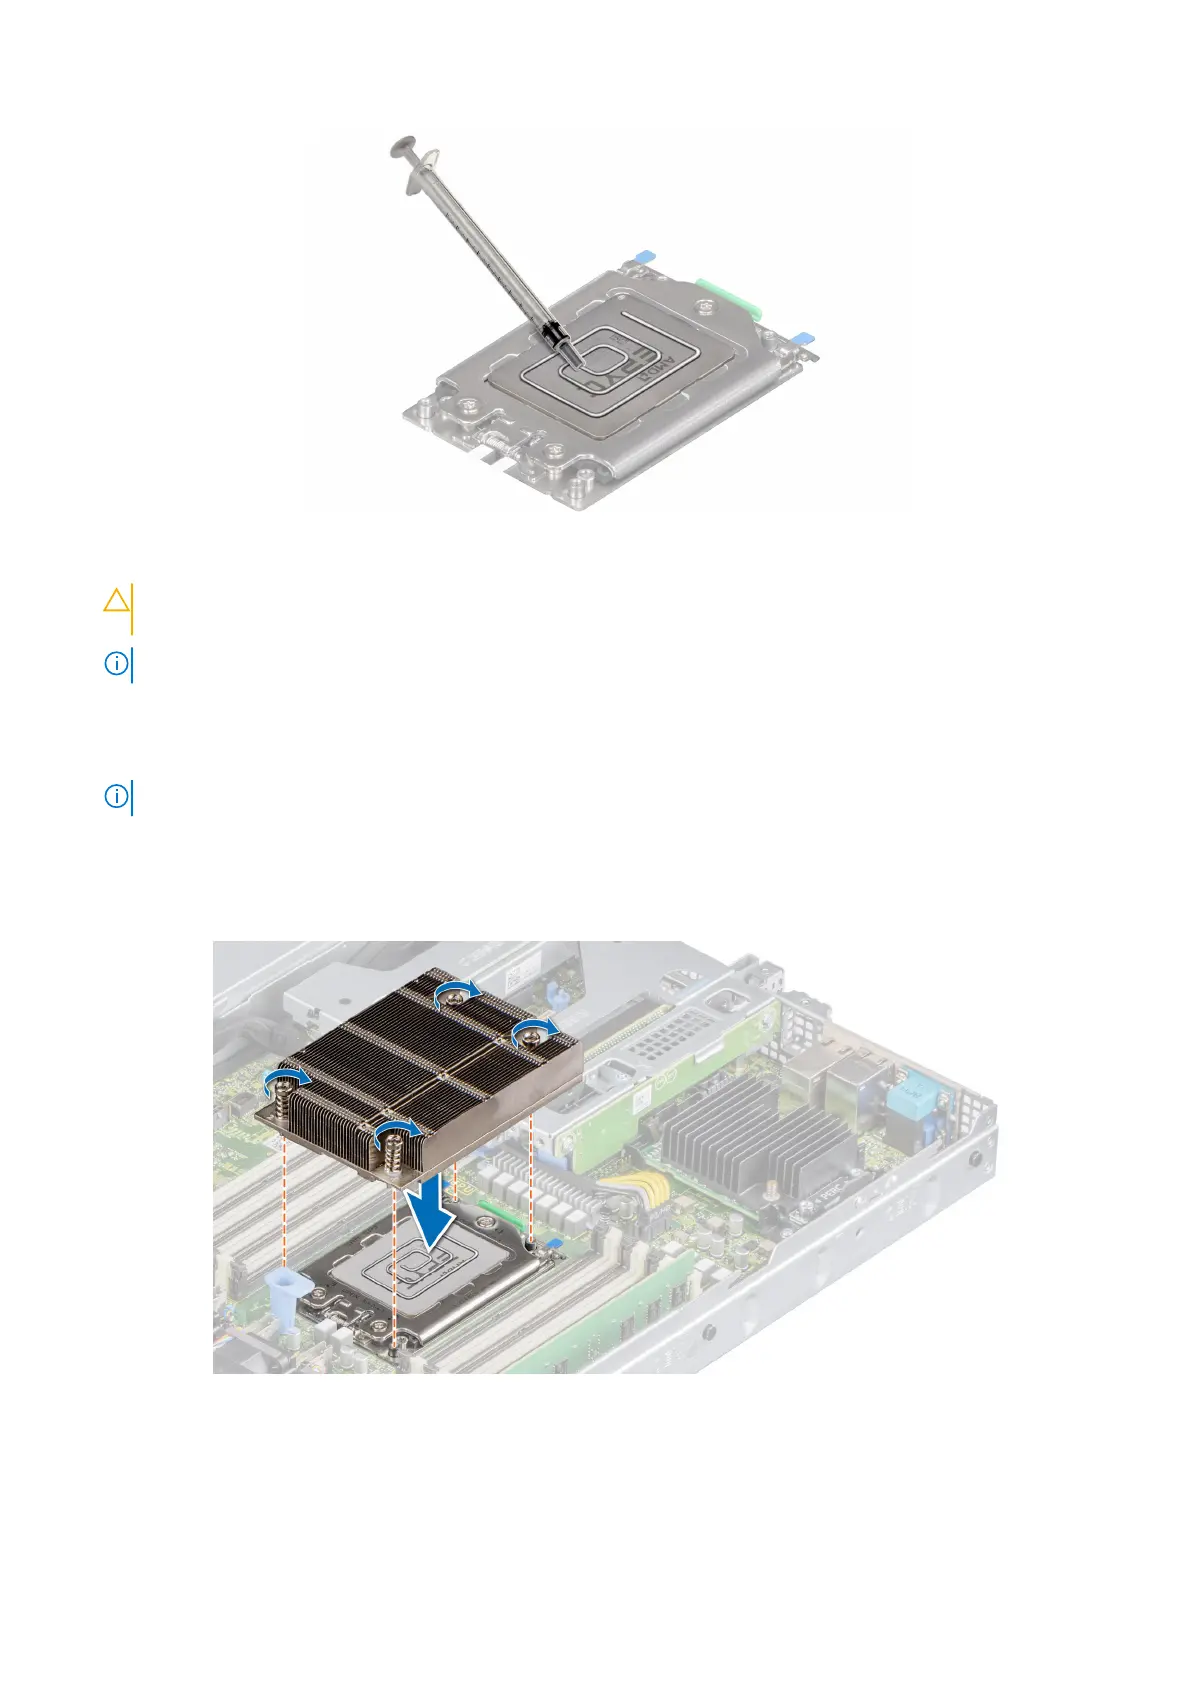
Figure 52. Installing the heat sink
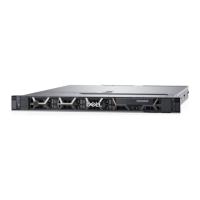
CAUTION: Applying too much thermal grease can result in excess grease coming in contact with and
contaminating the processor socket.
NOTE: The thermal grease syringe is intended for single use only. Dispose of the syringe after you use it.
3. Align the heat sink with the screw holes on the processor plate. The captive screws on the heat sink should align with the
screw holes on the processor plate.
4. Using a Torx #T20 screwdriver, tighten the captive screws in the order mentioned below:
NOTE: The captive screw numbers are marked on the heat sink.
a. Partially tighten the captive screws 1 and 2 (approximately 3 turns).
b. Partially tighten the captive screws 3 and 4 (approximately 3 turns).
c. Tighten the captive screws 1 and 2 completely.
d. Tighten the captive screws 3 and 4 completely.
Figure 53. Installing the heat sink
Next steps
1. Install the air shroud.
Installing and removing system components
59