Power interposer board
Removing the power interposer board
Prerequisites
1. Follow the safety guidelines listed in the Safety instructions.
2. Follow the procedure listed in the Before working inside your system.
3. Remove the air shroud.
4. Remove the PSU or PSU blank.
Steps
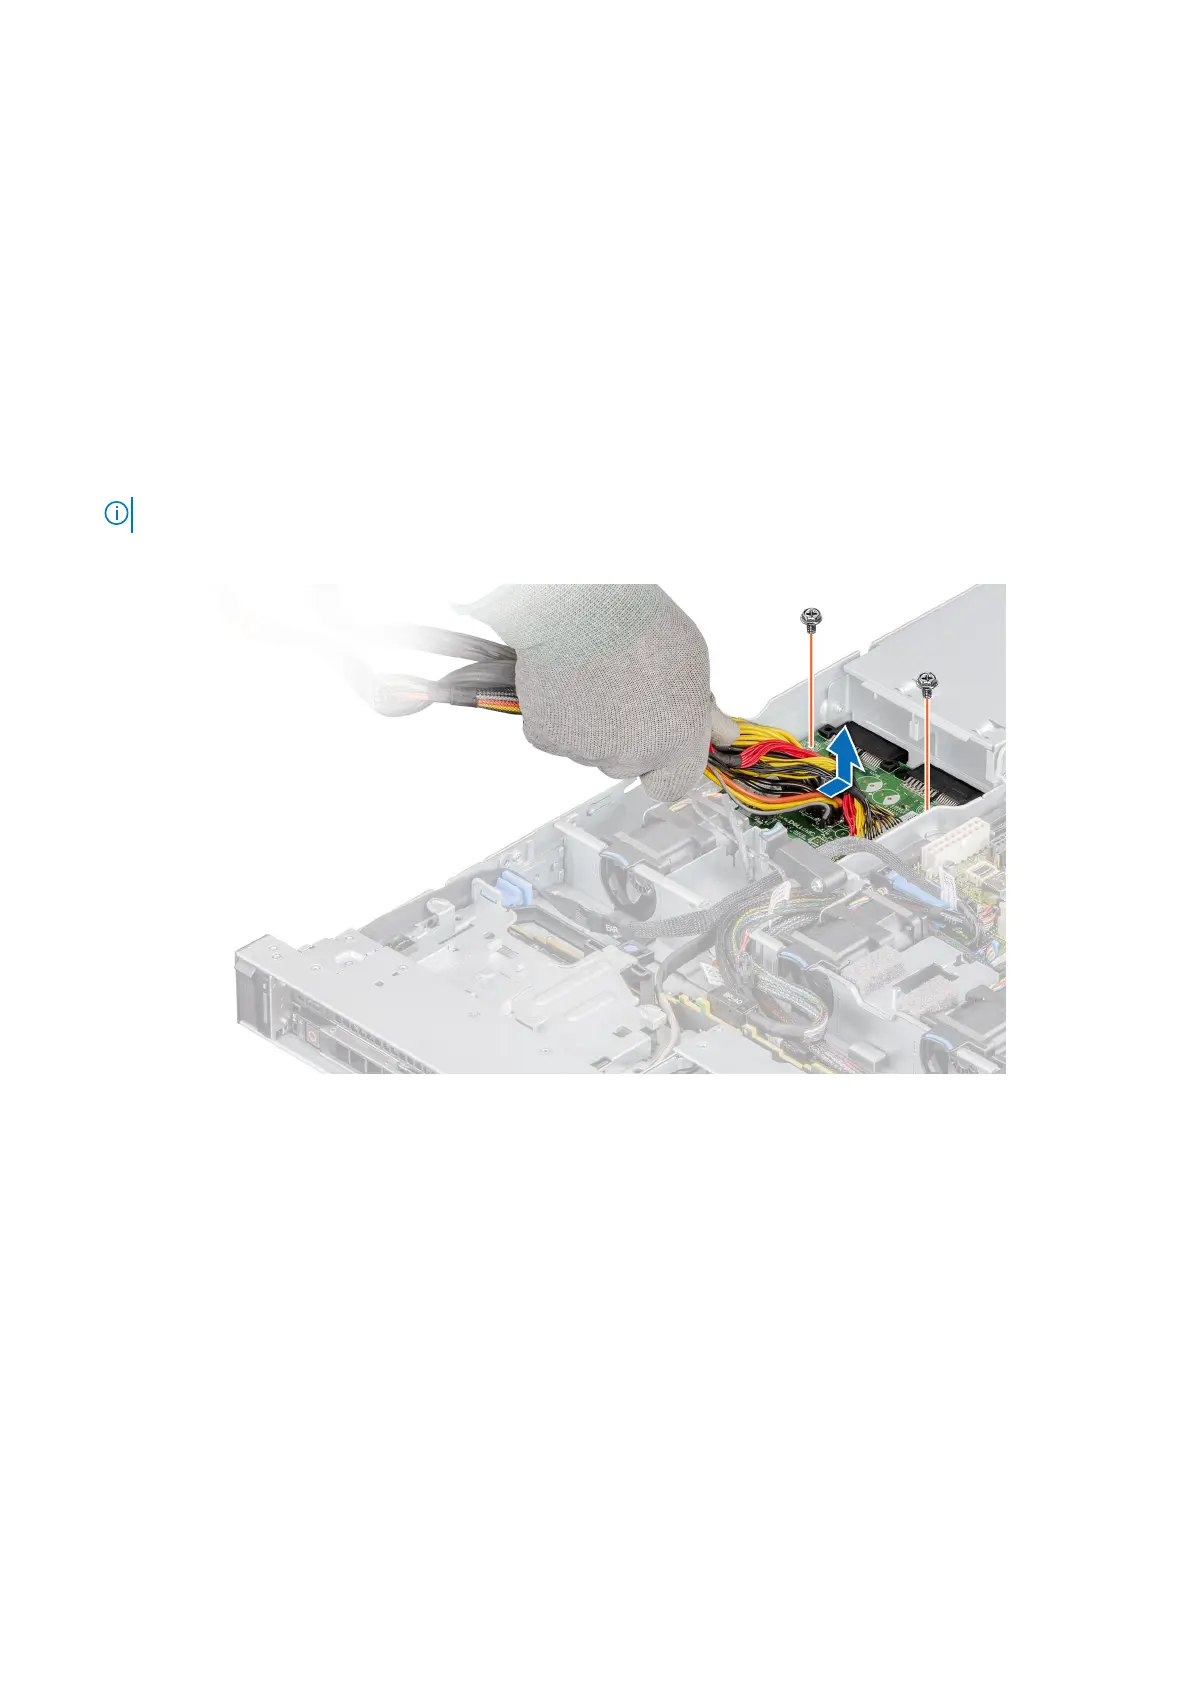
1. Using a Phillips #2 screwdriver, remove the screws securing the power interposer board (PIB) to the system.
NOTE: Observe the routing of the cable as you remove it from the system.
2. Press the blue release latch on the PIB to release it from the hook on the PSU cage.
Figure 94. Removing the power interposer board
3. Lift the PIB away from the system.
Next steps
Replace the power interposer board.
Installing the power interposer board
Prerequisites
1. Follow the safety guidelines listed in the Safety instructions.
2. Follow the procedure listed in the Before working inside your system.
Steps
1. Align the slots on the PIB with the hook on the PSU cage and slide it into place.
92
Installing and removing system components