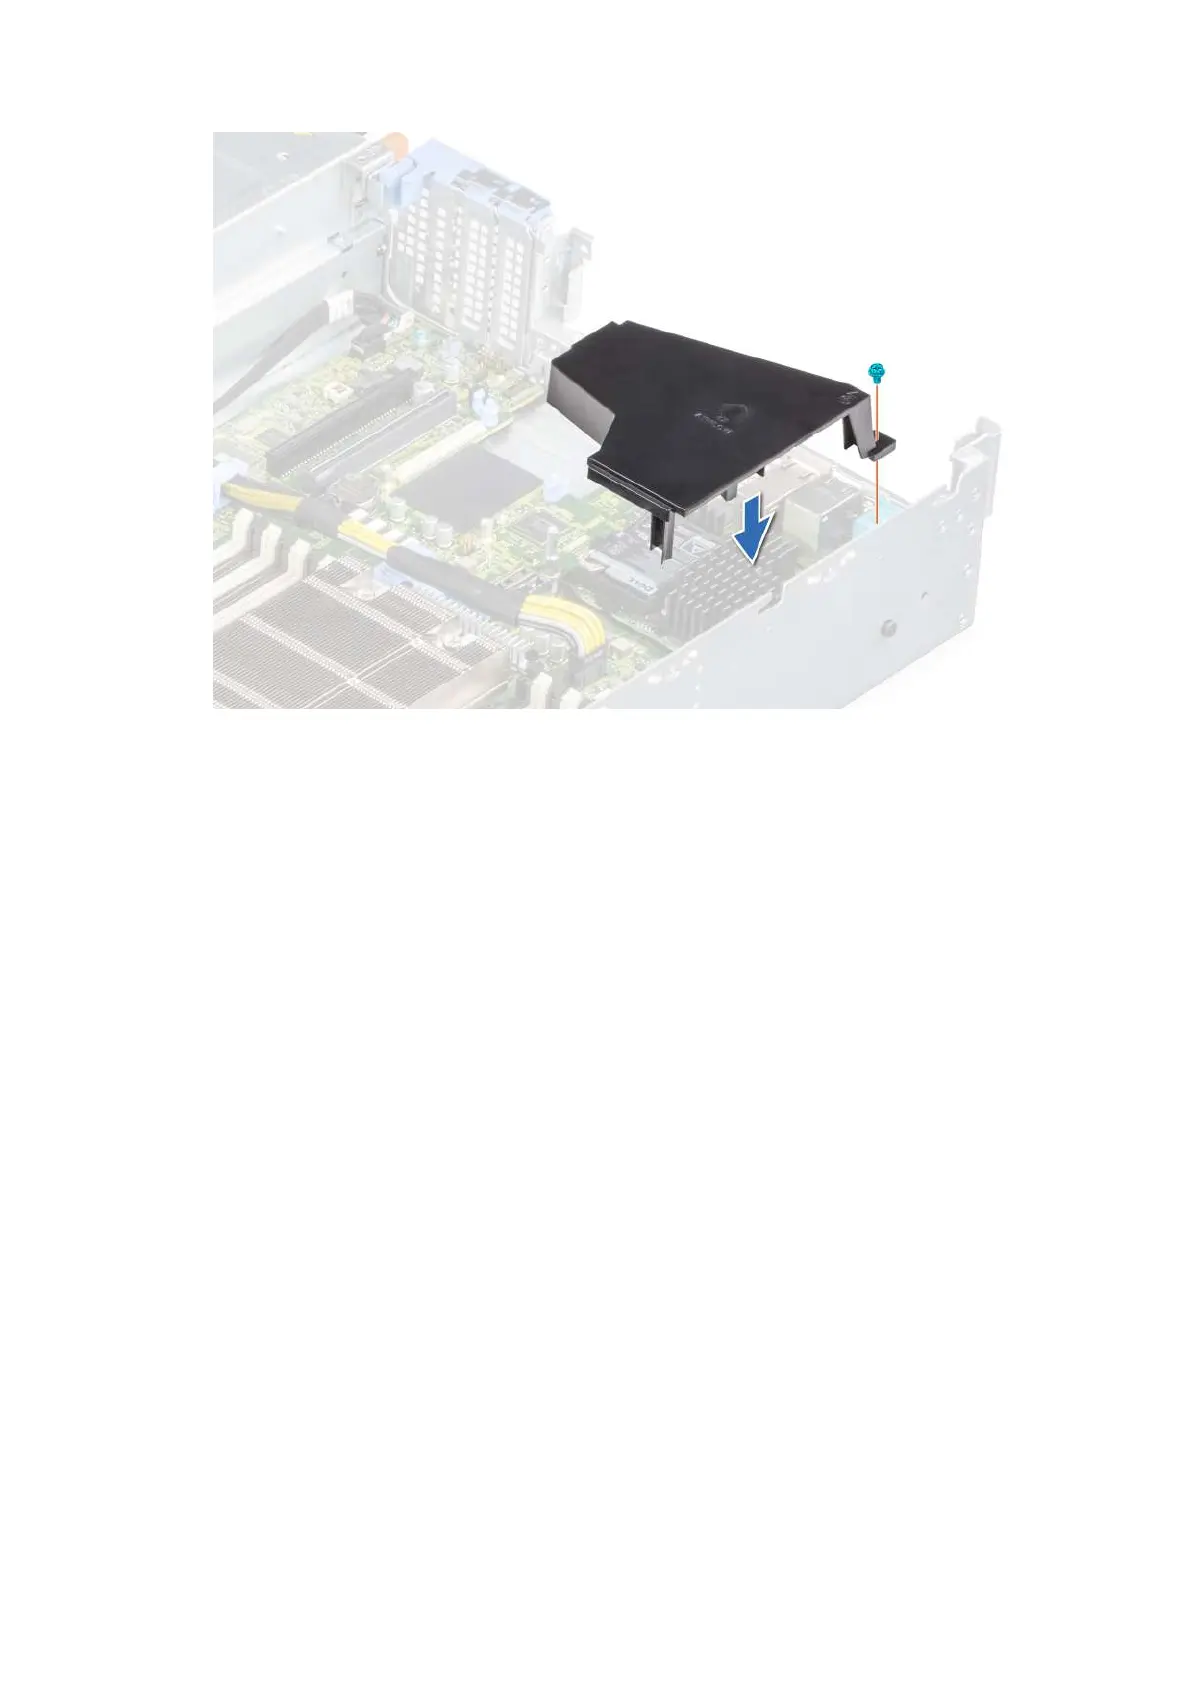
Figure 107. Installing the mini PERC card air shroud
Next steps
1. If removed, replace the expansion card riser.
2. If removed, replace the rear drive cage.
3. Install the air shroud.
4. Follow the procedure listed in After working inside your system on page 27.
Removing the internal mini PERC card
Prerequisites
1. Follow the safety guidelines listed in the Safety instructions on page 26.
2. Follow the procedure listed in the Before working inside your system on page 27.
3. Remove the air shroud.
4. If applicable, remove the rear drive cage.
5. If applicable, remove the expansion card riser.
6. Remove the PERC card air shroud.
Steps
1. Disconnect the SAS connector from the backplane.
2. Using a Phillips #1 screwdriver , remove the screws securing the internal mini PERC card.
3. Lift the internal mini PERC card at an angle to disengage it from the PERC slot and remove it from the system.
Installing and removing system components
101

 Loading...


