Installing the optional optical drive
The procedure for installing an optical drive and optical drive blank.
Prerequisites
1. Follow the safety guidelines listed in the Safety instructions on page 26.
2. Follow the procedure listed in the Before working inside your system on page 27.
3. If installed, remove the front bezel.
4. If applicable, remove the backplane cover.
5. Disconnect the power and data cables from the connectors on the optical drive.
NOTE: Ensure that you note the routing of the power and data cable on the side of the system as you remove them
from the system board and drive. Route these cables properly when you replace them to prevent them from being
pinched or crimped.
Steps
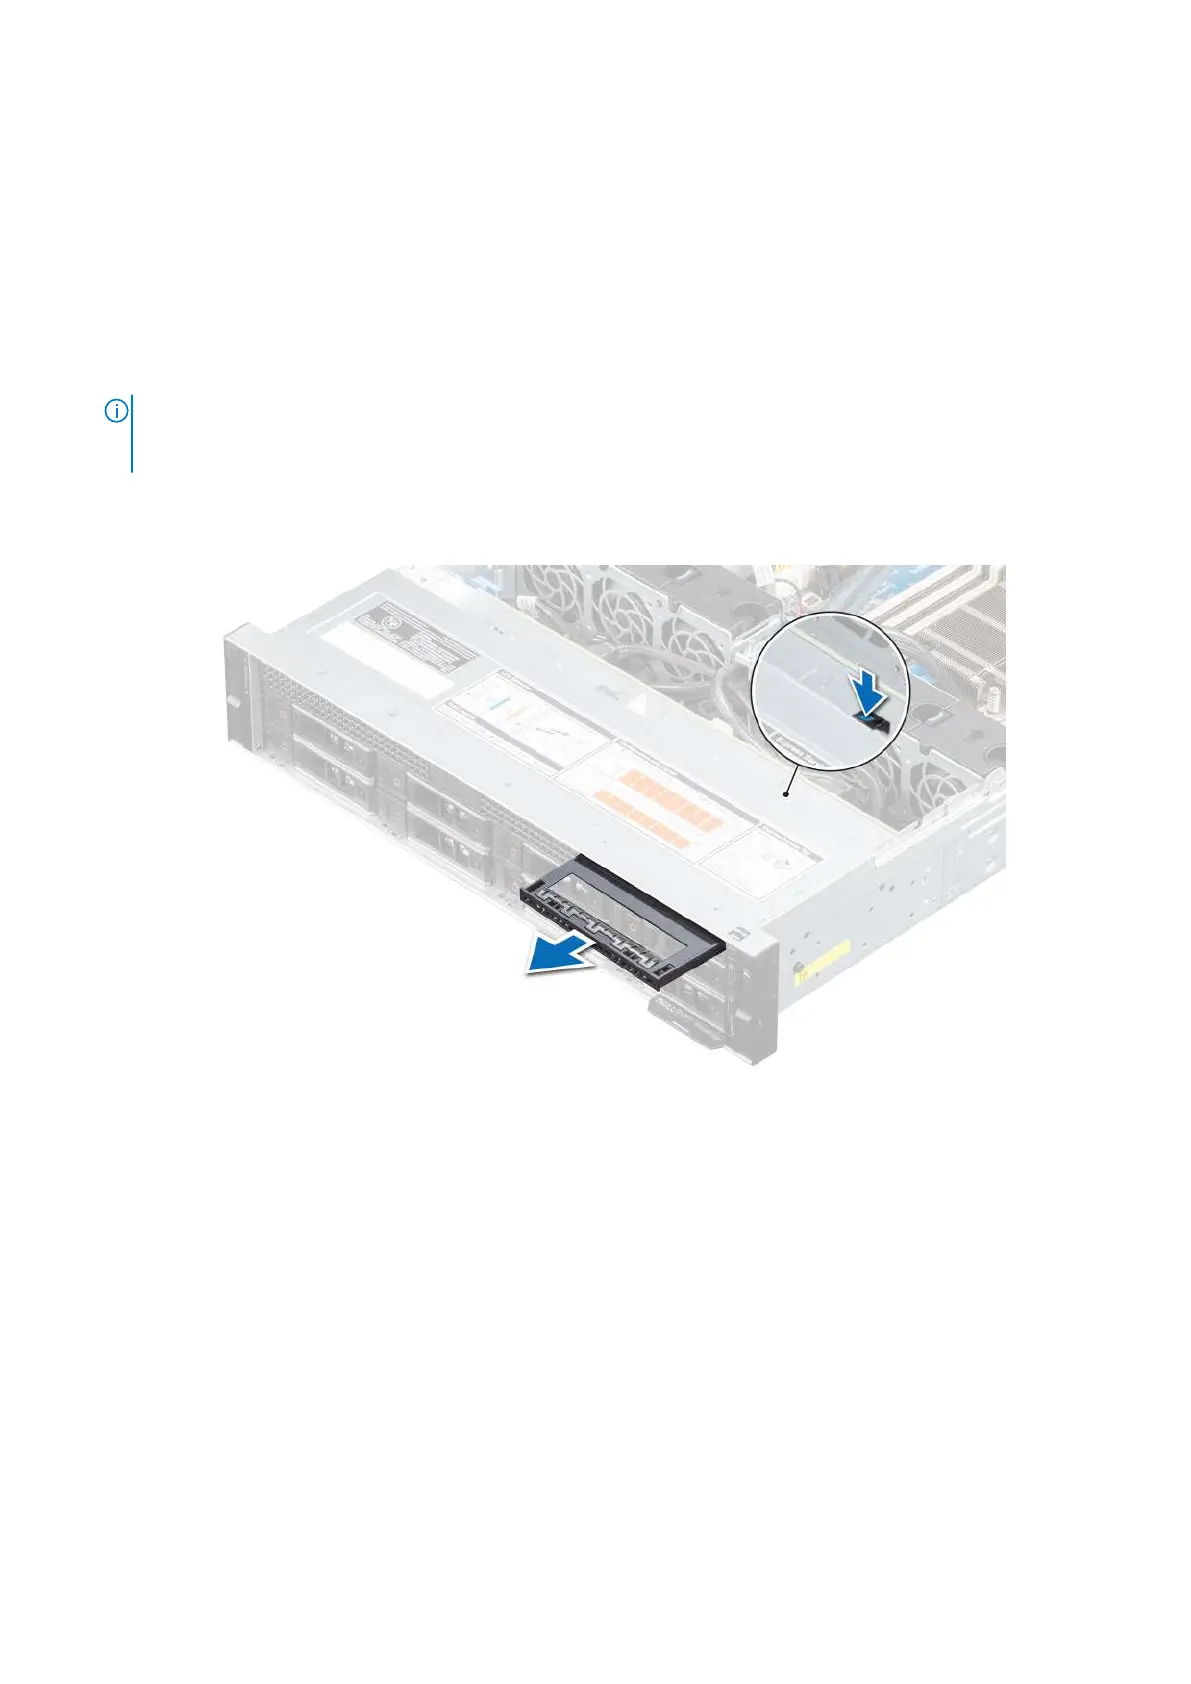
1. If installed, remove the optical drive blank. The procedure to remove an optical blank is similar to the optical drive.
Figure 116. Removing optical blank
2. Align the optical drive with the optical drive slot on the front of the system.
3. Slide in the optical drive until the release tab snaps into place.
108
Installing and removing system components

 Loading...


