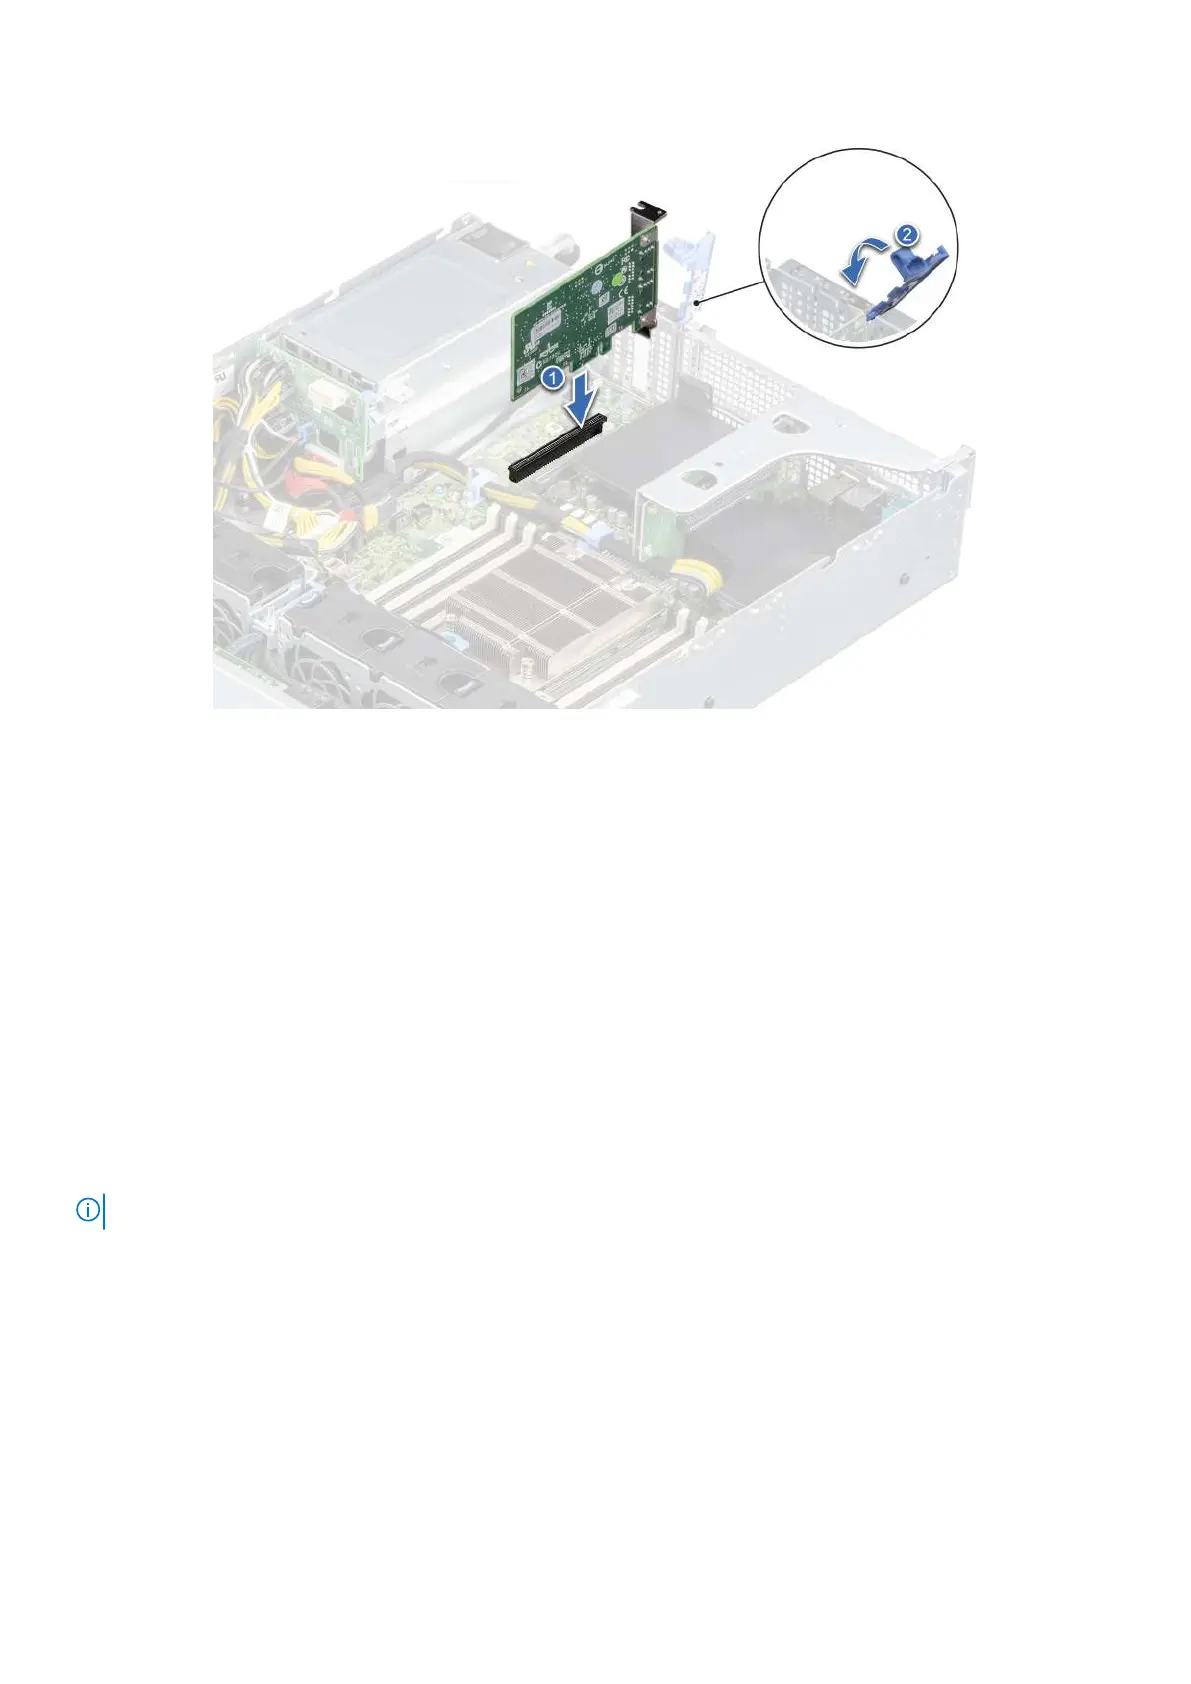
Figure 75. Installing an expansion card on the system board
Next steps
1. Connect the required cables to the expansion card.
2. If removed, install the rear drive cage.
3. Install the air shroud.
4. Follow the procedure listed in After working inside your system on page 27.
Removing an expansion card from the expansion card riser
Prerequisites
1. Follow the safety guidelines listed in the Safety instructions on page 26.
2. Follow the procedure listed in the Before working inside your system on page 27.
3. Disconnect any cables that are connected to the expansion card or expansion card riser.
4. Remove the air shroud.
5. Remove the expansion card riser.
NOTE: The procedure to remove expansion card from riser 1A, riser 2, or riser 1B is identical.
Steps
1. Pull and lift to open the expansion card retention latch.
2. Hold the expansion card by its edges, and pull the card from the expansion card connector on the riser.
Installing and removing system components
79

 Loading...


