Next steps
1. Replace the expansion card riser.
Installing the expansion card riser
Prerequisites
1. Follow the safety guidelines listed in the Safety instructions on page 26.
2. Follow the procedure listed in the Before working inside your system on page 27.
3. Remove the air shroud.
4. If installed, remove the rear drive cage.
5. Disconnect any cables connected to the expansion card.
6. If installed, remove the PCIe filler bracket.
7. If applicable, install the expansion card in the expansion card riser.
Steps
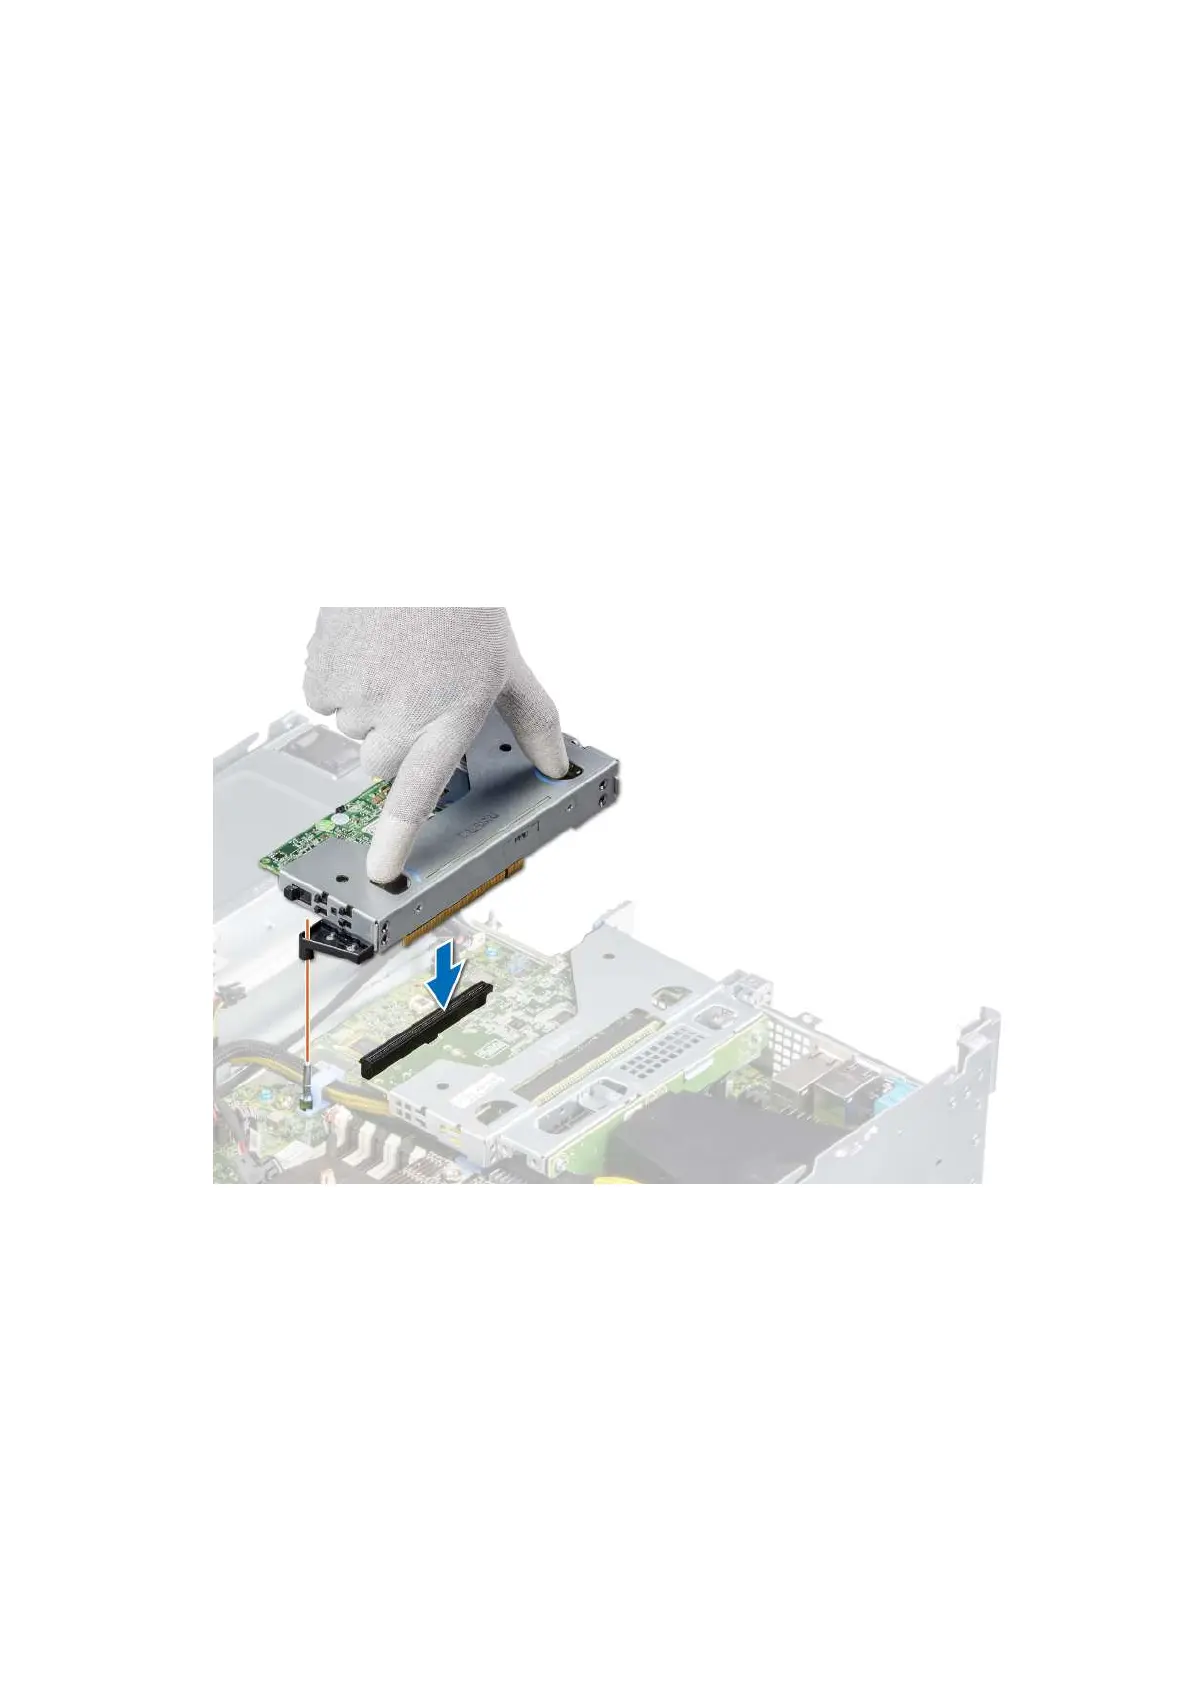
1. Align the guide on the expansion card riser with the guide pin on the chassis.
2. Lower the expansion card riser until the expansion card riser is firmly seated in the slot.
Figure 69. Installing the riser 2
a. For the riser 1A, tighten the captive screw to secure the riser to the system board.
74
Installing and removing system components

 Loading...


