Back to Contents Page
Dell™OptiPlex™760ServiceManual
I/O Panel
I/O Panel
Removing the I/O Panel
1. Follow the procedures in Working on Your Computer.
2. Remove the computer cover (see Removing the Computer Cover).
3. Remove the optical drive and floppy drive from the drive bays, if installed (see Drives).
4. Remove the hard drive (see Removing a Hard Drive).
5. Remove the processor heat sink assembly (see Heat Sink and Processor).
6. Remove the heat sink base by loosening the two screws that retain the heat sink base to the system board.
7. Remove the system fan (see Removing the System Fan).
8. Disconnect the air sensor cable from the computer chassis by pressing the release tabs on either side of the air sensor.
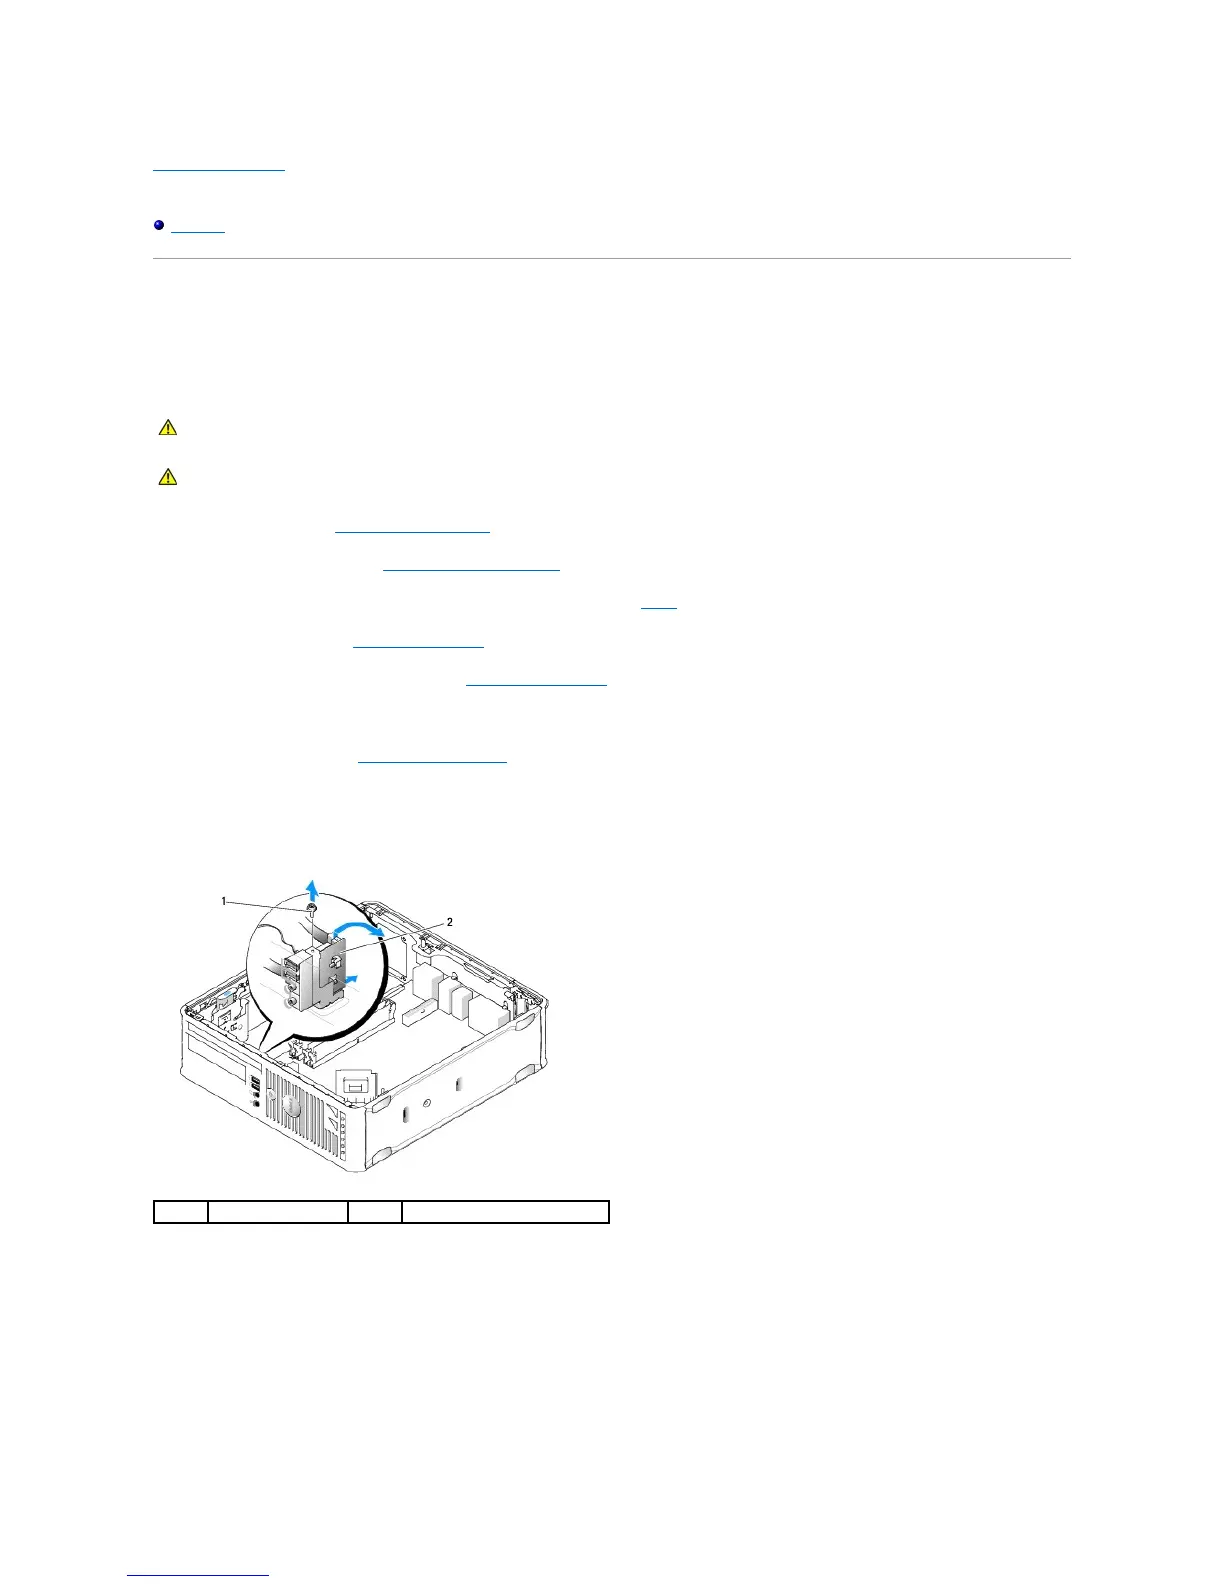
9. From inside the computer cover, remove the mounting screw that secures the I/O panel to the computer.
10. Using a small flat-blade screwdriver, gently pry the I/O panel bracket to release its circular tabs from the two holes in the chassis that secure it.
11. Remove the I/O panel from the computer.
Replacing the I/O Panel
To replace the I/O panel, follow the removal procedures in the reverse order.
WARNING: Before working inside your computer, read the safety information that shipped with your computer. For additional safety best
practices information, see the Regulatory Compliance Homepage at www.dell.com/regulatory_compliance.