EasyManua.ls Logo

Dell OptiPlex 960 - Page 43

Dell OptiPlex 960
146 pages
To Next Page IconTo Next Page
To Previous Page IconTo Previous Page
Loading...
Replacing the I/O Assembly
To replace the I/O assembly, do the following:
1. Perform the procedure Before Working on Your Computer.
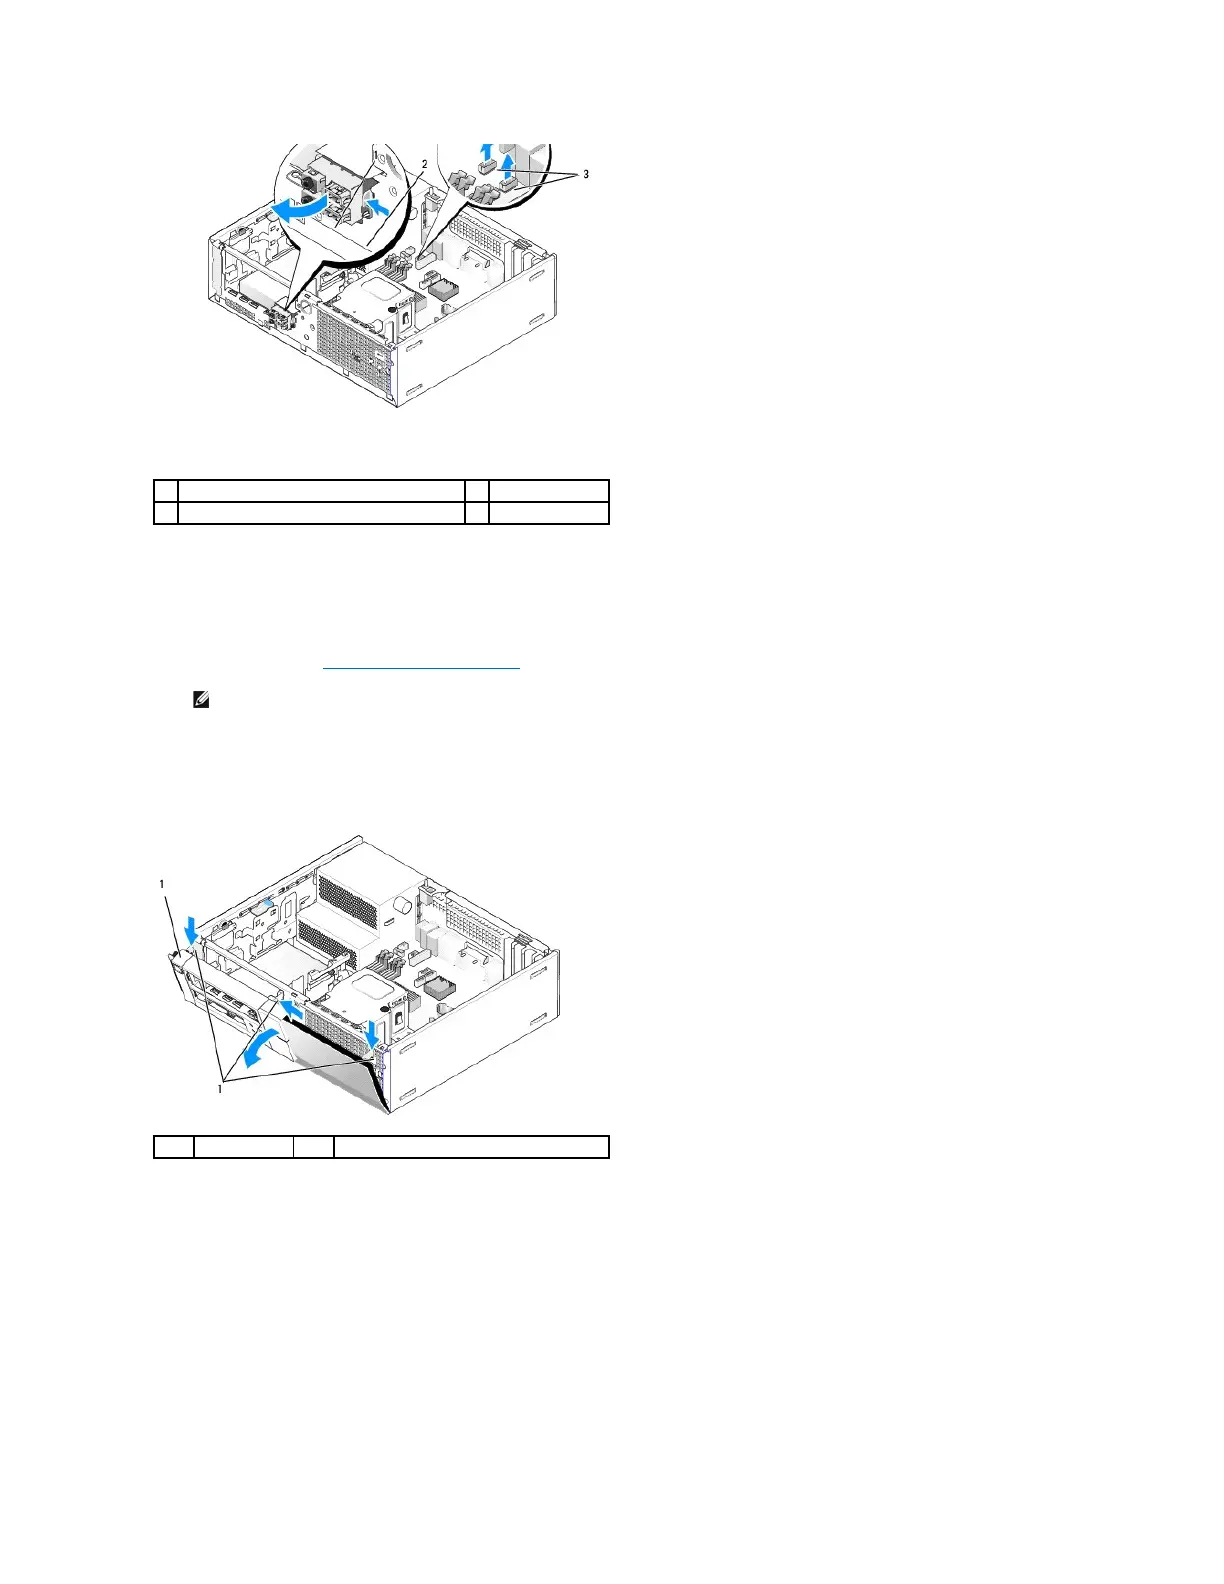
2. Remove the bezel:
a. Lift the three retention tabs to release the top edge of the bezel.
b. Roll the bezel down and lift it from the chassis.
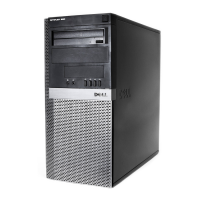
3. Feed the I/O assembly cables into the front of the chassis through the opening for the I/O assembly until the assembly is in place. Ensure that the
securing tab points toward the right (toward the grill).
1
I/O assembly
2
securing tab
3
I/O assembly cables/connectors
NOTE: Use the guides on the I/O assembly bracket to help position the I/O assembly in place, and use the notch on the I/O assembly bracket to
help seat the panel.
1
bezel
2
retention tabs (3)

Table of Contents

Other manuals for Dell OptiPlex 960

Related product manuals