About this task
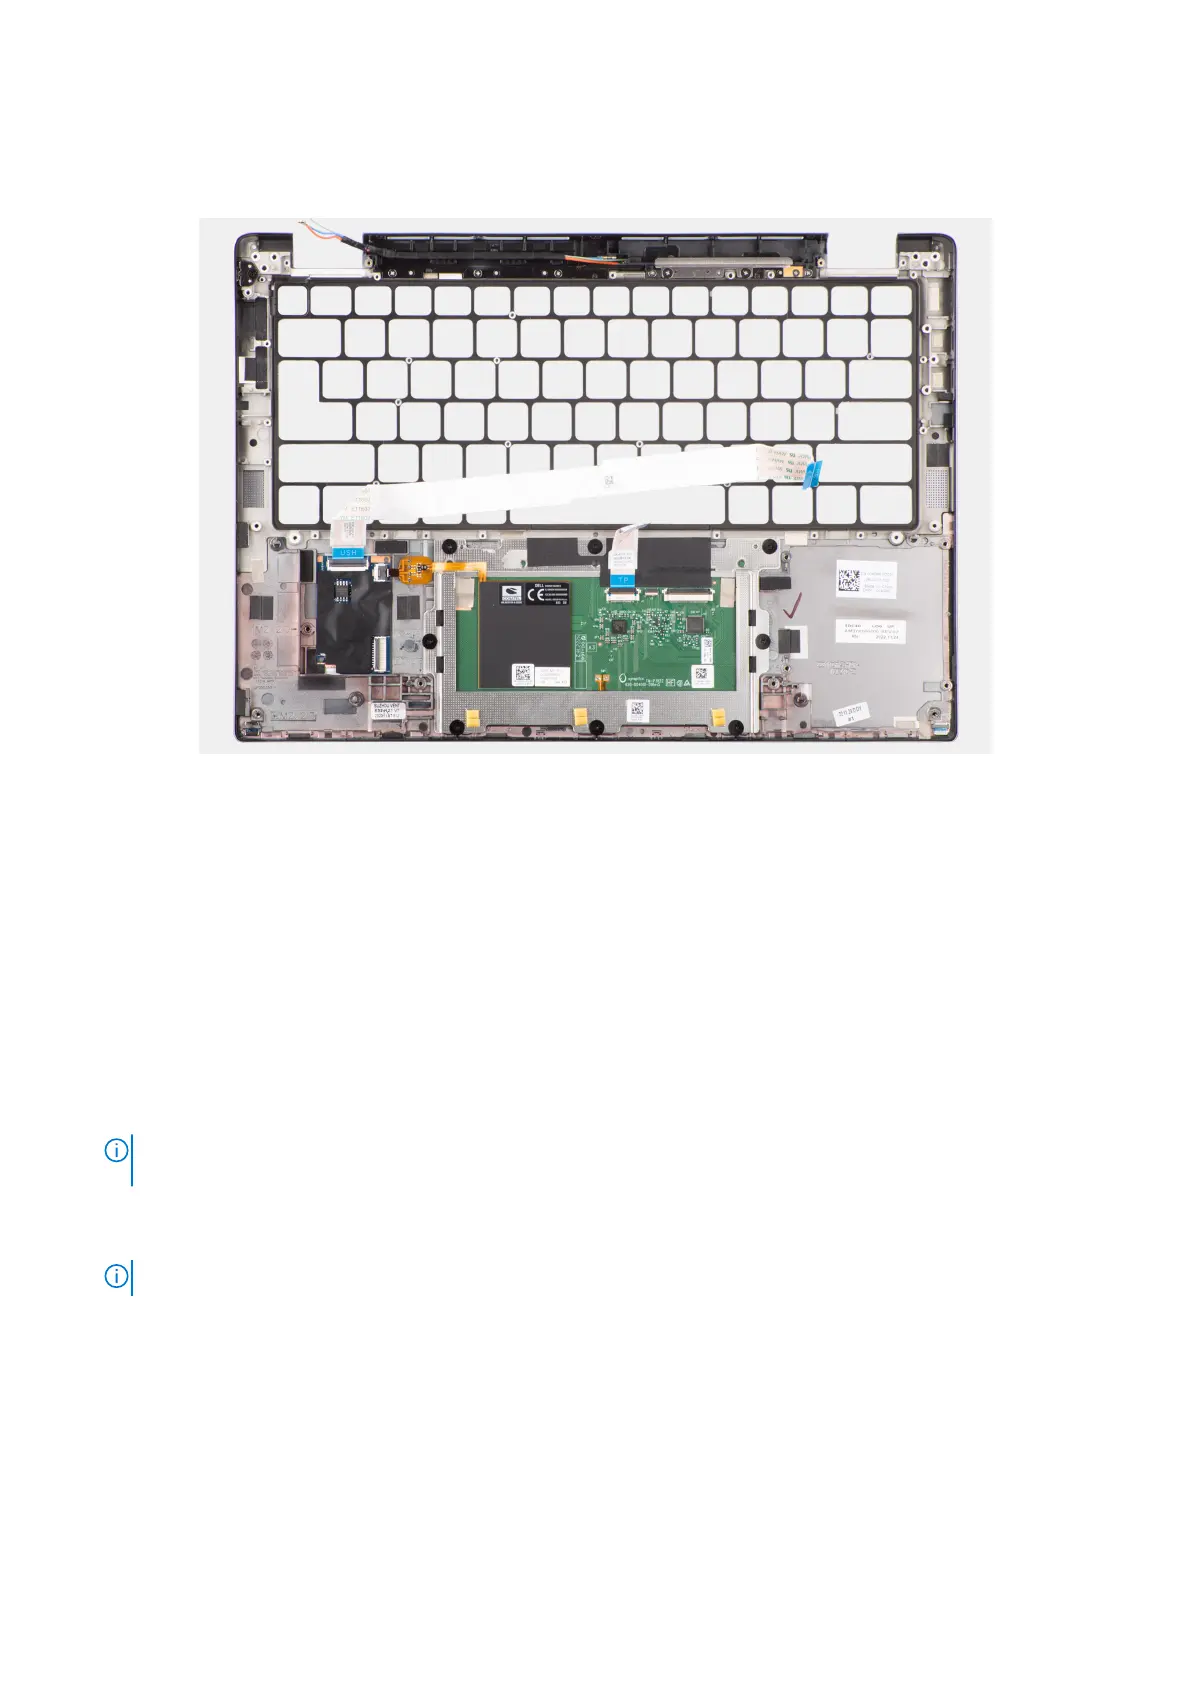
The following image indicates the location of the palm-rest assembly and provides a visual representation of the installation
procedure.
Figure 85. Installing the palm-rest assembly
Steps
1. For computers shipped with a carbon fiber palm-rest, align to the slot on the palm-rest assembly.
2. Place the palm-rest assembly on a flat surface and perform the post-requisites to install the palm-rest assembly.
Next steps
1. Install the keyboard.
2. Install the power button.
3. Install the I/O daughterboard.
4. Install the system board.
5. Install the speakers.
6. Install the display assembly.
7. Install the WLAN-antenna module, if applicable.
NOTE:
This procedure applies only to computers shipped with a WLAN-antenna module that is installed on the palm-
rest and keyboard assembly.
8. Install the heat-sink.
9. Install the 2-cell battery or the 3-cell battery, whichever is applicable.
10. Install the WWAN card.
NOTE: This procedure applies only to computers shipped with a WWAN card installed.
.
11. Install the M.2 2230 solid-state drive.
12. Install the base cover.
13. Follow the procedure in After working inside your computer.
Removing and installing Field Replaceable Units (FRUs)
113