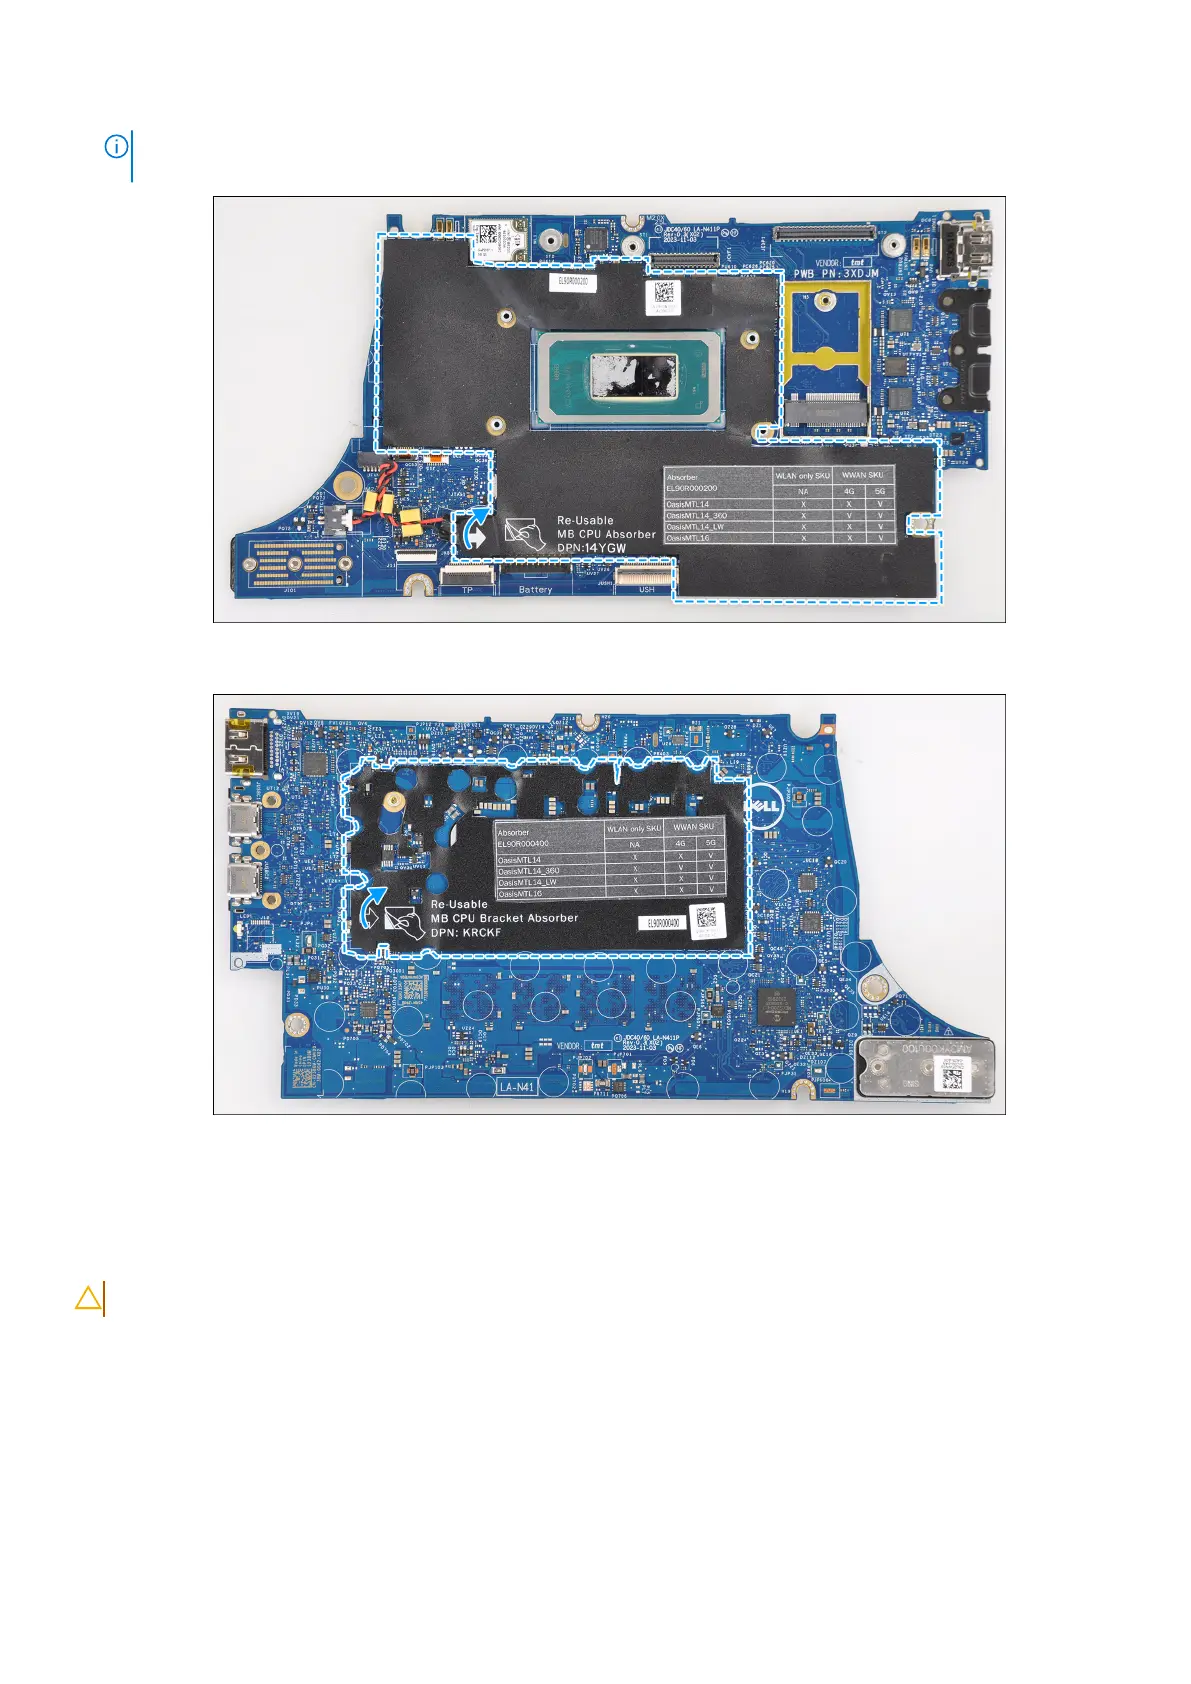
NOTE: When replacing the system board for the models, the CPU absorber sticker (top side) and CPU bracket absorber
(bottom side) must be peeled off and transferred over to the replacement system board.
Figure 61. CPU absorber
Figure 62. CPU bracket absorber
Installing the system board
CAUTION: The information in this installation section is intended for authorized service technicians only.
Prerequisites
If you are replacing a component, remove the existing component before performing the installation procedure.
About this task
The following image indicates the connectors on your system board.
90
Removing and installing Field Replaceable Units (FRUs)