Removing the battery
Prerequisites
1. Follow the procedure in before working inside your computer
2. Remove the base cover.
CAUTION:
During a service incident, it is possible that a component of the system board could become damaged if the
battery is disconnected from the system board prior to initiating the battery cut-off.
Steps
1. Connect the device to the AC adaptor and then turn it on.
2. Hold Refresh and Power keys at the same time.
3. While holding these keys, remove the power cable from the device and then release the keys. The device should shut down and
remain off.
4. Attempt to power the unit on, by pressing the power button. If the unit does not power on, you have completed the steps and can
safely work on the Chromebook. If the unit powers on, you should repeat steps 1 to 3.
NOTE: It is now safe to unplug the battery and service the Chromebook.
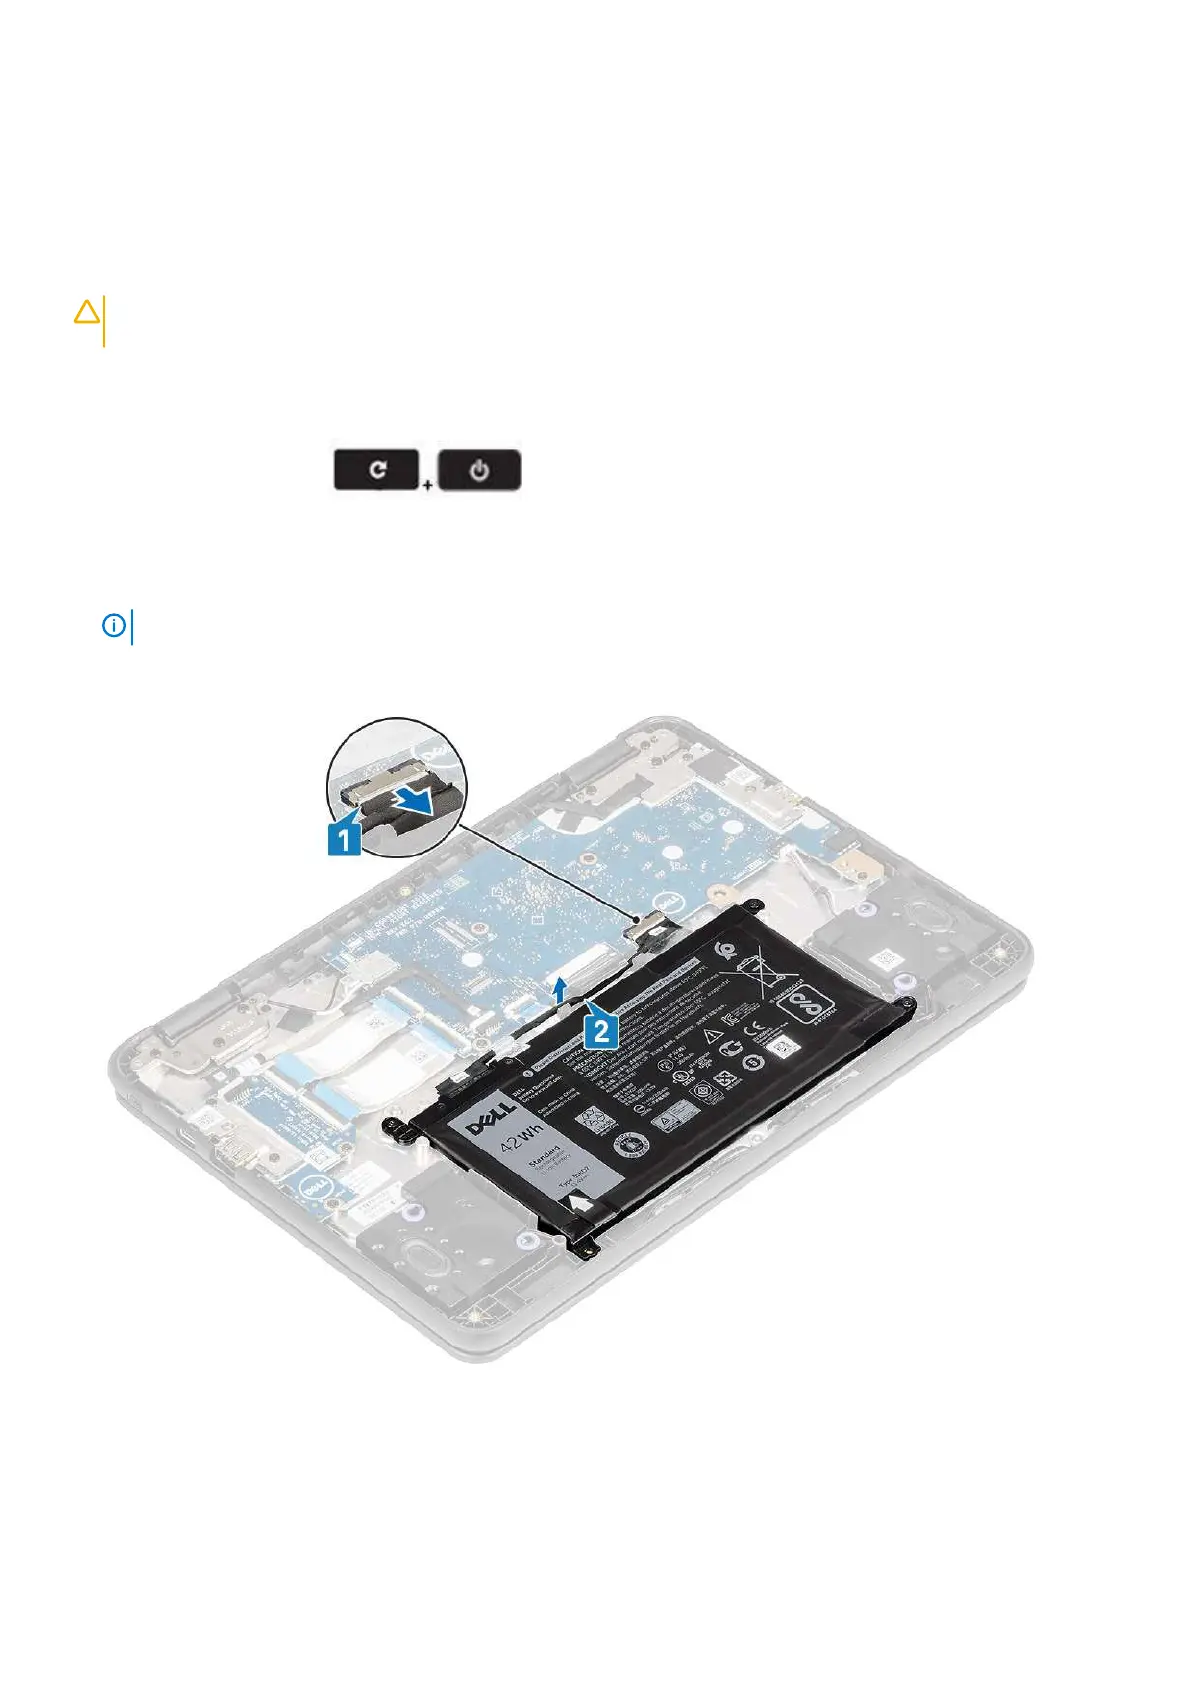
5. Disconnect the battery cable from the connector in the system board [1].
6. Unroute the battery cable from the routing channel [2].
7. Remove the three (M2.0x4.0) screws that secure the battery to the palmrest [1].
8. Peel the adhesive tape that secures the battery in place [2, 3].
Removing and Installing
19