5 Slide the nger-print reader cable into the connector on the system board and close the latch.
6 Slide the I/O-board cable into the connector on the system board and close the latch.
7 Slide the hard-drive cable into the connector on the system board and close the latch.
8 Slide the touchpad cable into the connector on the system board and close the latch.
9 Slide the keyboard back-light cable into the connector on the system board and close the latch.
10 Slide the keyboard cable into the connector on the system board and close the latch.
11 Connect the speaker cable to the system board.
12 Connect the power-adapter port cable to the system board.
13 Slide the power-button board cable into the connector on the system board and close the latch.
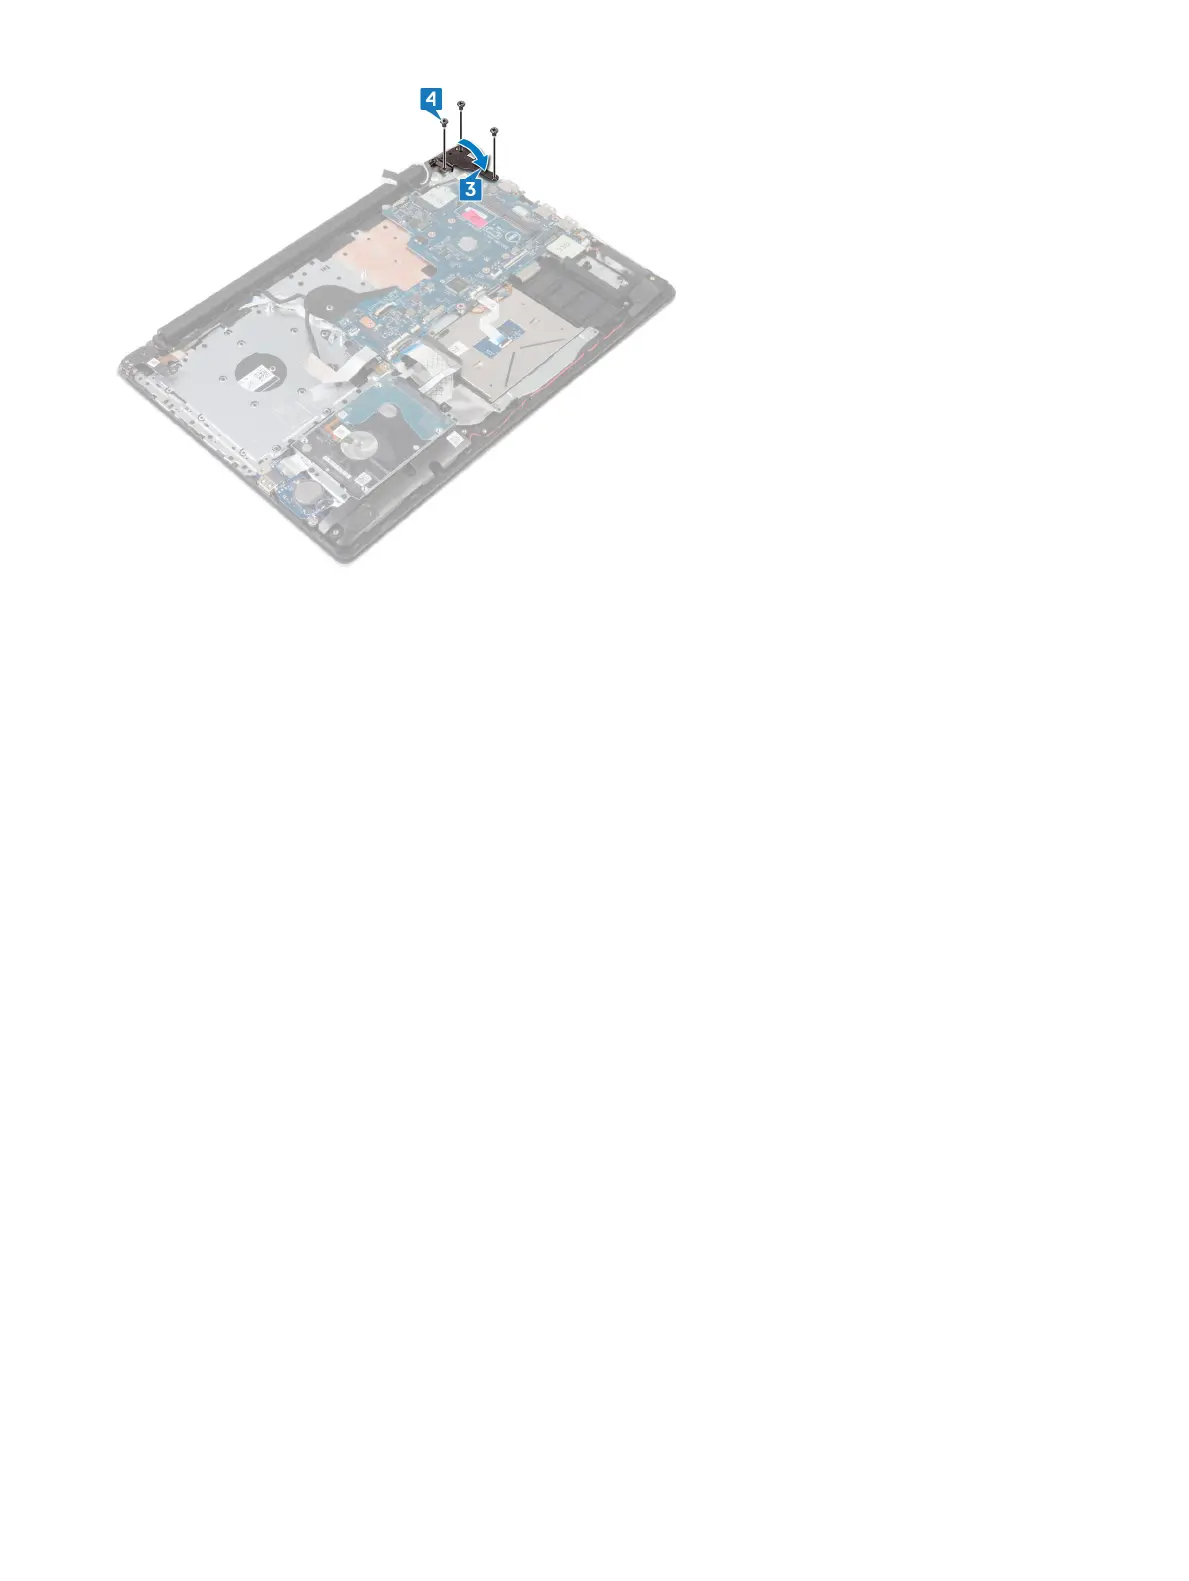
14 Open the latch and connect the display cable to the system board.
Replacing the system board
77