56 Installing System Components
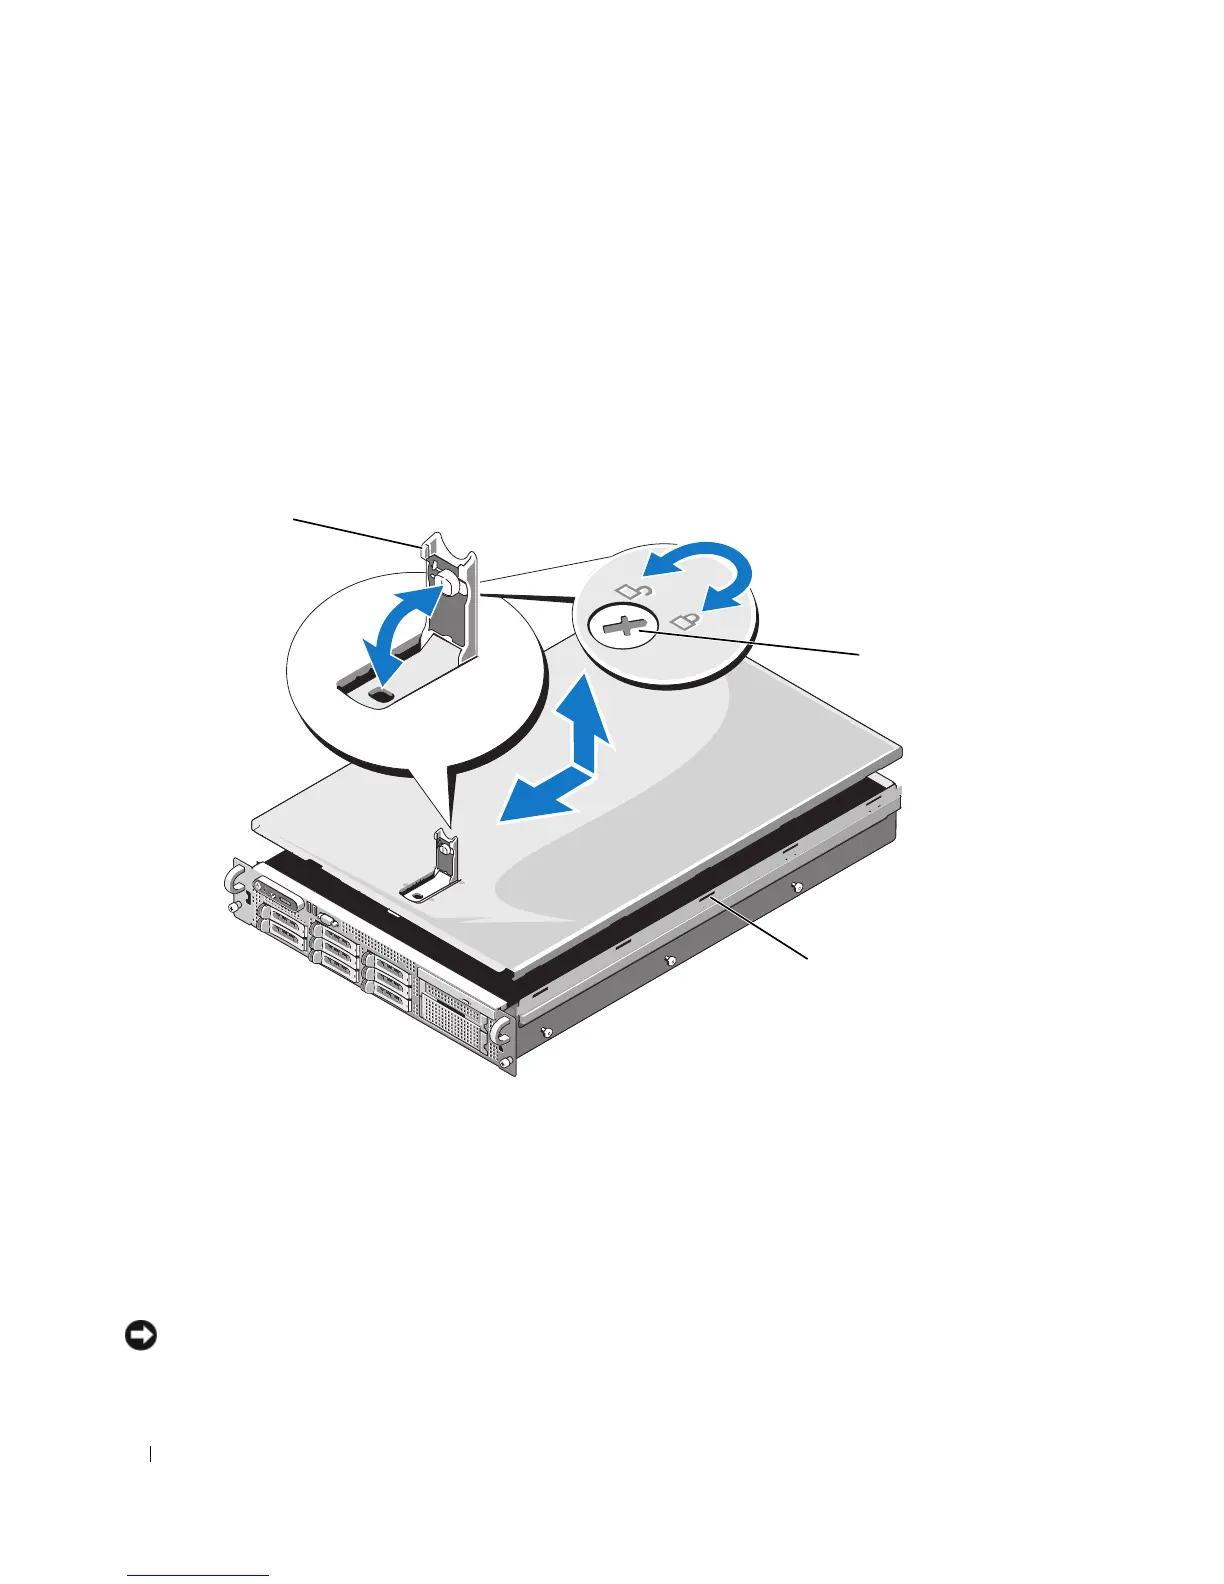
Closing the System
1
Lift up the latch on the cover.
2
Place the cover on top of the system and offset the cover slightly back so that it clears the chassis J
hooks and lays flush on the system chassis. See Figure 3-4.
3
Push down the latch to lever the cover into the closed position.
4
Rotate the latch release lock in a clockwise direction to secure the cover.
Figure 3-4. Removing the Cover
Hard Drives
This subsection describes how to install and configure SAS or SATA hard drives in the system's internal
hard-drive bays.
Your system features up to eight 2.5-inch hard drives. All drives connect to the system
board through the SAS/SATA backplane board. See Figure 6-3.
Hard drives are supplied in special hot-
pluggable drive carriers that fit in the hard-drive bays.
NOTICE: Before attempting to remove or install a drive while the system is running, see the documentation for the
optional SAS RAID controller daughter card to ensure that the host adapter is configured correctly to support hot-
plug drive removal and insertion.
1 latch 2 latch release lock 3 alignment J hooks
1
3
2