Installing System Components 97
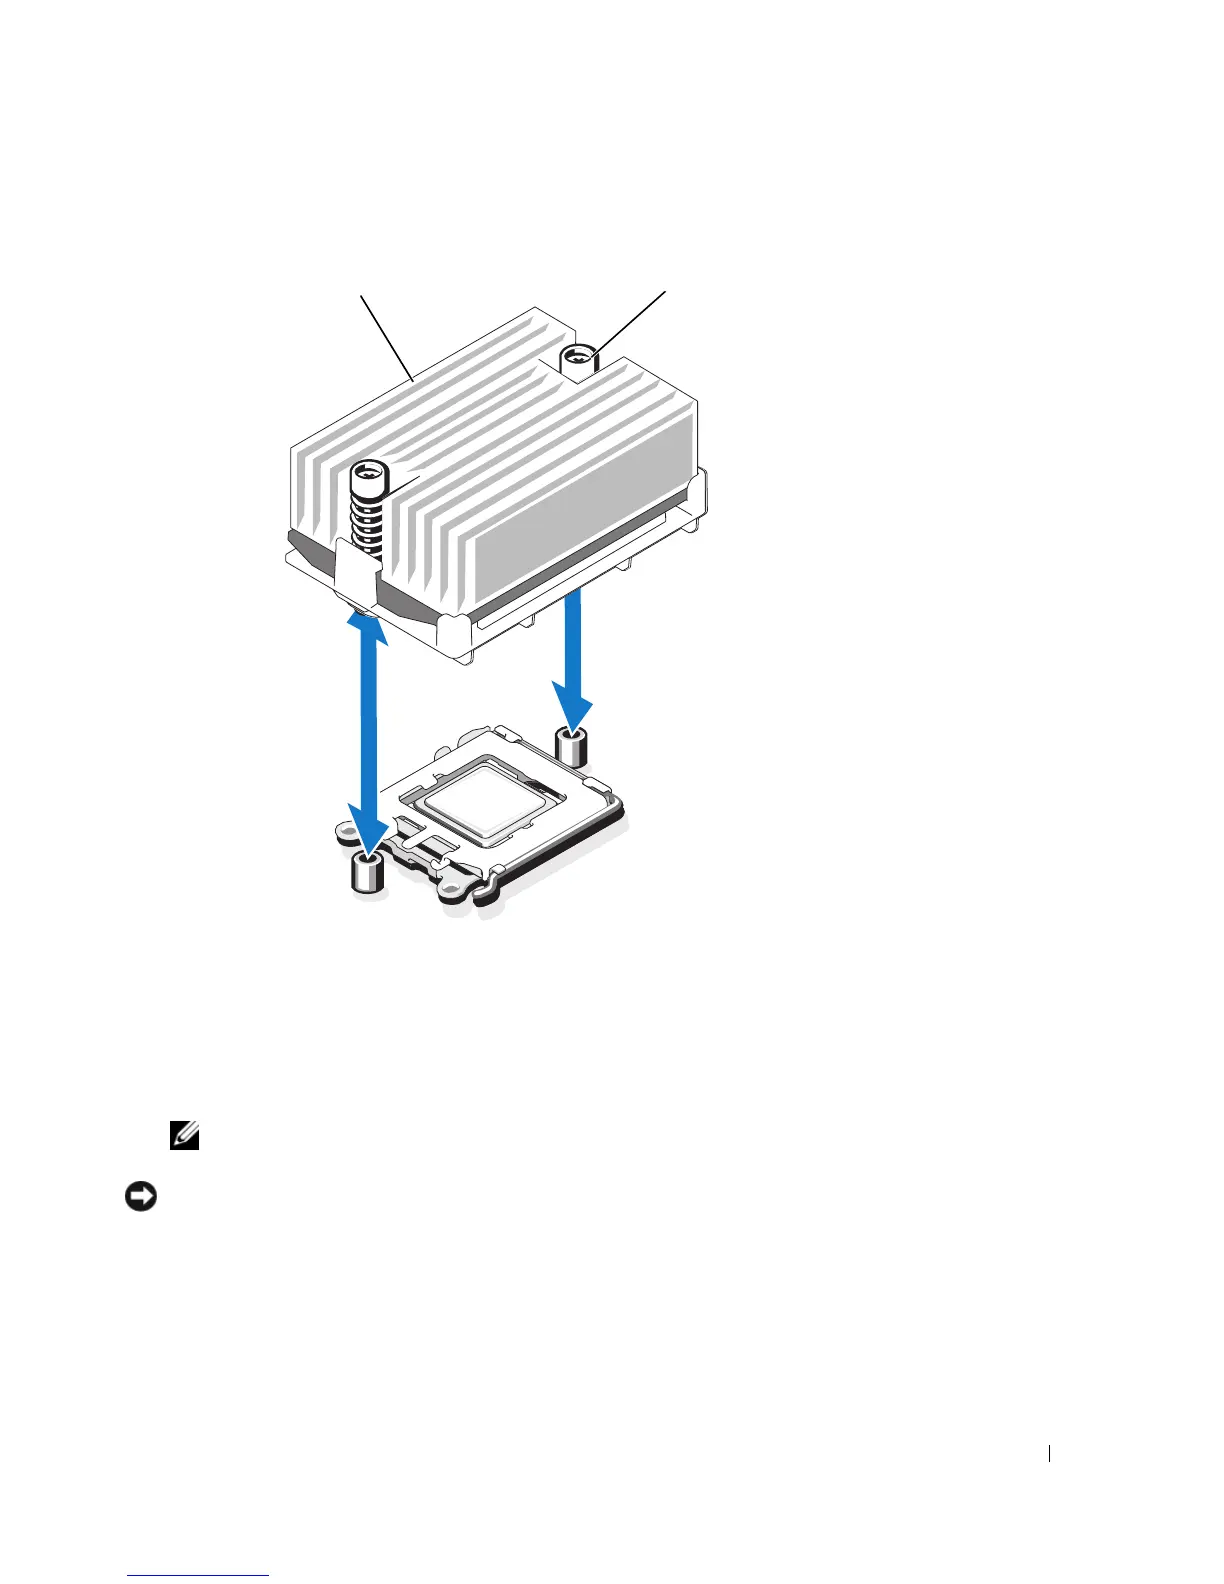
Figure 3-27. Installing and Removing the Heat Sink
6
Wait 30 seconds for the heat sink to loosen from the processor.
7
Loosen the other heat-sink retention screw.
8
Gently lift the heat sink off of the processor and set the heat sink aside.
NOTE: Lay the heat sink on its side to avoid contaminating the thermal adhesive on the bottom of the heat
sink.
NOTICE: The processor is held in its socket under strong pressure. Be aware that the release lever can spring up
suddenly if not firmly grasped.
9
Position your thumb firmly over the socket-release lever and release the lever from the locked position.
Rotate the lever 90 degrees upward until the processor is released from the socket. See Figure 3-28.
10
Rotate the processor shield upward and out of the way.
1 heat sink 2 heat-sink retention screws (2)
1
2