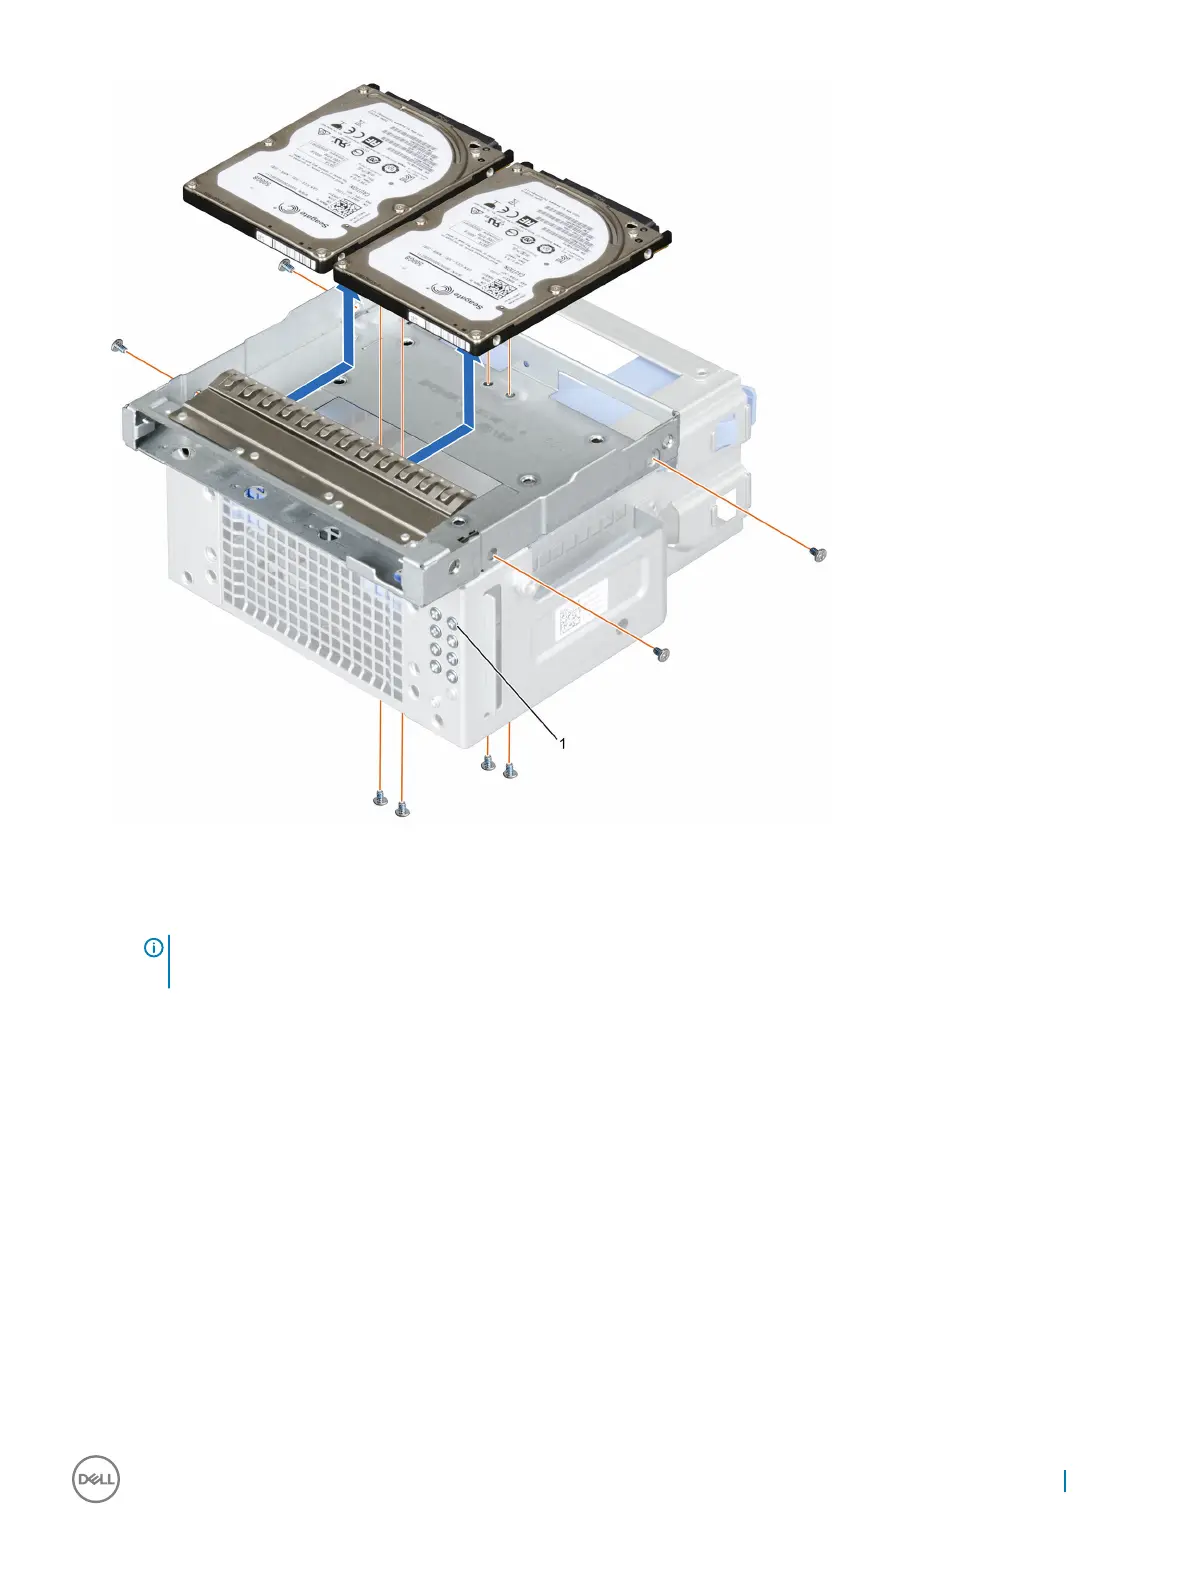
Figure 22. Removing a 2.5-inch hard drive from the optical drive bay
1
2.5-inch hard drive screws (8)
NOTE: The screws used to secure the hard drive to the hard drive cage are available on the front of the hard drive
cage.
Next steps
1 Connect the power and data cables to the hard drive in the optical drive bay.
2 Install a 2.5-inch hard drive in the optical drive bay.
3 Follow the procedure listed in the After working inside your system section.
Related links
Safety instructions
Before working inside your system
Removing the hard drive cage
Installing a 2.5-inch hard drive(s) in the optical drive bay
After working inside your system
Installing and removing system components
57