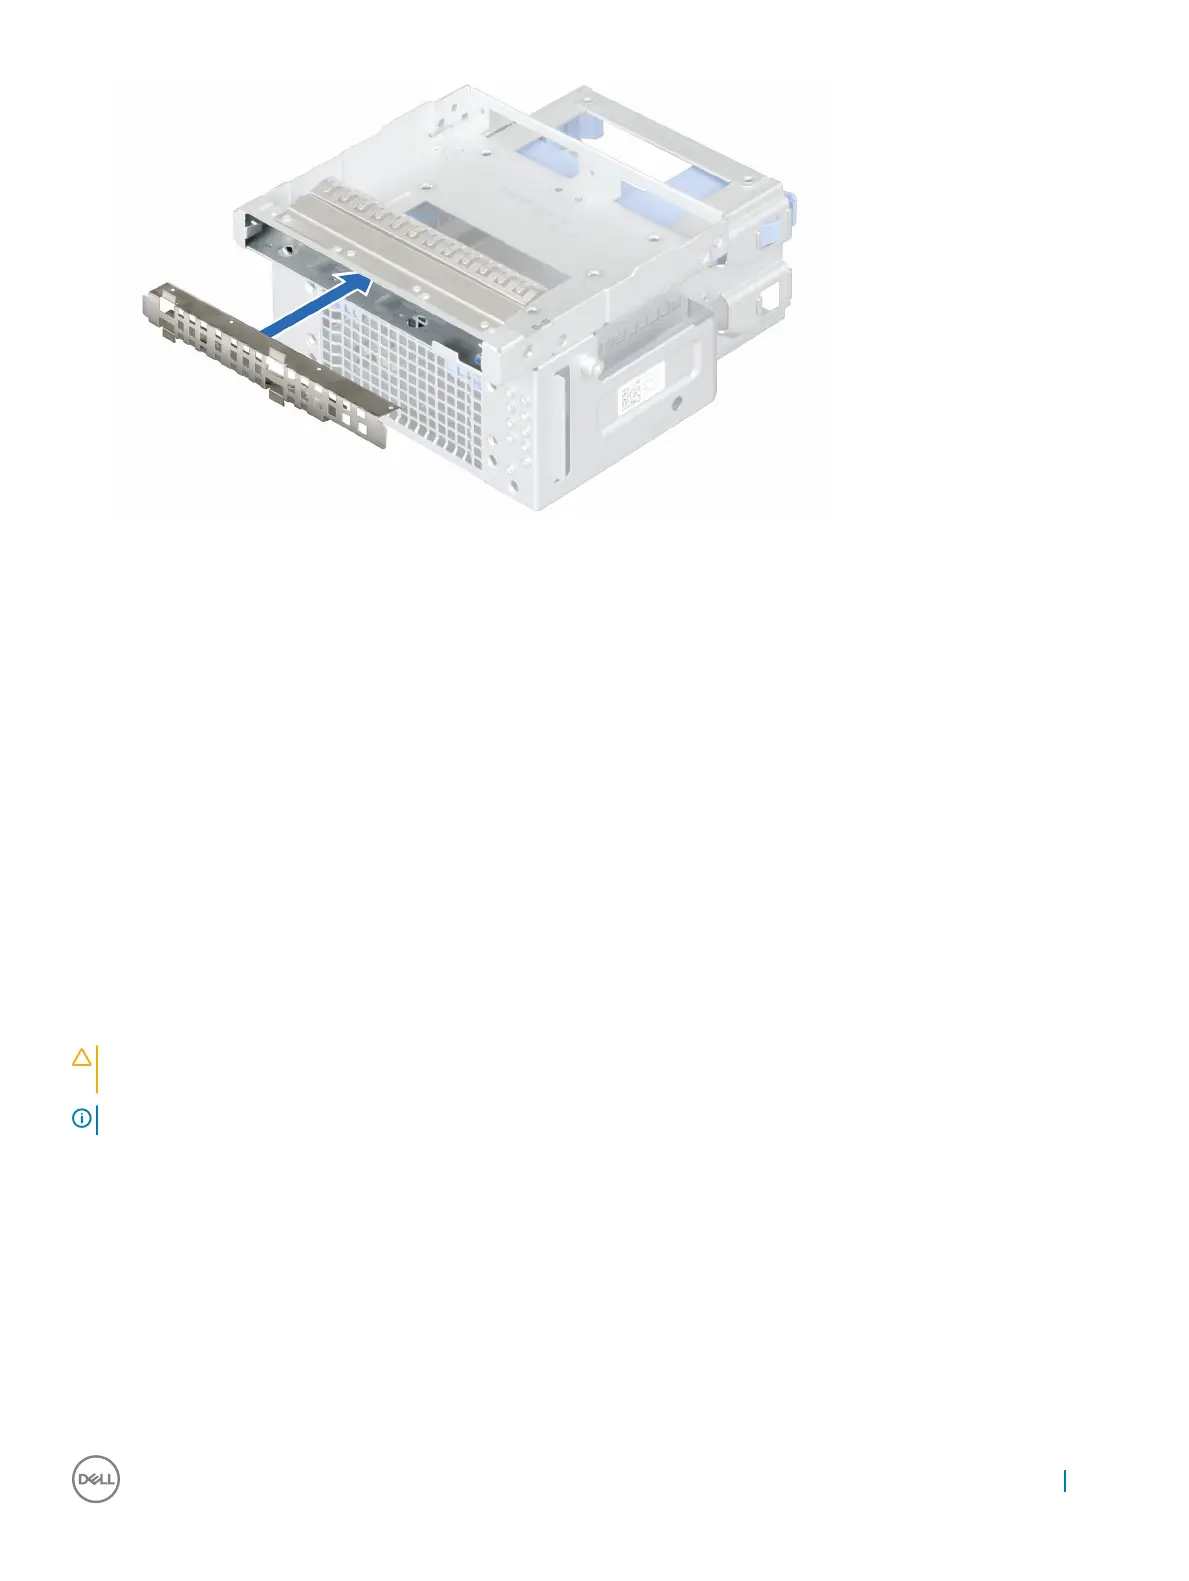
Figure 33. Installing the optical drive filler in the optical drive bay
Next steps
1 Installing the hard drive cage.
2 Install the bezel.
3 Follow the procedure listed in the After working inside your system section.
Related links
Before working inside your system
Removing the bezel
Removing the hard drive cage
Installing the hard drive cage
Installing the bezel
After working inside your system
System memory
Your system supports DDR4 unbuffered ECC DIMMs and Non-ECC DIMMs.
CAUTION
: Dell recommends you to use ECC DIMMs to minimize the risk of uncorrectable system error, data loss and/or silent
data corruption. Non-ECC DIMM is not used for mission-critical applications.
NOTE: Non-ECC DIMMs are supported only in selected countries, for more information contact your sales representative.
System performance varies depending on:
• Maximum frequency of the DIMMs
• Number of DIMMs populated per channel
• System profile selected (for example, Performance Optimized, Custom, or Dense Configuration Optimized).
The system contains four memory sockets — two sets of 2-sockets each. Each 2-socket set is organized into one channel. In each socket
set, the first socket release lever is marked white and the second socket release lever is marked black.
Installing and removing system components
69

 Loading...