Removing a heat sink
Prerequisites
CAUTION: Never remove the heat sink from a processor unless you intend to remove the processor. The heat sink is necessary
to maintain proper thermal conditions.
WARNING: The heat sink is hot to touch. Allow the heat sink to cool for some time after powering down the system.
1 Follow the safety guidelines listed in the Safety instructions section.
2 Follow the procedure listed in the Before working inside your system section.
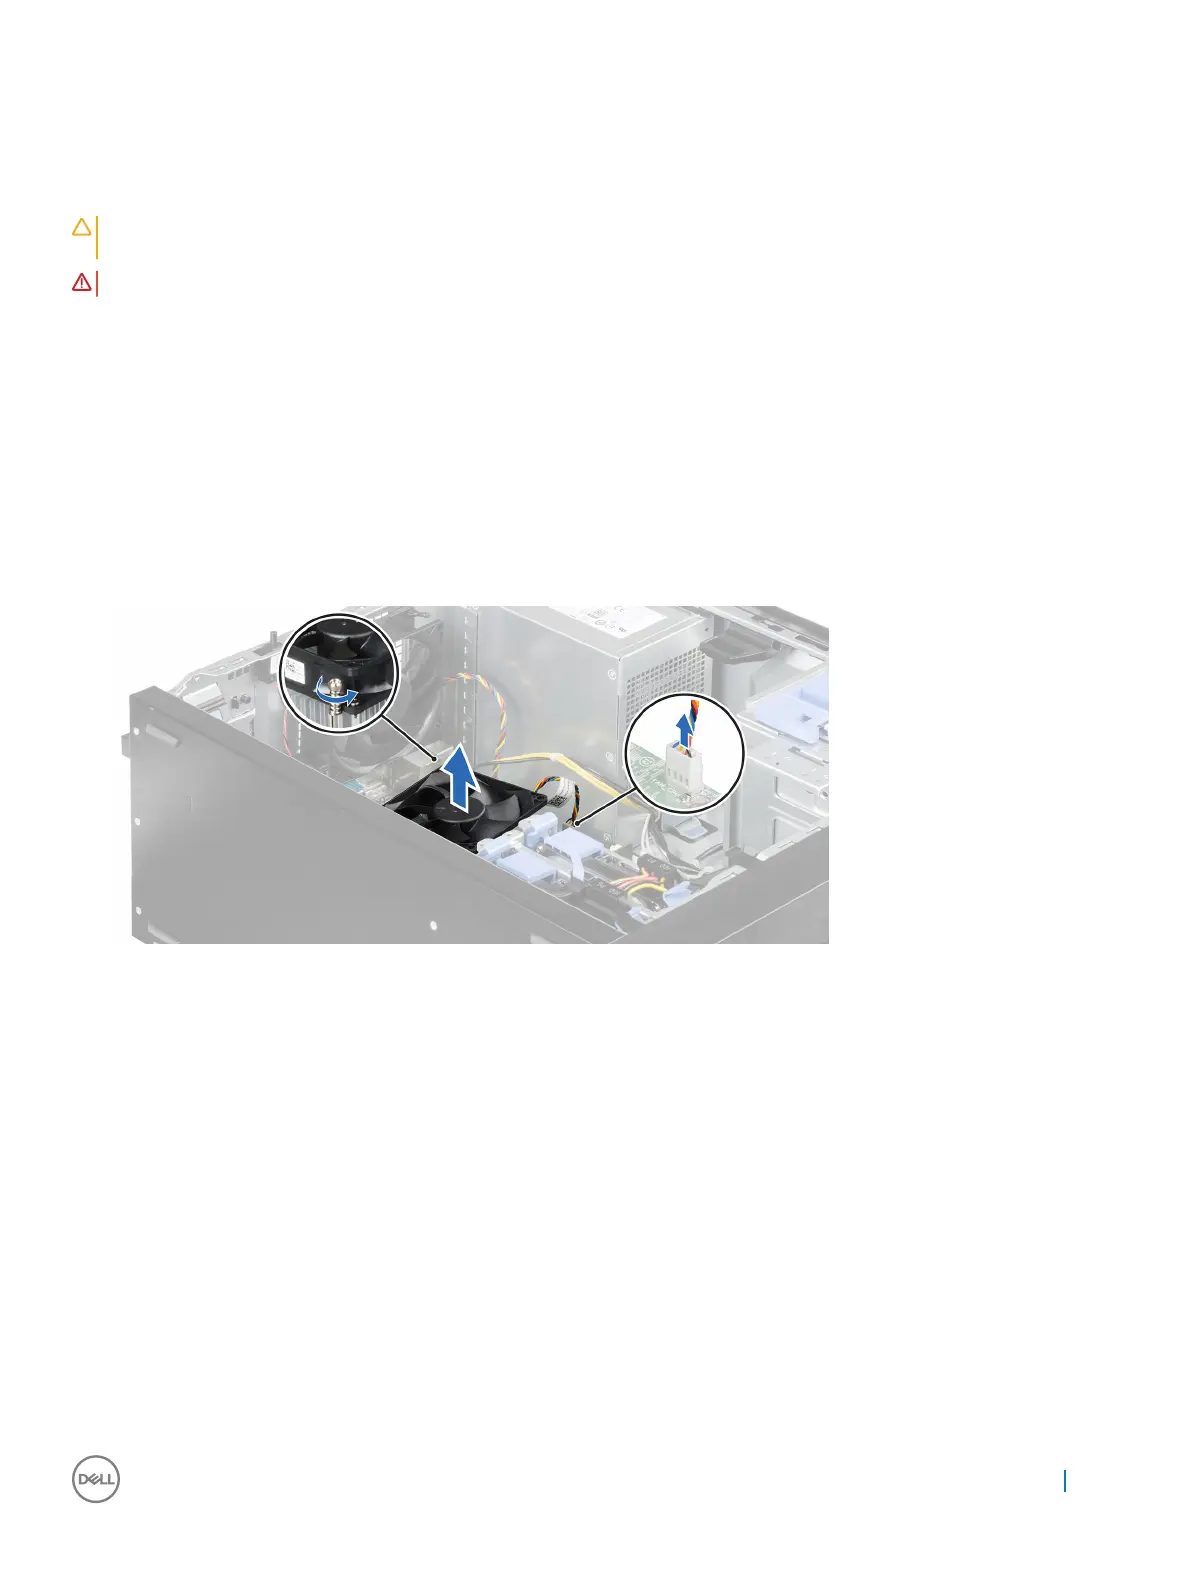
3 Disconnect the CPU fan cable connected to the system board.
4 Keep the Phillips #2 screwdriver ready.
Steps
1 Loosen one of the screws that secure the heat sink to the system board.
Allow some time (approximately 30 seconds) for the heat sink to loosen from the processor.
2 Remove the screw diagonally opposite to the screw that you first removed.
3 Repeat step 1 and 2 for removing the remaining two screws.
4 Lift the heat sink out of the system.
Figure 42. Removing a heat sink
Next steps
1 Replace the processor and heat sink.
2 Follow the procedure listed in the After working inside your system section.
Related links
Before working inside your system
Removing the processor
Installing a processor
Installing a heat sink
After working inside your system
Installing and removing system components
79