Steps
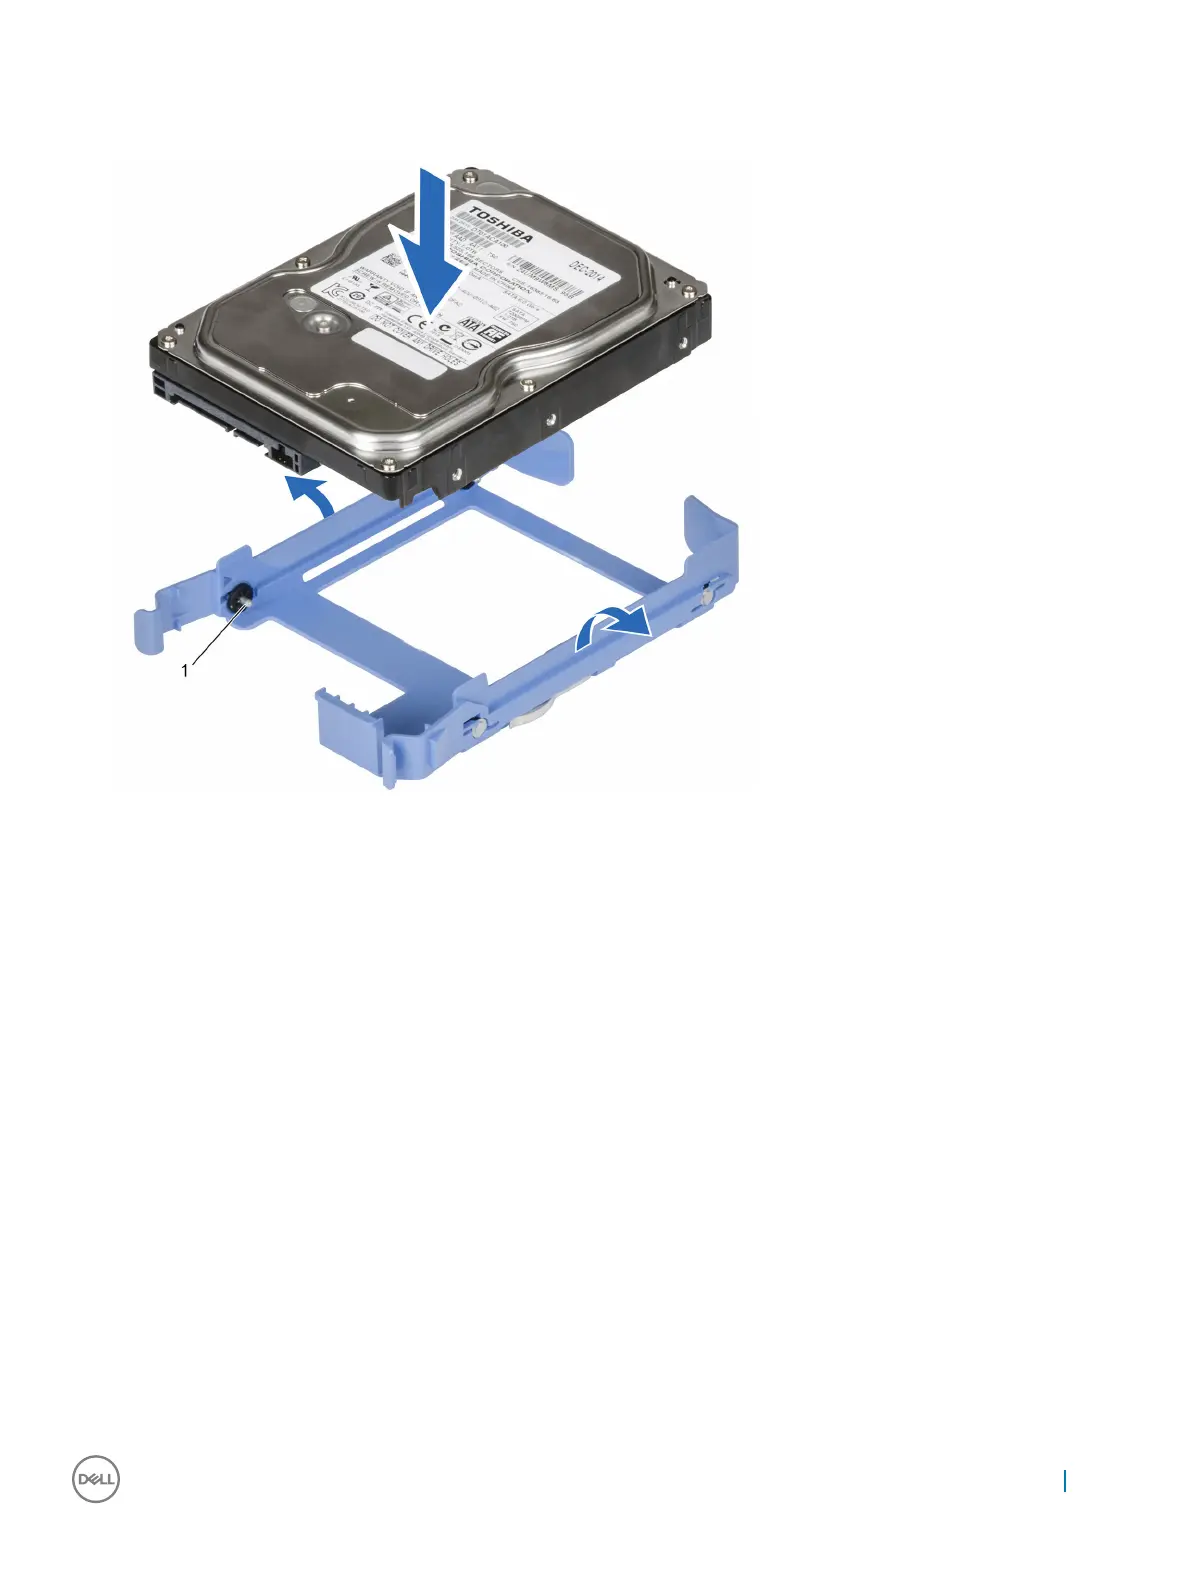
1 Align the screw holes on the hard drive with the guide pins on the hard drive carrier.
2 Press the hard drive into the hard drive carrier to secure it.
Figure 27. Installing a hard drive into a hard drive carrier
1
pins (4)
Next steps
1 Install the hard drive in the hard drive cage or hard drive bay.
2 Connect the power and data cables to the hard drive.
3 Follow the procedure listed in the After working inside your system section.
Related links
Before working inside your system
Installing a 3.5-inch hard drive carrier in the hard drive bay
After working inside your system
Installing and removing system components
63