Steps
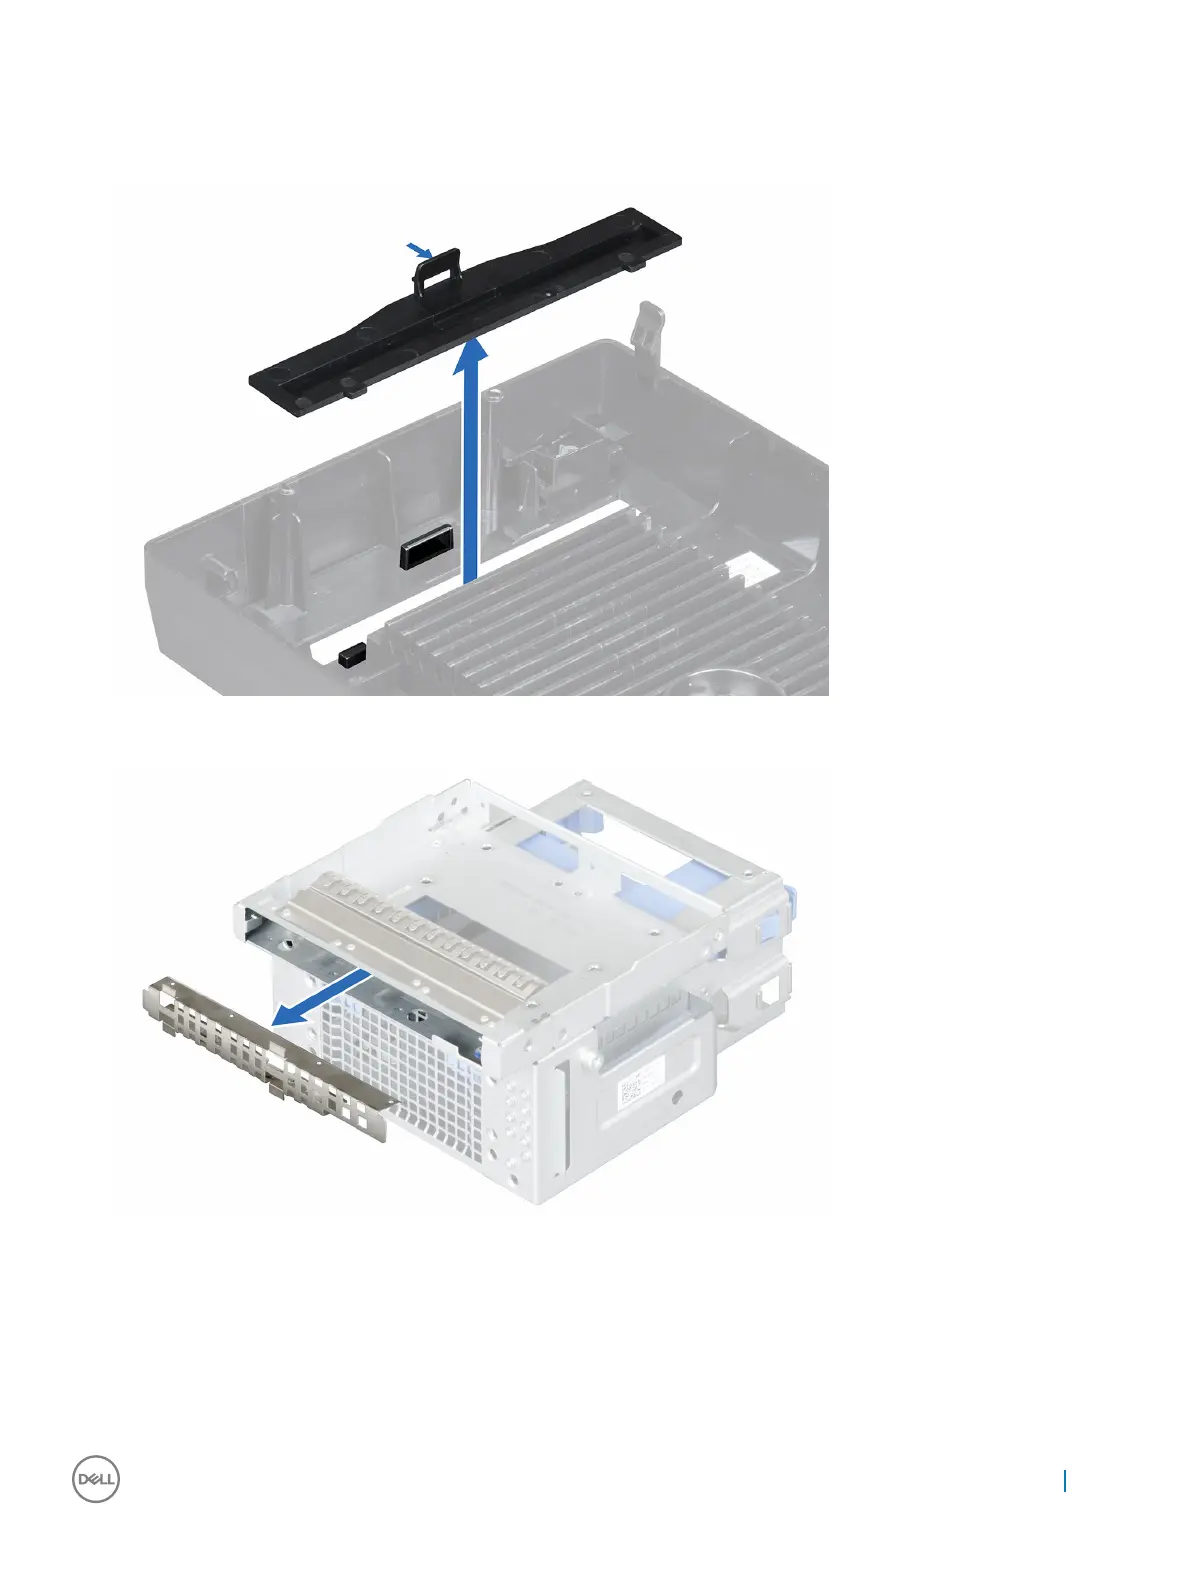
1 On the bezel, press down on the retention clip of the optical drive filler and pull the filler out of the bezel.
2 Remove the hard drive cage.
3 Hold the tabs on the optical drive filler and remove the optical drive filler from the optical drive bay.
Figure 30. Removing the optical drive filler from the bezel
Figure 31. Removing the optical drive filler from the optical drive bay
Next steps
1 Install the hard drive cage.
2 Install the bezel.
3 Follow the procedure listed in the After working inside your system section.
Installing and removing system components
67