Installing System Components 91
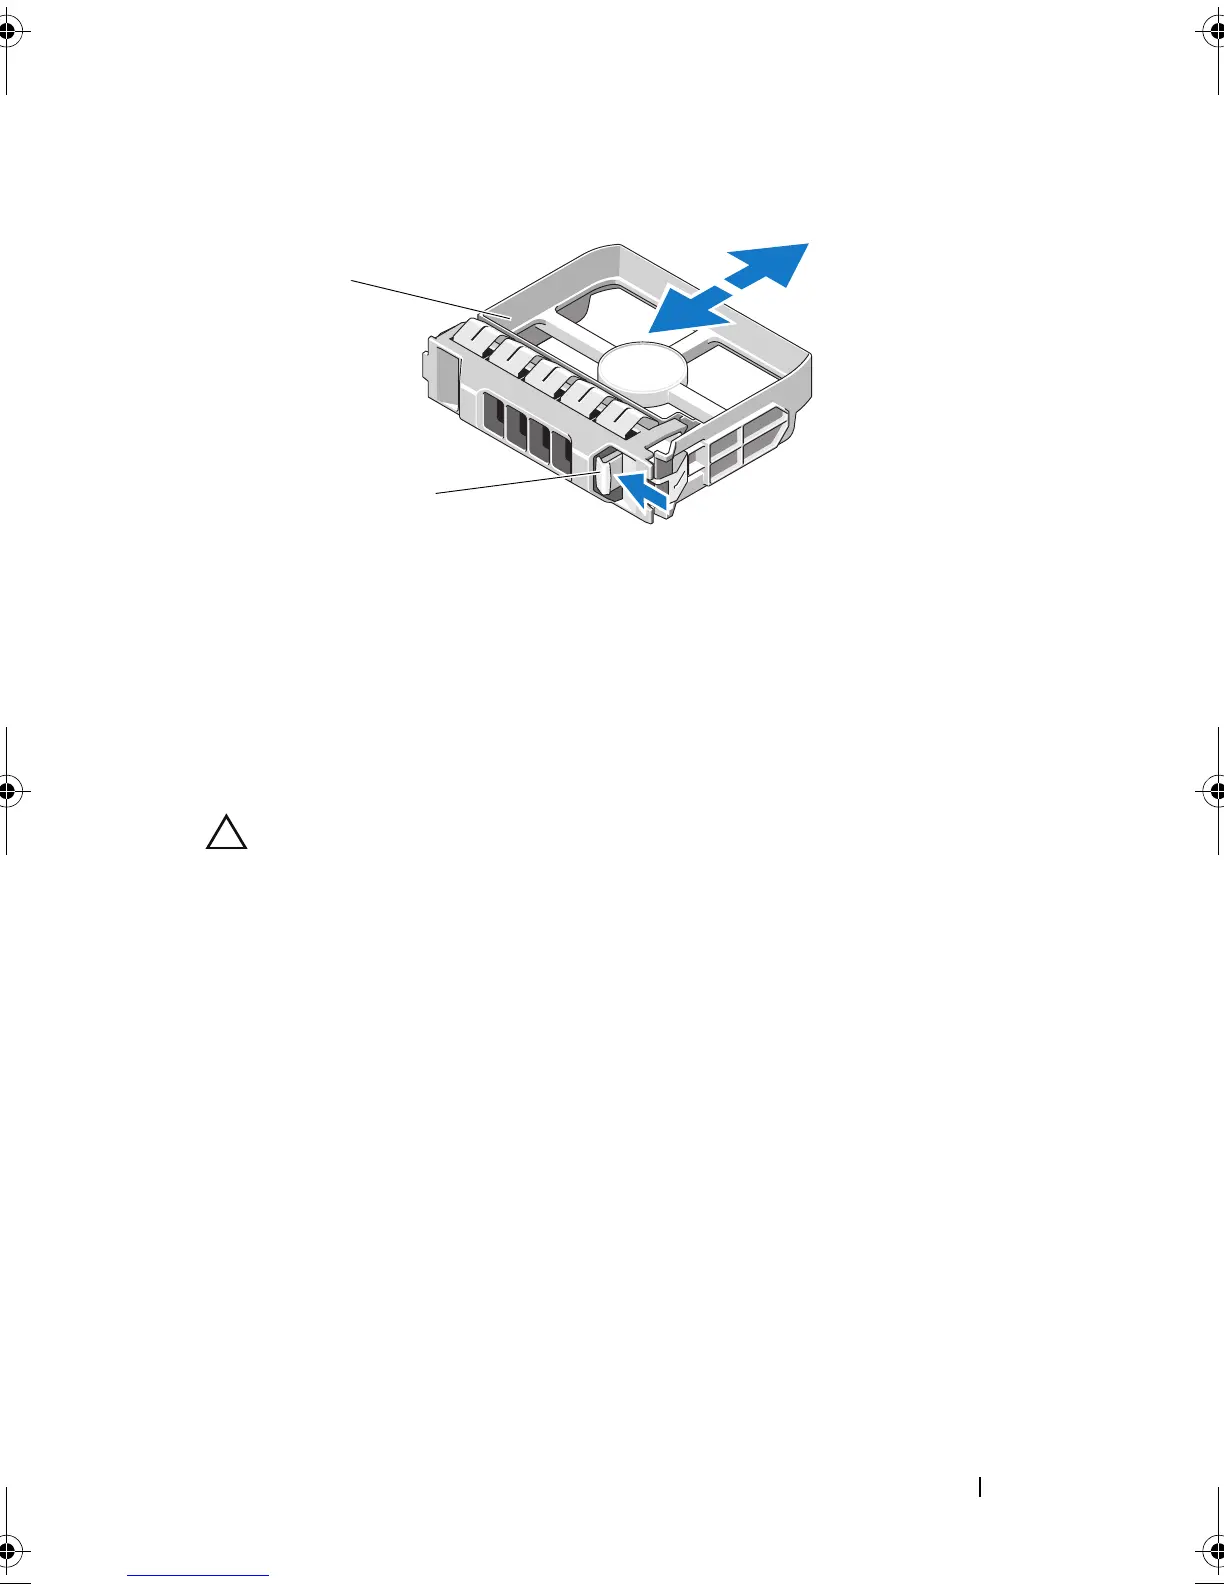
Figure 3-7. Removing or Installing a Hard-Drive Blank
Installing a Hard-Drive Blank
Align the hard-drive blank with the drive bay and insert the blank into the
drive bay until the release lever clicks into place.
Removing a Hot-Swap Hard Drive
CAUTION: To prevent data loss, ensure that your operating system supports
hot-swap drive removal and installation. See the documentation provided
with your operating system for more information.
1
Remove the front bezel
. See
"Removing the Front Bezel" on page 81.
2
From the RAID management software, prepare the drive for removal.
Wait until the hard-drive indicators on the drive carrier signal that
the drive can be removed safely.
See your controller documentation for
information about hot-swap drive removal.
If the drive has been online, the green
activity/
fault indicator will flash as
the drive is powered down. When the drive indicators are off, the drive
is ready for removal.
See "Hard-Drive Indicator Patterns" on page 18.
3
Press the button on the front of the drive carrier to release the carrier
handle. See Figure 3-8.
1 hard-drive blank 2 release handle
book.book Page 91 Wednesday, August 19, 2009 4:40 PM