70 Installing System Components
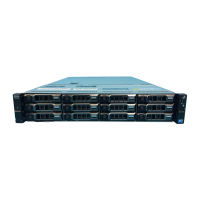
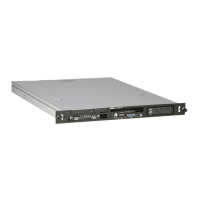
Figure 3-5. Removing and Installing a Hard-Drive Blank
Installing a Hard-Drive Blank
Align the hard-drive blank with the drive bay and insert the blank into the
drive bay until the release lever clicks into place. See Figure 3-5.
Removing a Hot-Swap Hard Drive
1 If applicable, remove the front bezel. See
"Removing the Front Bezel" on
page 65.
2
Using the RAID management software, prepare the drive for removal.
Wait
until the hard-drive indicators on the drive carrier signal that the drive can
be removed safely. See
"Hard-Drive Indicator Patterns" on page 15
.
If the drive has been online, the green
activity/
fault indicator flashes as
the drive is powered down. When the drive indicators are off, the drive is
ready for removal.
3 Press the release button and open the drive carrier release handle to
release the drive. See Figure 3-6.
4
Slide the hard drive out of the drive bay.
5
Insert a drive blank in the vacated drive bay. See "Installing a Hard-Drive
Blank" on page 70.
CAUTION: To maintain proper system cooling, all empty hard-drive bays must
have hard-drive blanks installed.
1 hard-drive blank 2 release lever
book.book Page 70 Wednesday, March 3, 2010 10:37 AM

 Loading...


