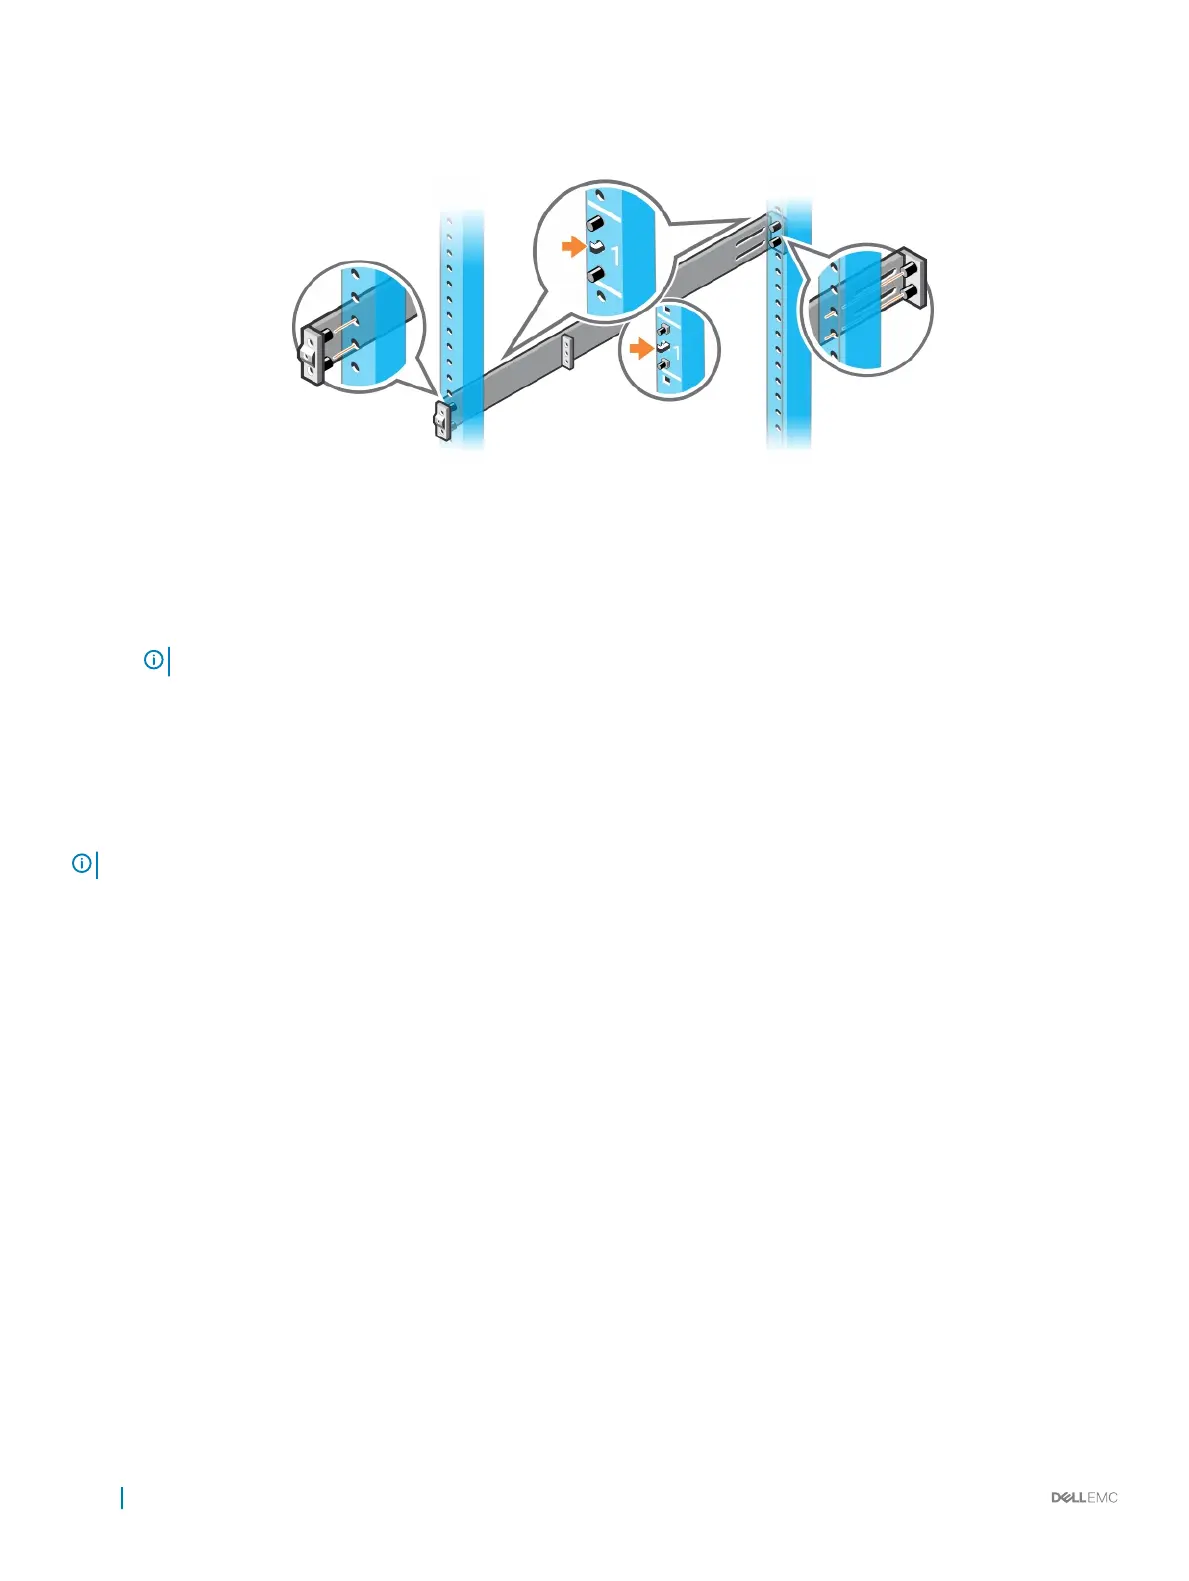
Figure 10. 1U tool-less installation
2 Align and seat the front ange pegs in the holes on the front side of the vertical post.
NOTE: Be sure that the rails click into place and are secure.
3 Repeat this procedure for the second rail.
4 To remove each rail, pull on the latch release button on each ange ear and unseat each rail.
Two-post ush-mount installation
NOTE
: For more installation instructions, see the installation labels attached to the rail assembly.
1 For this conguration, remove the latch castings from the front side of each ReadyRails assembly, item 1.
To remove the two screws from each front ange ear on the switch side of the rail and remove each latch casting, use a Torx
screwdriver. Retain the latch castings for future rack requirements. It is not necessary to remove the back ange castings.
22
S4100–ON Series installation
 Loading...