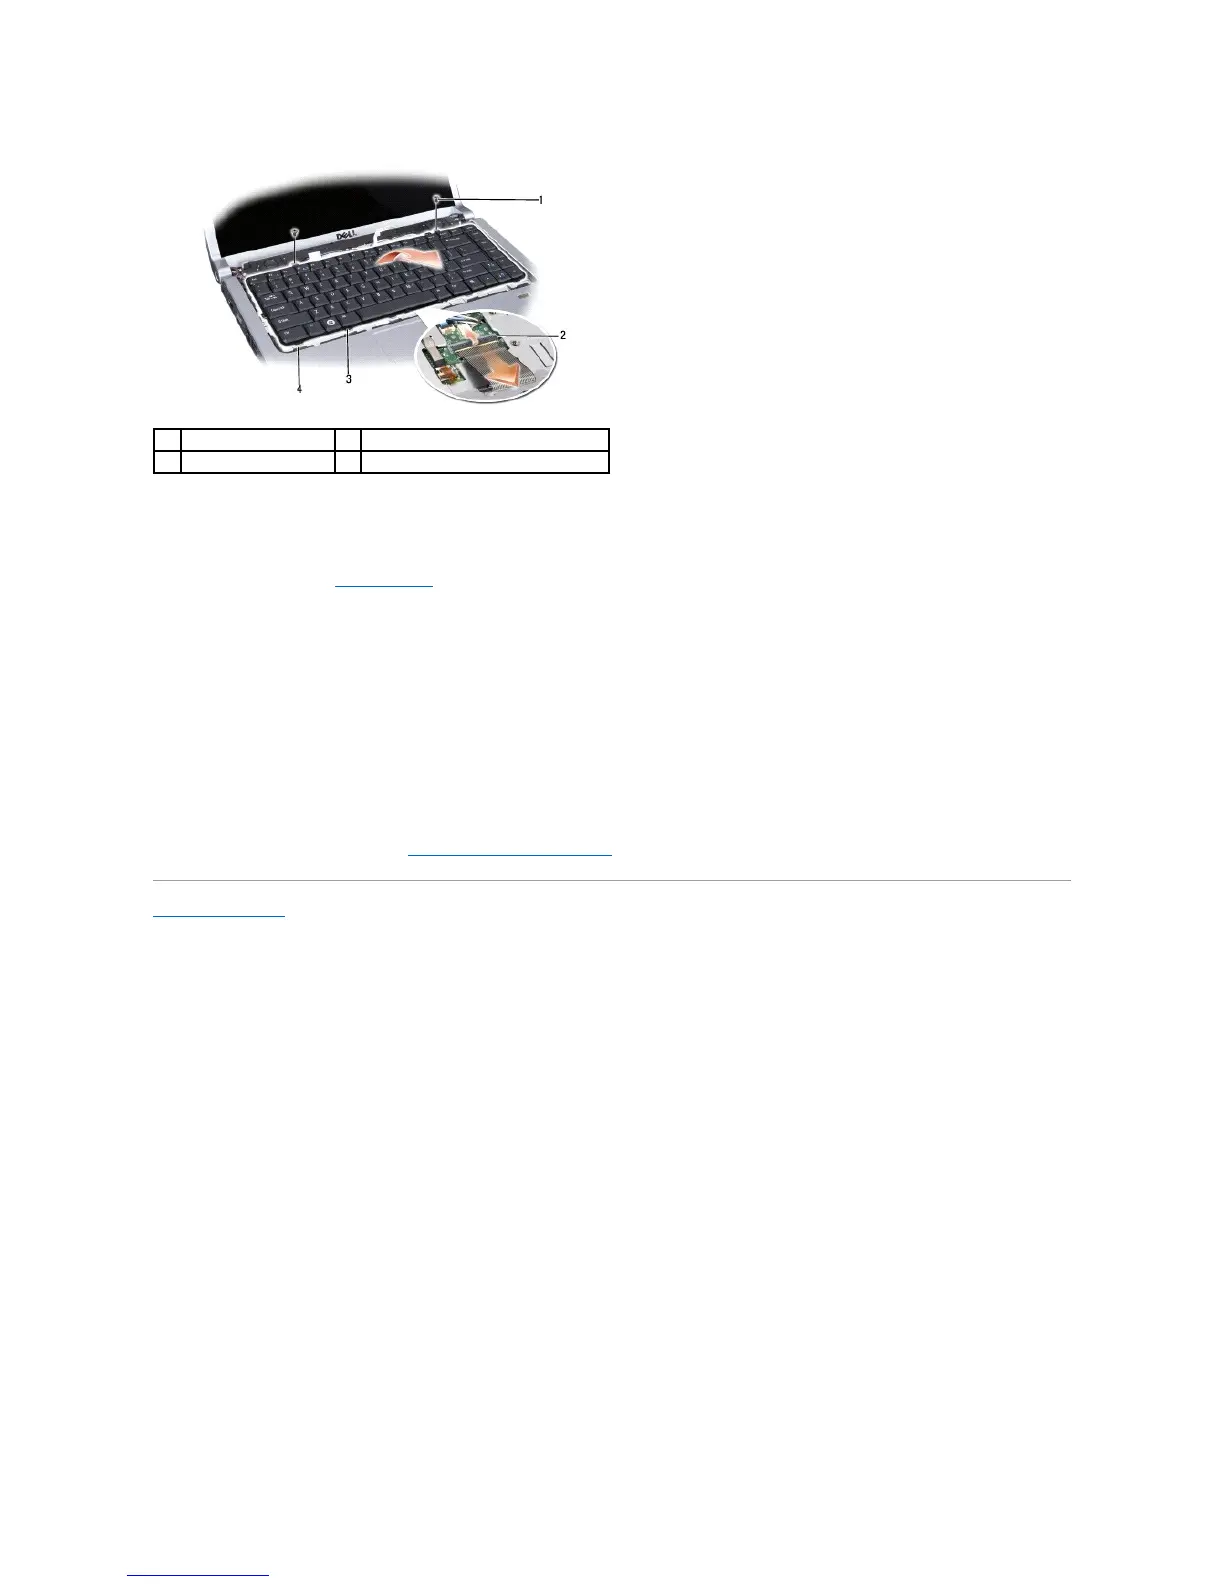
Replacing the Keyboard
1. Follow the procedures in Before You Begin.
2. Slide the keyboard cable into the keyboard connector.
3. Rotate the keyboard connector latch to secure the cable.
4. Align the tabs along the bottom of the keyboard and slide them into the slots of the palm rest.
5. Press on the corner edges near the top to snap the keyboard into place.
6. Replace the two screws on the top of the keyboard.
7. Replace the keyboard surround.
8. Replace the center control cover (see Replacing the Center Control Cover).
Back to Contents Page