Back to Contents Page
Battery Latch Assembly
Dell™Studio1535/1536ServiceManual
Removing the Battery Latch Assembly
1. Follow the instructions in Before You Begin.
2. Remove the base cover (see Removing the Base Cover).
3. Remove all memory modules (see Removing Memory Module(s)).
4. Remove the hard drive (see Removing the Hard Drive).
5. Remove Mini-Card (see Removing the Mini-Card).
6. Remove the processor thermal-cooling assembly (see Removing the Processor Thermal-Cooling Assembly).
7. Remove the processor (see Removing the Processor Module).
8. Remove the center control cover (see Removing the Center Control Cover).
9. Remove the keyboard (see Removing the Keyboard).
10. Remove the display assembly (see Removing the Display Assembly).
11. Remove the palm rest (see Removing the Palm Rest).
12. Remove the optical drive (see Removing the Optical Drive).
13. Remove the system board (see Removing the System Board Assembly).
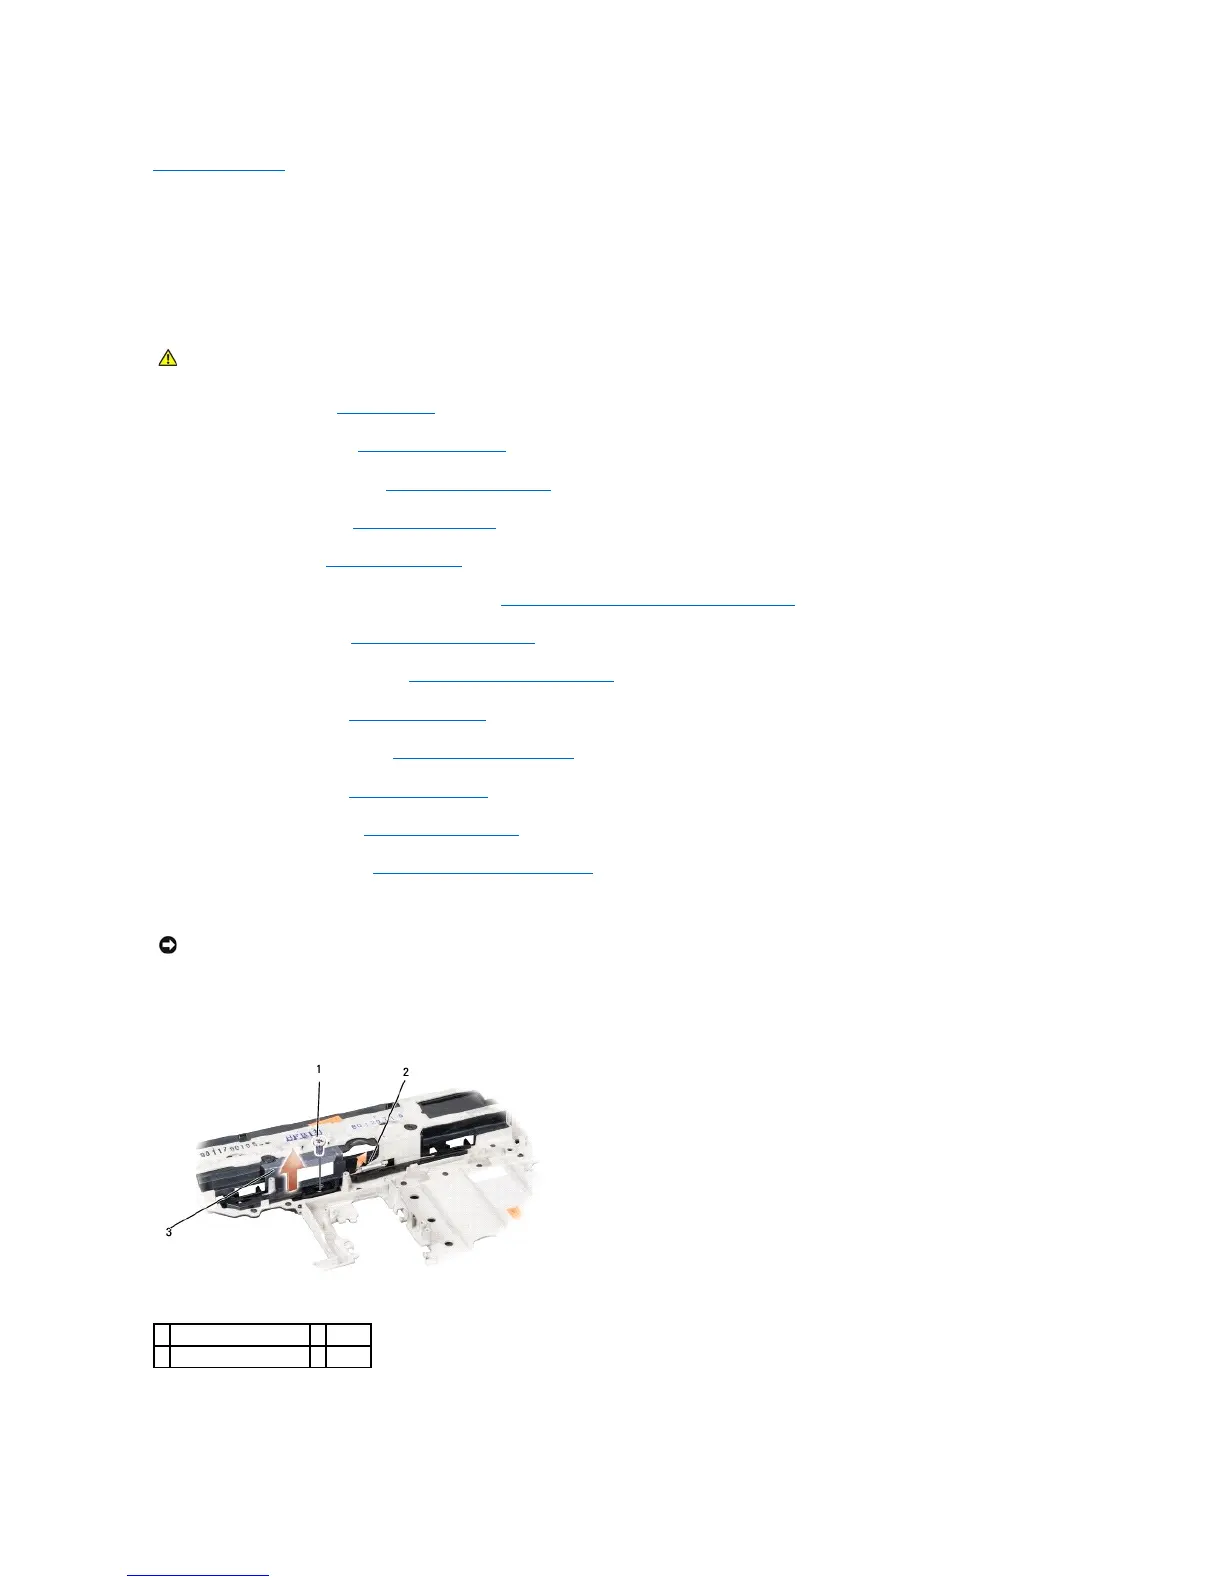
14. Remove the latch spring.
15. Remove the screw from the battery latch and take the latch out from the computer base.
Replacing the Battery Latch Assembly