2. Remove the base cover.
3. Remove the battery.
4. Remove the memory module.
5. Remove the M.2 2280 solid-state drive or M.2 2230 solid-state drive from M.2 slot one, whichever applicable.
6. Remove the M.2 2230 solid-state drive from M.2 slot two, if applicable.
7. Remove the wireless card.
8. Remove the GPU fan.
9. Remove the system fan.
10. Remove the heat sink.
About this task
NOTE: When removing the system board to replace/access other parts, the system board can be removed and installed
with the heat sink attached in order to simplify the procedure and preserve the thermal bond between the system board
and heat-sink.
The following image indicates the connectors on your system board.
Figure 1. System board connectors
1. Display cable connector
2. Power-adapter port cable connector
3. Keyboard cable connector
4. Keyboard backlit cable connector
5. Touchpad cable connector
6. I/O-board cable connector
7. Speaker cable connector
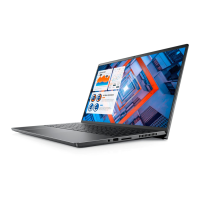
The following images indicate the location of the system board and provide a visual representation of the removal procedure.
58
Removing and installing components
 Loading...

