Do you have a question about the Delta 36-655 and is the answer not in the manual?
Details on proper grounding for electrical safety to prevent shock.
Guidelines for selecting and using appropriate extension cords for safe operation.
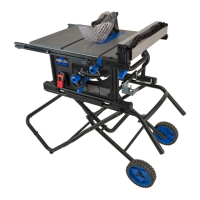
Procedures for unpacking the saw and cleaning its surfaces.
Steps to attach and adjust leveling pads to the saw base for stability.
Instructions for assembling the blade tilt and height adjustment handwheels.
Procedure for removing the motor packing block during assembly.
Steps for installing the drive belt onto the motor and arbor pulleys.
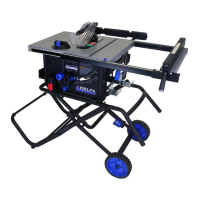
Guide for attaching the extension wings to the main saw table.
Instructions for mounting fence rails and the sliding extension table.
Steps for installing the blade guard and splitter assembly.
Procedure for safely installing the saw blade onto the arbor.
How to align the saw blade with the splitter for safe operation.
Instructions for installing and leveling the table insert.
Steps for mounting and connecting the power switch.
Installing accessories like tool holders and rail end caps.
Attaching the dust collection port to the saw cabinet.
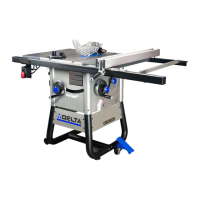
Attaching the fence body and micro-adjusting knob.
How to use and install the miter gage.
Assembling the cross-cut fence with the depth stop feature.
How to start, stop, raise, lower, and tilt the saw blade.
Setting the positive stops for 90 and 45 degree blade angles.
Adjusting for play in blade raising and tilting mechanisms.
Steps to align and adjust the rip fence for accurate cuts.
Fine-tuning the rip fence position using the micro-adjust knob.
How to level and adjust the table insert for smooth material feeding.
Step-by-step guide for safely replacing the saw blade.
Information on obtaining parts, service, and warranty support.
| Type | Table Saw |
|---|---|
| Motor Power | 1.5 HP |
| Voltage | 120 V |
| Bevel Capacity | 0 - 45 degrees |
| Blade Diameter | 10 inches |
| Arbor Size | 5/8 inches |
| Max. Depth of Cut at 45 Degrees | 2-1/4 in |
| Dust Port Size | 2-1/2 inches |