✽
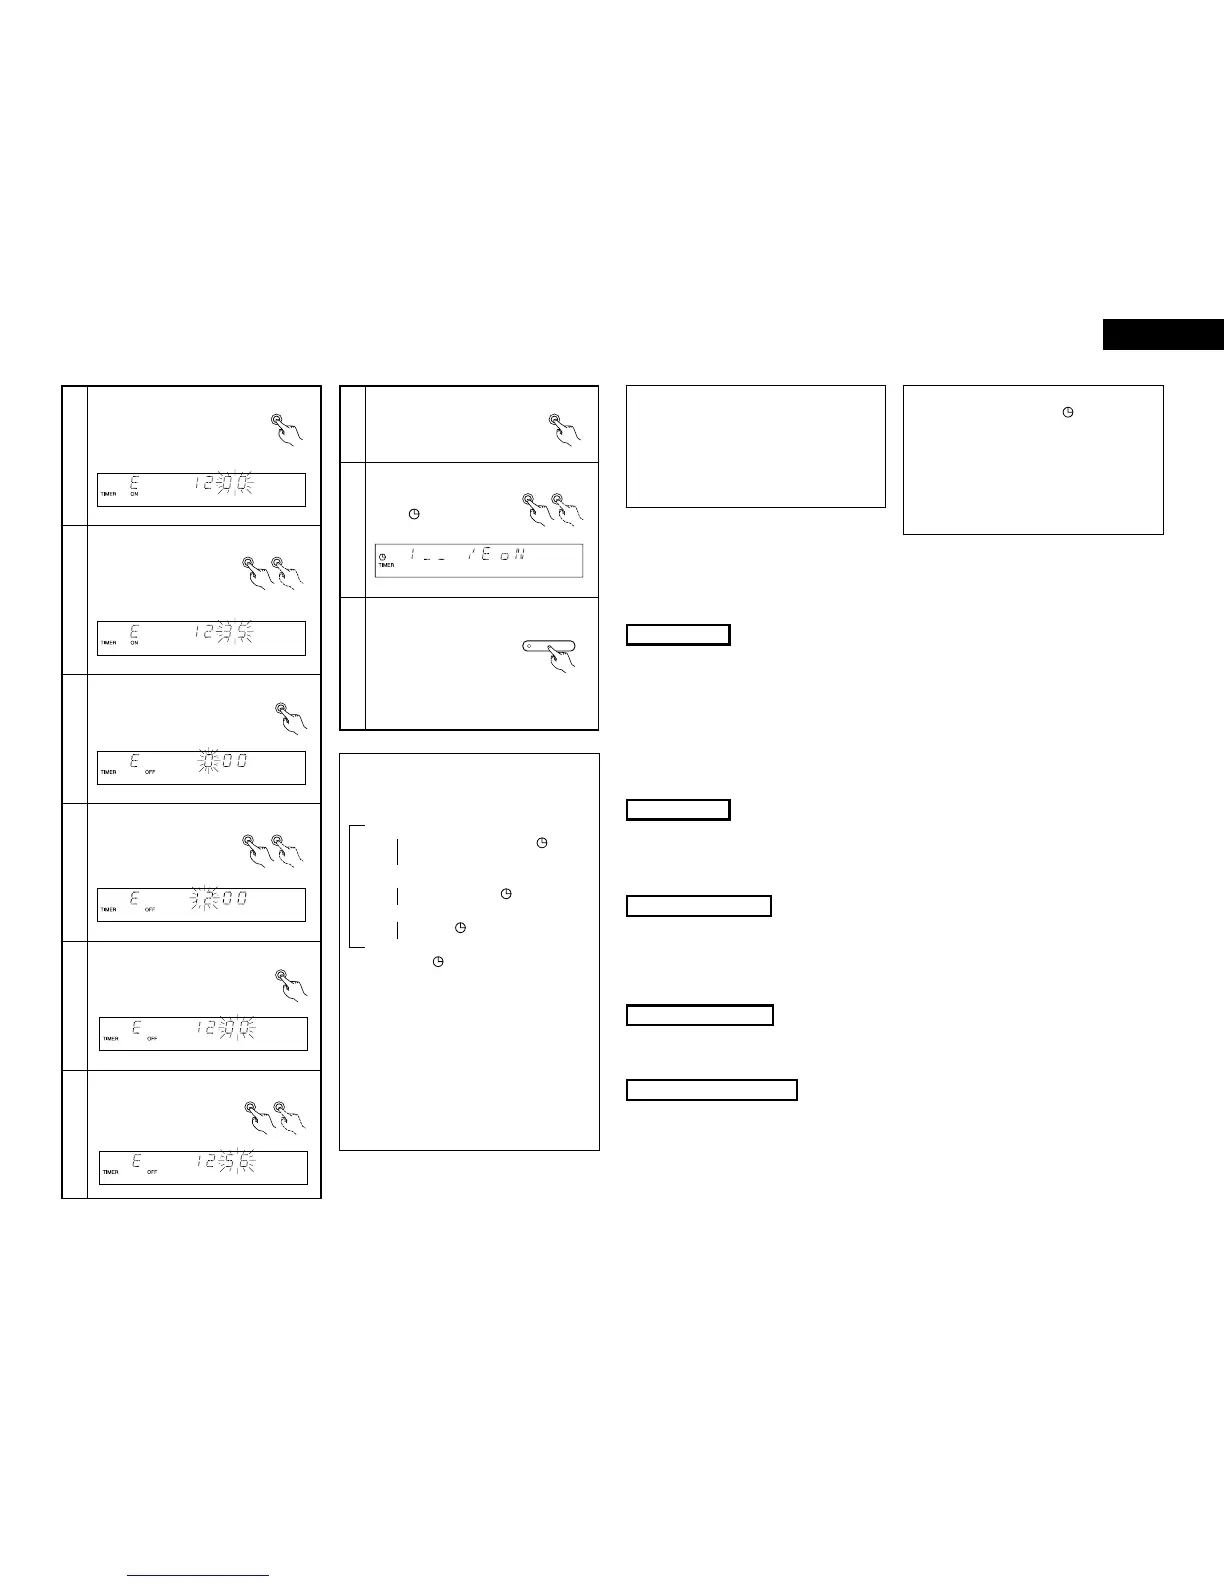
Turning on and off the timer standby ON/OFF
• In TIMER STANDBY mode, each time the
PRESET/TUNING button is pressed, the setting
changes as follows:
18
Turn off the power.
When the DRA-201SA is
connected in a system with
the 201SA series, press the
power button on the receiver.
• The standby mode is set.
(The power switch indicator
turn orange and display turn
off.)
• When you set only the everyday timer, the
indication changes between 1_ _/E_ _ and 1_ _/E
oN.
• When you set only the once timer, the indication
changes between 1_ _/E_ _ and 1 oN/E_ _.
• When you complete the setting, the display
automatically returns to the former state after 5
seconds.
• To change the settings of TIMER STANDBY, press
TIMER button to set the unit in TIMER STANDBY
mode first, the use PRESET/TUNING button to
make changes.
1
1
1
1
1
1
1
1
✽
When the timer start time is reached, the timer
operates.
✽
If “ONCE” is selected in step 3, the once timer
setting mode is selected. Set the timer using the
same procedure. At steps 4 and 8 through 15, “1”
(for once) is displayed instead of “E”.
The once timer is activated when “1 oN” is
displayed at step 17.
NOTES:
• The timer standby indicator (“”) will not light if
the current time is not set. If this happens, set the
current time. (Refer to “Setting the Current Time”
on page 16.)
• When the timer on time is reached while in the
standby mode, operation switches to the operation
set with the timer. (The timer setting has priority.)
• Set the standby mode when using the timer. The
timer may not operate properly if the power is on.
(4) Using the timer
The time and timer functions are incorporated in this unit.
2 Types of timer operations
EVERYDAY TIMER : Use this to turn the power on and standby at the same times every day.
ONCE TIMER : Use this to turn the power on and standby once.
SLEEP TIMER : Use this to set the power to turn standby after 10 to 60 minutes, in steps of 10 minutes (operated
from the remote control unit).
2 Notes on timer settings
• Be sure to set the current time beforehand.
• To listen to or record a radio program (”air check“) using the timer, be sure to preset the station beforehand. (Refer to
”Presetting AM and FM Stations“ on Page 14.)
Timer Settings
Power Failures
Checking the Settings
If the power cord is unplugged or there is a power failure, the settings of the current time and once timer are erased and
the time display will flash. If this happens, reset the current time and the once timer.
Also check the timer and tuner presettings, and reset them if they have been cleared.
To check the timer settings, press the TIMER button for at least 3 seconds to select EVERYDAY or ONCE TIMER.
Next, press the PRESET/TUNING button to select EVERYDAY or ONCE TIMER, then press MEMORY/SET button
repeatedly to display in order: Timer Start mode, and (when in TUNER mode) the reception band and preset channel
number, Timer On time, Timer Off time, Press the MEMORY/SET button again to return to the current mode display.
Changing the Settings
Repeat the timer setting operation to erase the previous settings and set the new settings.
Note on Setting the Timer
If the time set with the timer is reached while the system power is on, the operation switches to the operation set by
the timer.


 To Next Page
 Loading...