17
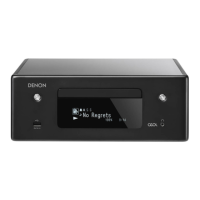
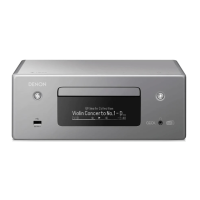
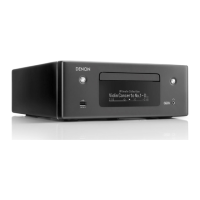
RCD-CX1
1.隙間の調整
1.1. 左右の隙間の確認
(1) メカを前方につきあてながら、左右の隙間が同じに
なるように調整する。(左右目視)
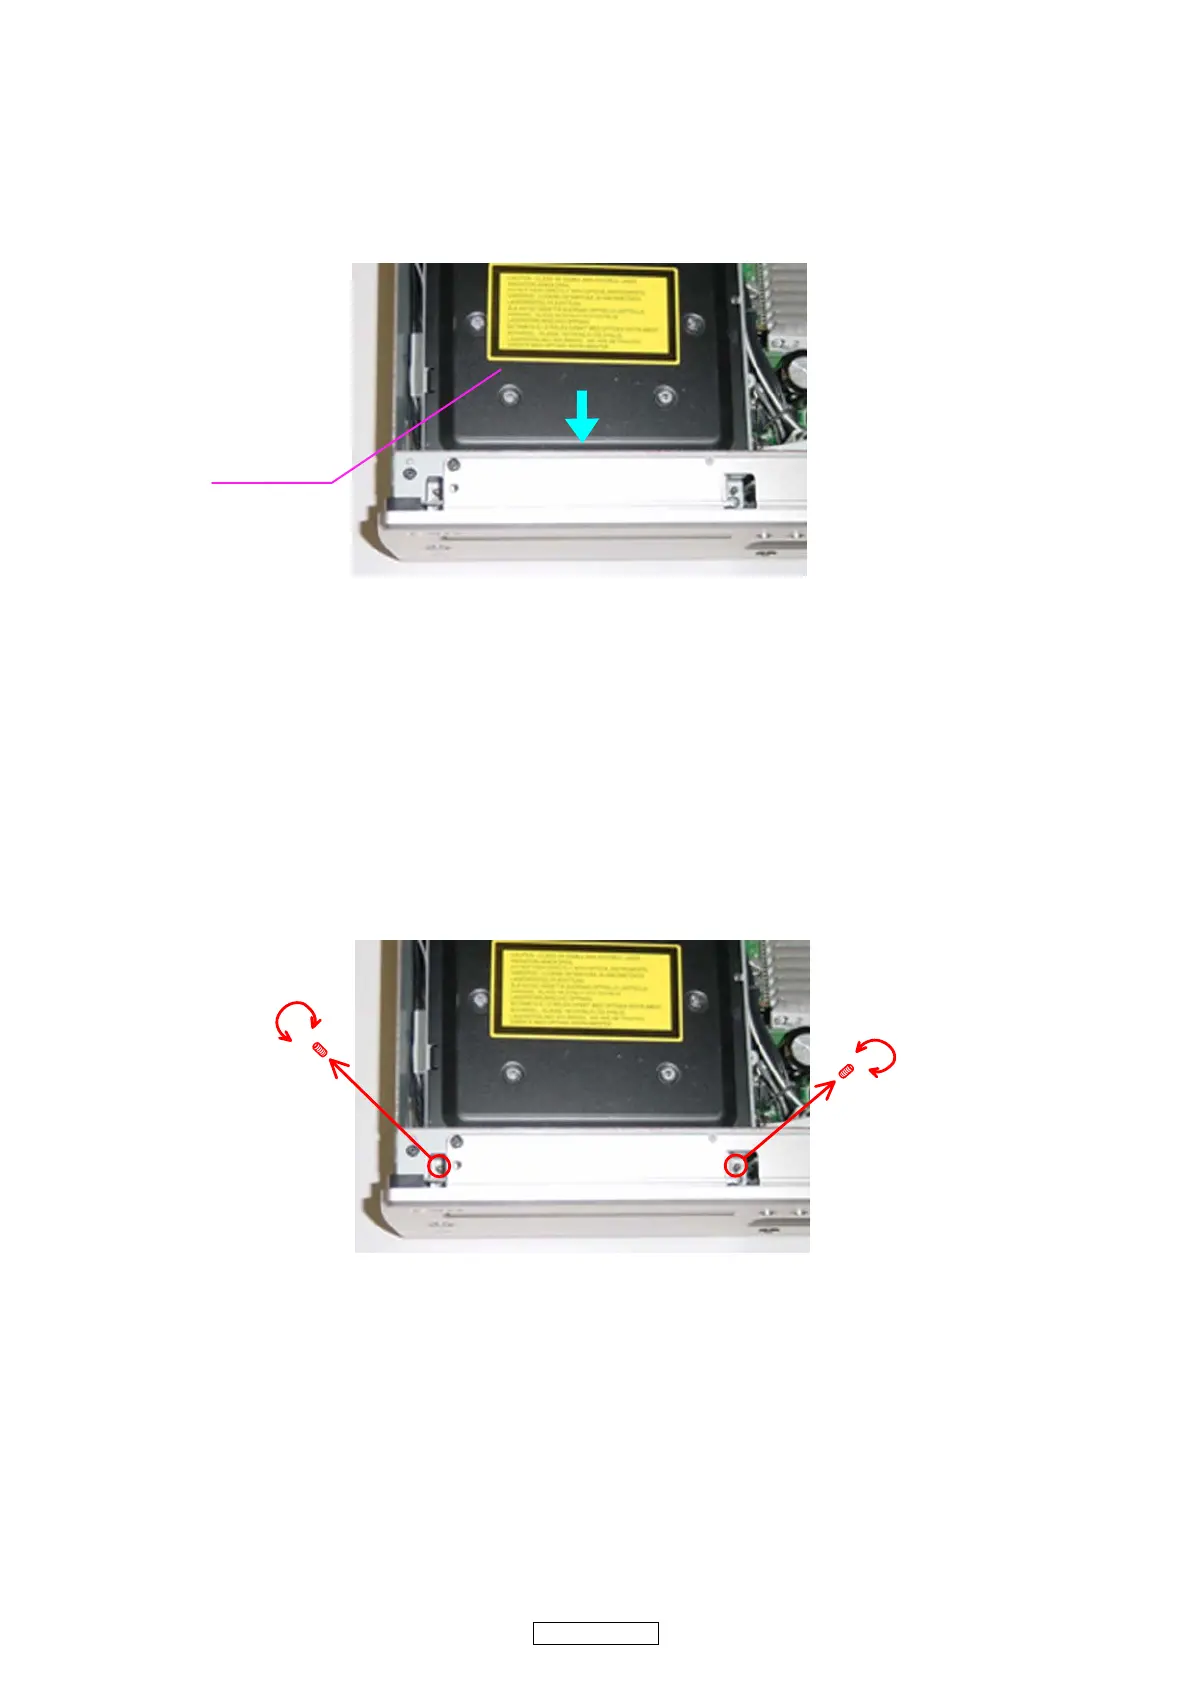
1.2. 上下の隙間の確認
(1) 六角レンチを使って左右の3*8セットスクリュー
を回し、左右それぞれのトレイの上下の隙間を調整
する。(時計方向に回すと上の隙間が狭くなります。)
(2) ▲印のネジ2本でメカを固定する。
(3) ※印のネジ2本でメカを固定する。
[注意]
必ず▲印を先におこなうこと。
2.再組立て
8U-210025SWPOWERUNIT,SHIELDBRACKET を取り付けて
ください。
3.最終確認
作業終了後、電源を ON にし TRAY の OPEN/CLOTH を1回
おこない、隙間の確認をおこなってください。
1.Adjusting the gaps
1.1. Adjusting the left and right gaps
(1) With the mechanism pressing against the front, adjust
so that there is no gap on the left and right.
.
1.2. Adjusting the top and bottom gaps
(1) Using a hexagonal wrench, turn the 3*8 set screws on
the left and right to adjust the top and bottoms gaps of
the left and right trays.
(2) Fasten the mechanism using the two screws marked
d.
(3) Fasten the mechanism using the two screws marked
b.
GNOTEH
Be sure to fasten the screws marked d first.
2.Reassembly
Mount the 8U-210025 SW power unit and shield bracket.
3.Final check
After completing the operations, turn on the power and open
and close the tray once to check the gap.
メカ
Mechanism
 Loading...