2.3 Installing Thermostat
• Carefully separate the thermostat body from the thermostat base.
• Place base at installation location and mark mounting hole locations on wall using base as a
template.
• Move base out of the way. Drill mounting holes.
• Attach base snugly to wall using two mounting screws. Levelling is for appearance only and will
not affect thermostat operation.
• Connect wires to terminal block on base.
• Push excess wire into wall and plug hole with a fire resistant material (such as fiberglass
insulation) to prevent drafts from affecting thermostat operation.
• Carefully line up the thermostat with the base and snap into place.
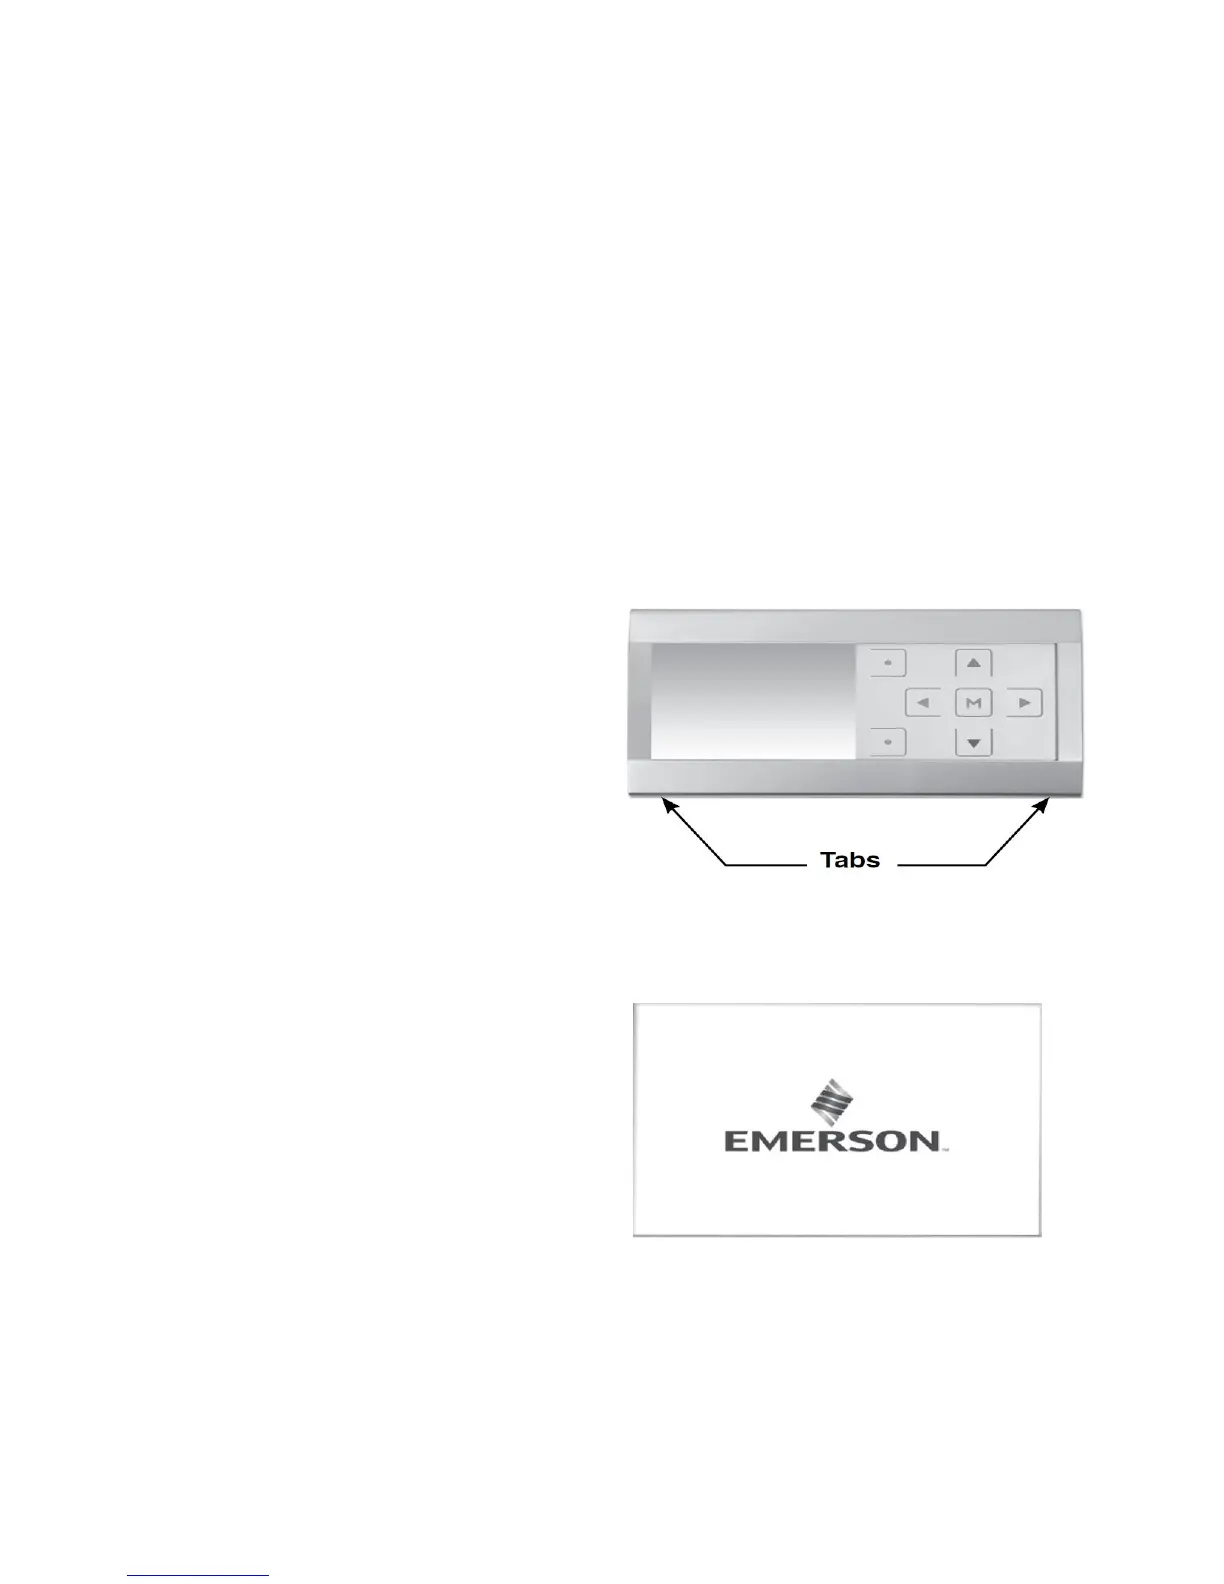
Removable Faceplate
The silver or white faceplate on the thermostat can
be removed. To remove the faceplate:
• Remove faceplate by gently pulling on the
tabs behind the lower edge of the faceplate.
Lift faceplate off of thermostat.
• Position faceplate on top edge of thermostat.
• Press on bottom of faceplate to snap
faceplate back into position.
2.4 Initial Power Up
Turn on AC power to the system. The thermostat
will automatically identify the communicating
equipment installed and configure for the
equipment as required.
7