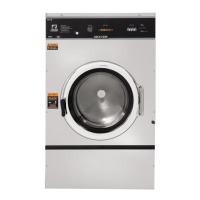
T-900 & T-1200 Cylinder (basket)
Step 1: Remove the top panel as described previously.
Step 2: Remove lower service panel as described previously.
Step 3: Remove front panel as described previously.
Step 4: Remove masking ring as described previously.
Step 5: Remove door lock assembly. (Leave wires & pull rod in place)
Step 6: Remove clothes door.
Step 7: Remove tub front clamp ring.
Step 8: Remove tub front. Use a at screw driver to pry the tub front
loose.
Step 9: Remove the rear access panel.
Step 10: Remove the drive belts.
Step 11: Remove drive pulley. Remove 3 retaining screws. Insert (3)
3/8 16 x 2” screws into the threaded removal holes. Alternately
tighten these screws evenly to pull the pulley off.
Step 12: Remove pulley hub. Drive a at screw driver into the slot in the
hub and pull it from the shaft.
Step 13: Install cylinder puller. (Snap On part #CJ-84-C) Be sure to thread
a 5/8-11 NC bolt into the end of the cylinder shaft to protect the
threads. Push the basket out.
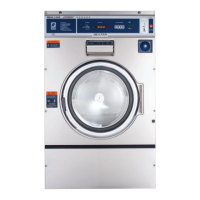
Bearing Housing Assembly T-900, T-1200
Removal
Step 1: Remove cylinder from washer (see Cylinder (basket) removal).
Step 2: Remove 6 7/16” tub back to bearing housing cap screws.
Step 3: Remove 6 3/4” bearing housing to frame bolts.
Step 4: Remove bearing housing from frame.
Step 5: Remove the retaining ring next to the front bearing.
Step 6: The bearings are pressed into the housing and must be pressed
back out.
Reassembly
Step 1: When installing new bearings into a bearing housing, rst press
the front (large) bearing into the housing until it bottoms and
install the snap ring. With the bearing spacer in place, press
the rear bearing in until the spacer is snug between the two
bearings.
NOTE: If the tub-back water-seal mating ring has been moved it
must be cleaned and resealed
59
Part # 8533-053-001 REV 4/09
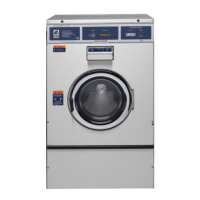
55 & 75 LB. Water Seals
Replacement
Step 1: Remove cylinder from washer (see Cylinder (basket)
removal).
Step 2: Remove water seals from the seal mounting plate on
the cylinder shaft. These are removed with your ngers.
Step 3: The primary and secondary seals that mount on the
sealing ring may be slid over the shaft and seated on
the metal sealing ring with your ngers. In the unlikely
event that the metal ring that mounts these sealing
rings were to be damaged or moved, a new one would
need to be pressed on. The seal mounting ring must be
pushed against the stop on the shaft. After installing
the seals, lubricate the faces of the seals with silicone
grease.
Step 4: Install cylinder (see Cylinder (basket) reassembly).
Guard Ring & Mating Ring
Seals
Mating Ring & Mounting Ring
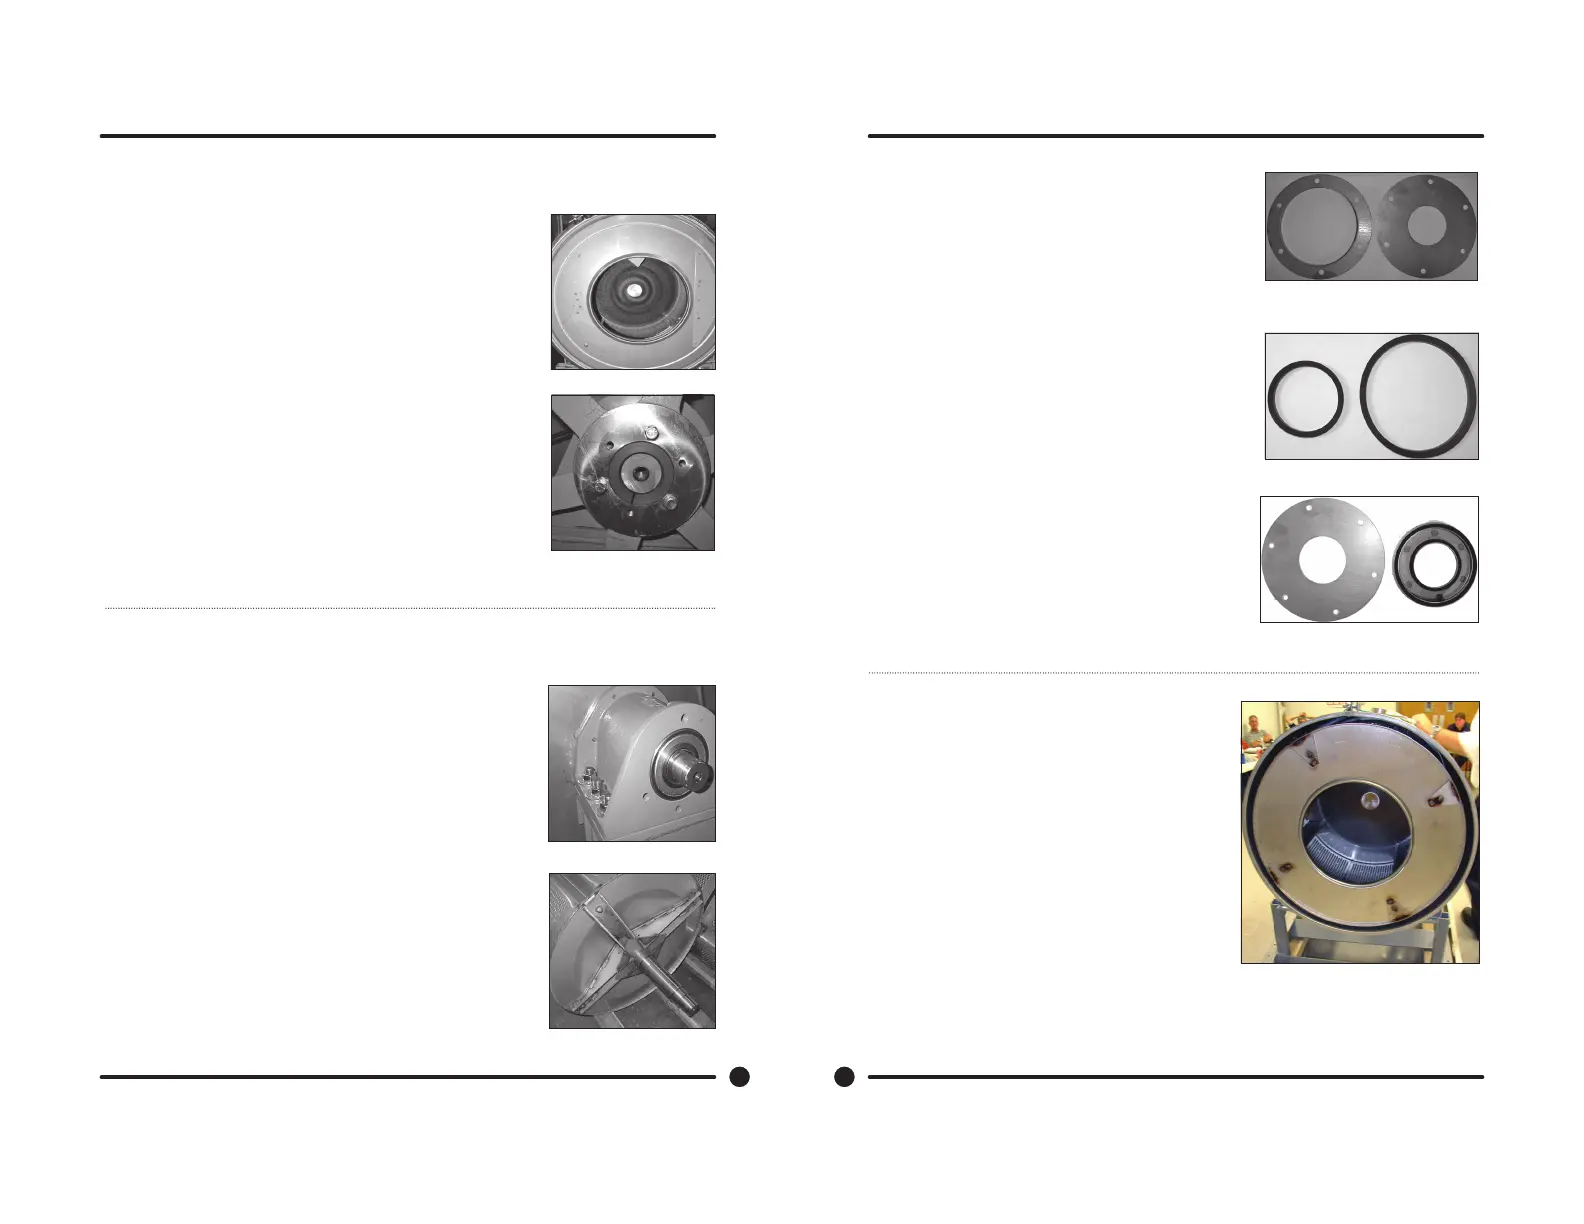
Outer Tub T-900 & T-1200
Removal
Step 1: The outer tub can easily be removed when the tub
front, cylinder and bearing housing has been removed
as outlined previously.
Step 2: At that point the only attachments to the chassis are
the two front strap mounting bolts.
60
Part # 8533-053-001 REV 4/09
 Loading...