4 Press [ENTER/PAUSE].
5 Repeat steps 1 to 4.
J
After you have entered the IP address, press [MENU/TOP].
K
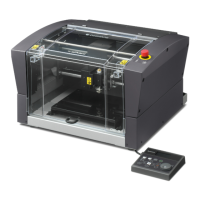
When the following screen is displayed, use the [Dial] to select [Yes], and then press
[ENTER/PAUSE].
If the value has not changed, this screen is not displayed.
IP
Change the address?
192 . 168 . 001 . 254
Yes No
012345678901234567 READY
L
Enter all the items by repeating steps
G
to
K
.
• [IP]: IP address
• [SUBNET]: Subnet mask
• [GATEWAY]: Default gateway
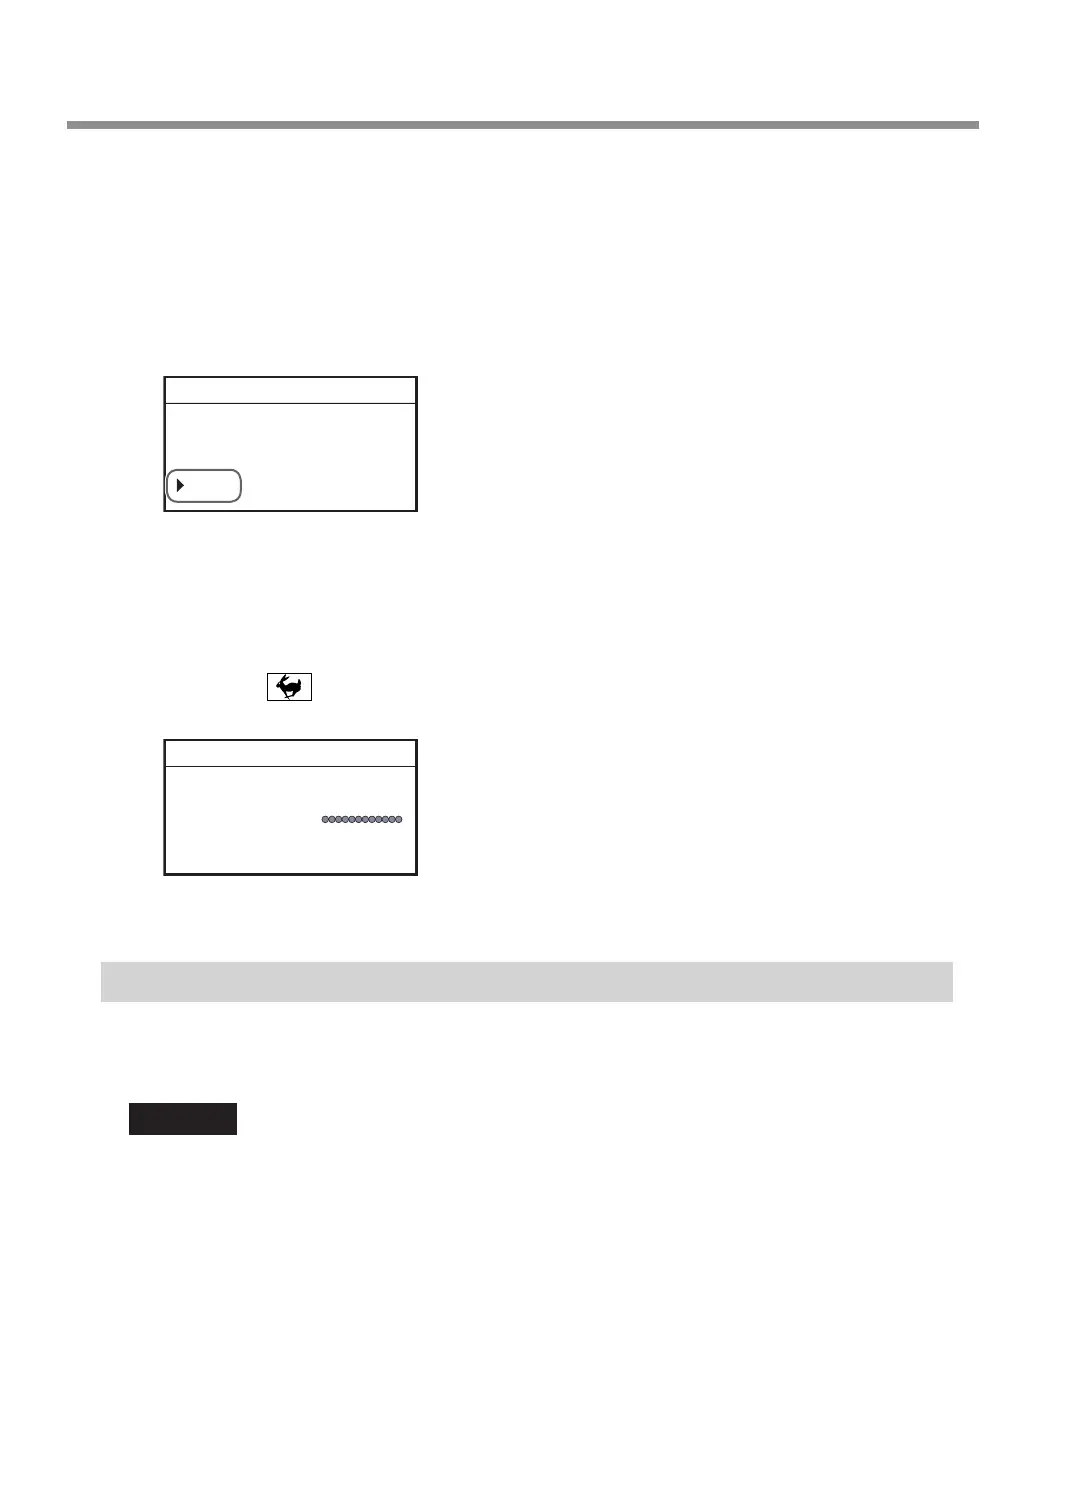
M
Hold down and press [MENU/TOP].
The main screen appears again.
X 50.00mm
Y 30.00mm
Z 20.00mm S 5000rpm
012345678901234567 PAUSE
N
Restart the machine.
Step 5: Connecting the LAN Cable
• You have to prepare a LAN cable (Category 5 or higher) separately.
• We recommend 100BASE-TX for the Ethernet.
Important
Do not connect a LAN cable and a USB cable to the machine at the same time. Also, wire the LAN cable so that it
does not come into contact with the power cord. The LAN cable coming into contact with other cables will result
in communication errors due to electrical noise.
Connecting to the Computer (LAN Connection)
36