1 Introduction
ECO 9099 SOP05-5090F Rev.00 Effective Date: 12/20/18 Page 33 of 58
5. In this position, place Crimp Pin on the solenoid shaft.
6. Orient the opening of the Indicator Cap on the shaft and snap on by sliding in the direction of
the arrow.
7. If the solenoid shaft retracts before the Crimp Pin and Indicator Cap are in place, press ON
button to re-energize and move the shaft.
8. When finished, exit menu by pressing CANCEL.
To remove the entire Solenoid Valve Sub-Assembly;
1. First follow the steps above for the removal of the Indicator Cap and Crimp Pin.
2. Remove the two screws on each side of the solenoid shaft. (Figure 1.44
)
3. Remove the rear panel and the CPU Board as described in Section 1.3.1.2.
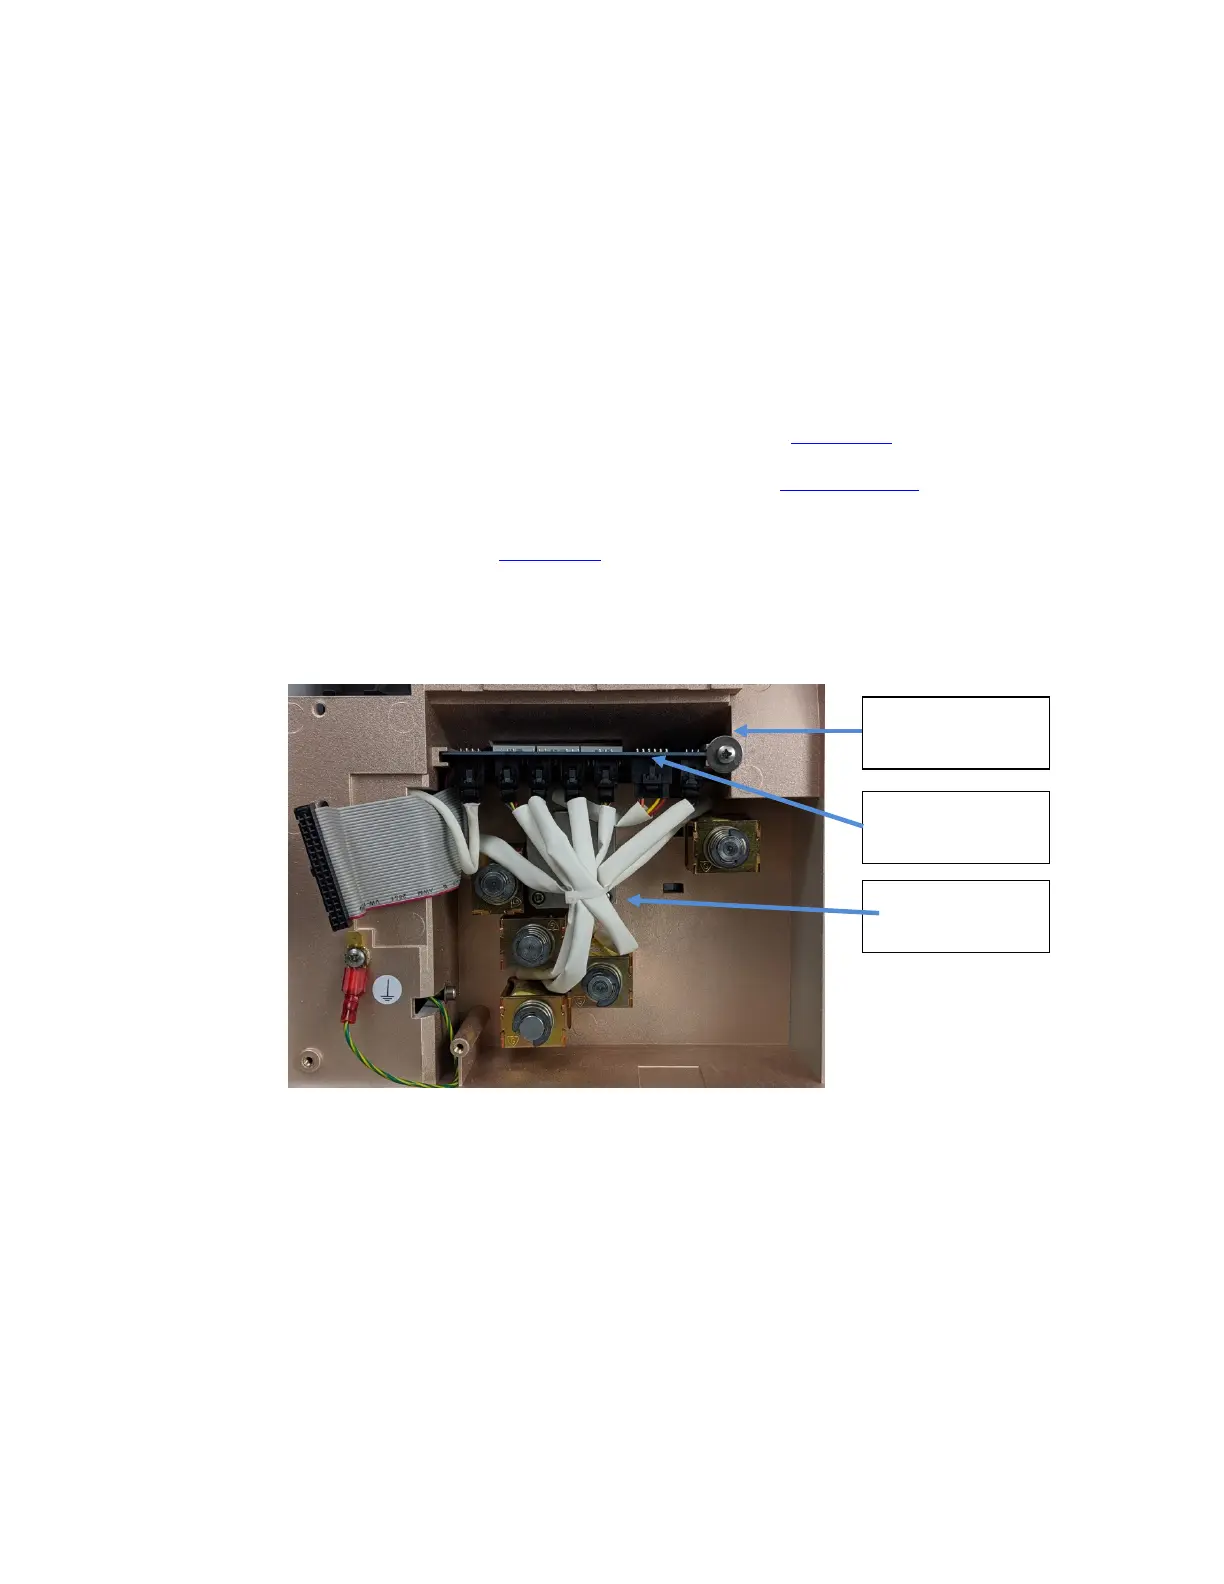
4. Each solenoid has an electrical connection to the valve board which must be unplugged prior
to removal of the solenoid. (Figure 1-47
)
5. Snip the tie wrap to separate the cables.
Figure 1-47 Solenoid Valves and Electrical Connections
Connectors
Retaining Ring
Valve Board