Chapter 3: Installing Pro Tools on Windows 9
chapter 3
Installing Pro Tools on Windows
This chapter contains information for Windows
systems only. If you are installing Pro Tools on a
Mac computer, see Chapter 2, “Installing
Pro Tools on Mac.”
Installation Overview
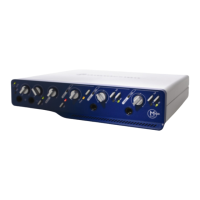
Installing the Mbox 2 Pro on a Windows com-
puter includes the following steps:
1 “Installing Pro Tools LE and Connecting Your
Interface” on page 9.
2 “Launching Pro Tools LE” on page 11.
3 Configuring your system for improved perfor-
mance (see Chapter 4, “Configuring Your
Pro Tools System”).
4 Making audio and MIDI connections to the
Mbox 2 Pro (see Chapter 6, “Making Studio
Connections”).
Installing Pro Tools LE and
Connecting Your Interface
Before connecting your Pro Tools LE interface to
the computer, you need to install Pro Tools LE
software.
To install Pro Tools LE:
1 Start Windows, logging in with Administrator
privileges. For details on Administrator privi-
leges, refer to your Windows documentation.
2 Insert the Pro Tools LE Installer disc in your
DVD drive.
3 On the installer disc, locate and open the
Pro Tools Installer folder.
4 Double-click Setup.exe.
.
Before installing this version of Pro Tools,
refer to the Read Me information included
on the Pro Tools Installer disc.
The Pro Tools Installer disc includes addi-
tional software for your system. For more in-
formation, see “Additional Software on the
Pro Tools Installer Disc” on page 12.
Do not start this procedure with your
Mbox 2 Pro connected to your computer.
Setup.exe icon
In Vista, if the User Account Control dialog
appears, click Allow.

 Loading...