18
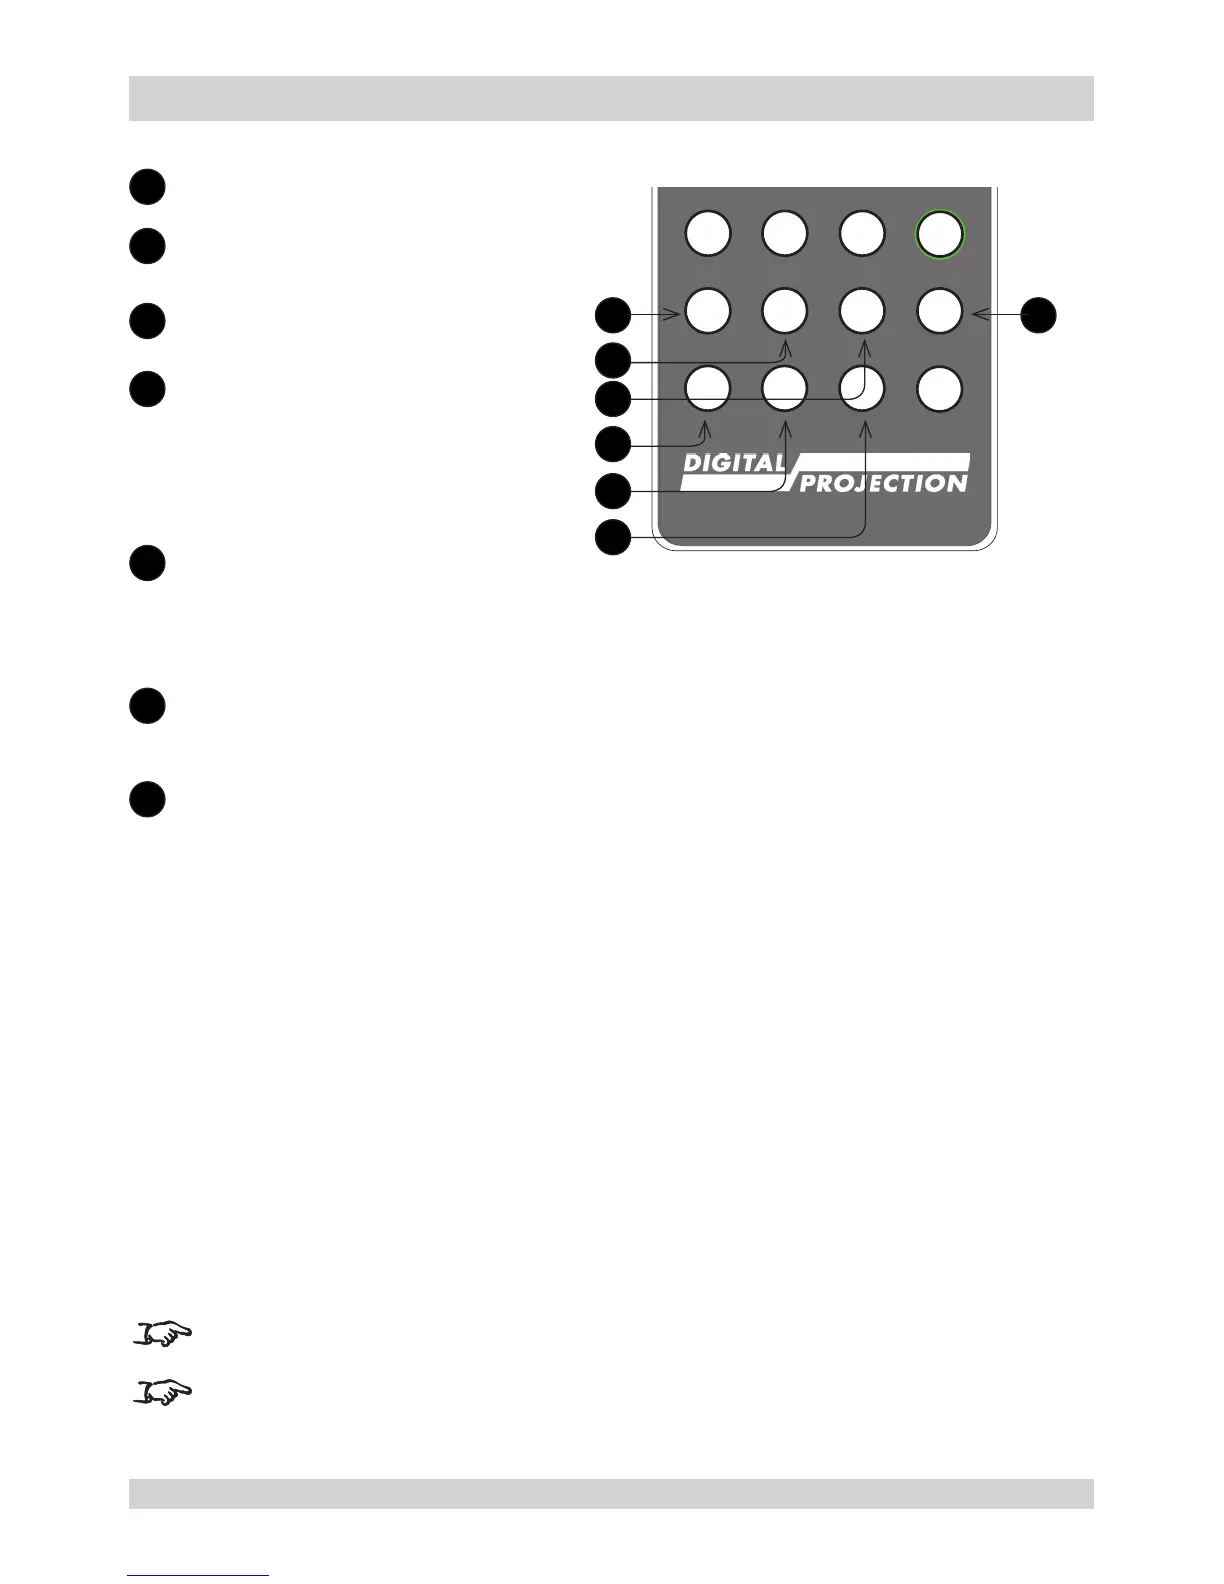
DisplayPort1 /R/ numeric input 4
Select the DisplayPort 1 input.
19
HD-T /G/ numeric input 5
Select the HDBaseT input.
20
SDI /B/ numeric input 6
Select the 3G-SDI input.
21
VGA /3D/ numeric input 7
There is no VGA input on this
projector.
Use with ALT to toggle the 3D
Format setting between Off and
Auto.
22
COMP1 /EYE/ numeric input 8
There is no Component 1 input on
this projector.
Use with ALT to switch between left
and right eye 3D dominance.
23
COMP2 /PIP/ numeric input 9
There is no Component 1 input on
this projector.
24
ADDR / ALL
Assign and unassign an IR remote
address.
To assign an address:
1. Press and hold this button
until the indicator starts
ashing.
2. Release this button and while
the indicator is still ashing,
enter a two-digit address
using the numeric input
buttons. The indicator will
ash three times quickly to
conrm the change.
To unassign an address and
return to the default address 00,
• Press and hold ALT and
this button simultaneously
until the indicator ashes to
conrm the change.
3D is only available on the HDMI 3
and 4 inputs.
This projector does not use the
following options on the remote:
DVI, VGA, COMP 1 and COMP 2.