11
NOTE: Make sure you store any changes you want to save before exiting
the edit mode. See pg. 14 for more information.
EFFECT & INPUT / OUTPUT CONFIGURATIONS
The Studio 400's ability to accommodate a number of different input and output routing configurations
makes it an extremely useful and flexible tool for many different applications.
Programs 101 through 123 in the Factory Program bank represent all the FX module configurations avail-
able in the Studio 400. For diagrams of these 23 Effect Configurations, see pg. 38. When you find one that
you like, you can save it in a new User Program location for later use. Remember that choosing an Effect
Configuration does not define the input / output routing schemes or the actual effects used within the con-
figuration. This means that even one configuration can be used thousands of different ways.
To select a new Effect Configuration, do the following:
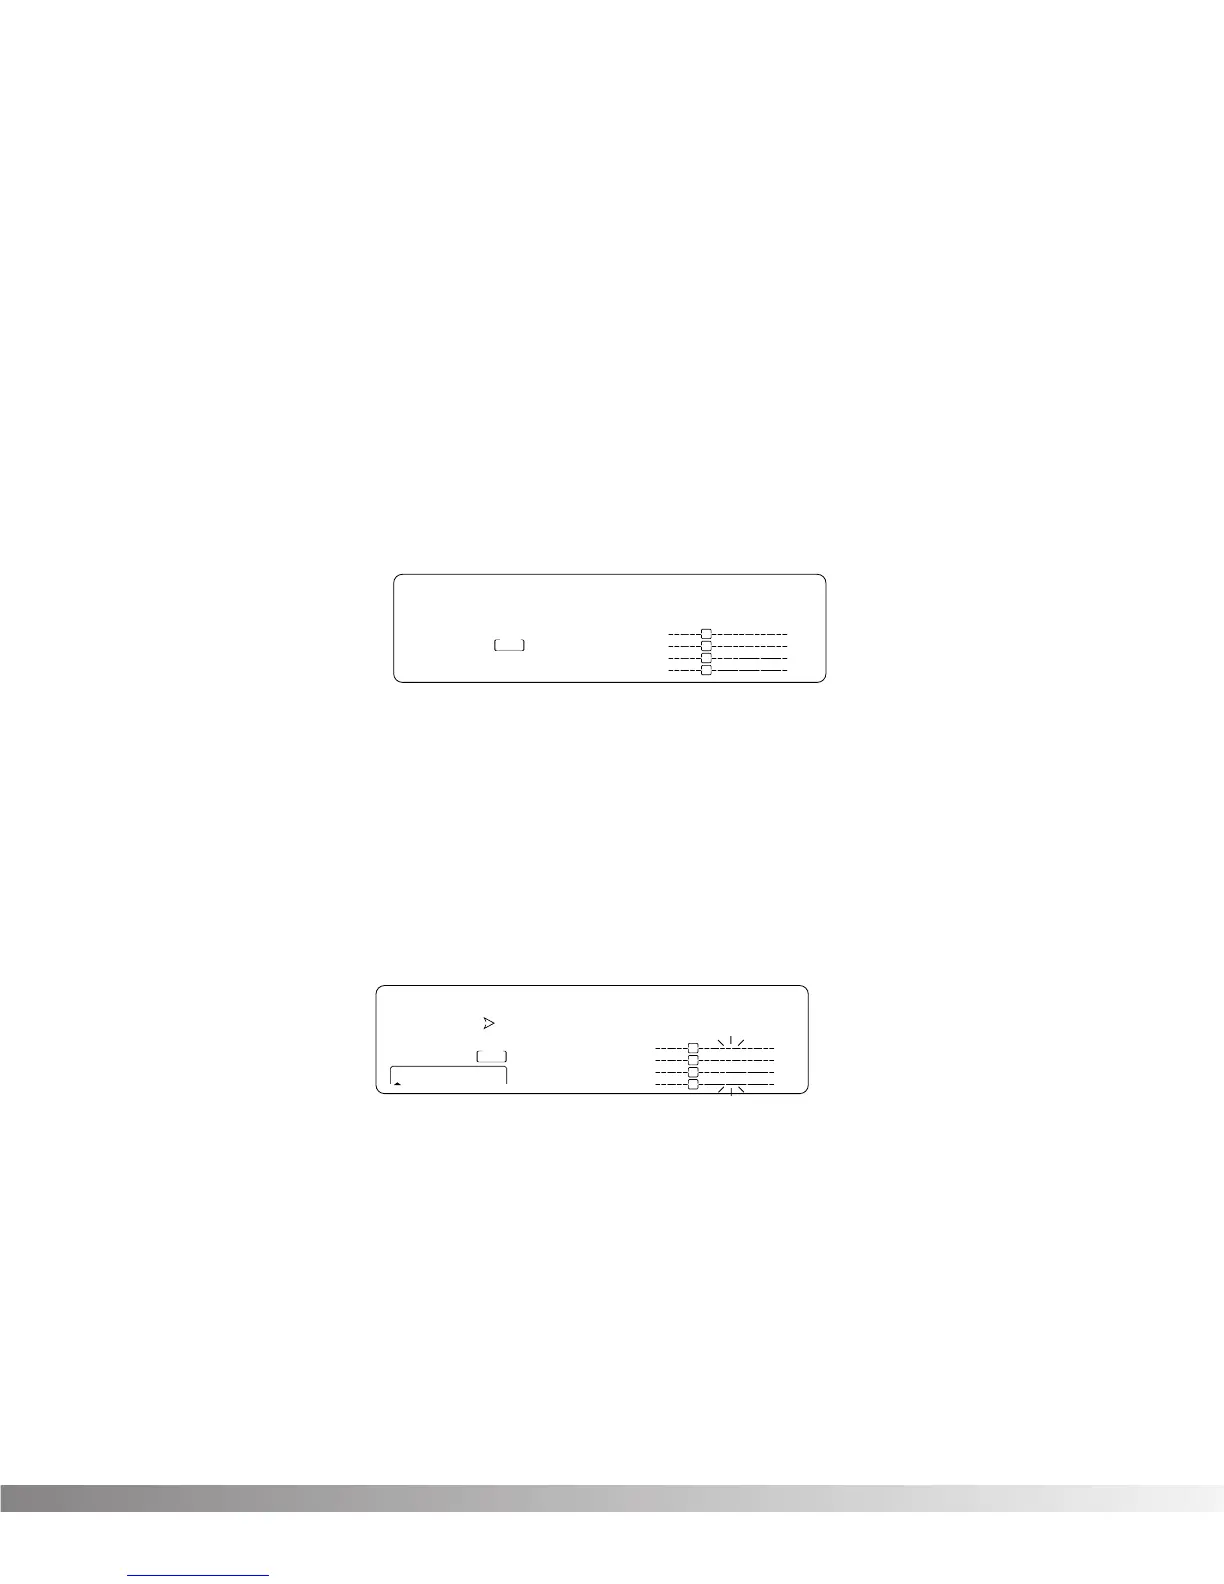
• Scroll through Factory Programs 101 - 123 until you find a configuration you want to use. The display
looks something like this:
Once you have selected an Effect Configuration, you can select the input/output configuration you will be
using.
• Press the FX Edit button 6 times. The input section of the Effect Routing Matrix begins flashing and
the information line reads:
Input Mode: Quad Mono
• Use the Data Wheel to scroll through the 9 available input configurations.
• Press the FX Edit button one more time. The output section of the Effect Routing Matrix begins flash-
ing and the Display looks something like this:
• Use parameter buttons <1> and <4>, and the Data Wheel to scroll through the available output
configurations, and to set the output level for each program.
NOTE: Make sure you store any changes you want to make before exiting the edit mode. See pg.14
for more information.
USING MODIFIERS
Modifiers are unique tools that can be used to dramatically alter your sound based on information from signal
amplitude, the settings of a Low Frequency Oscillator (LFO) or MIDI Continuous Controller information.
Every Program in the Studio 400 has a set of Modifiers. Up to 8 Modifier links can be assigned to control
parameters. There are three types of Modifiers that can be linked to a parameter: MIDI CCs, LFOs, and
Dynamic (signal level dependent).