5
Section 1 - Setting Up
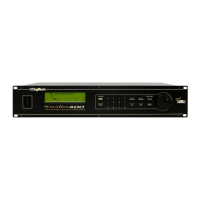
Studio 400 Owner's Manual
10) BYPASS - Bypasses all the effects in the Studio 400.
11) DATA WHEEL - The Data Wheel lets you scroll through Programs and change Parameters values.
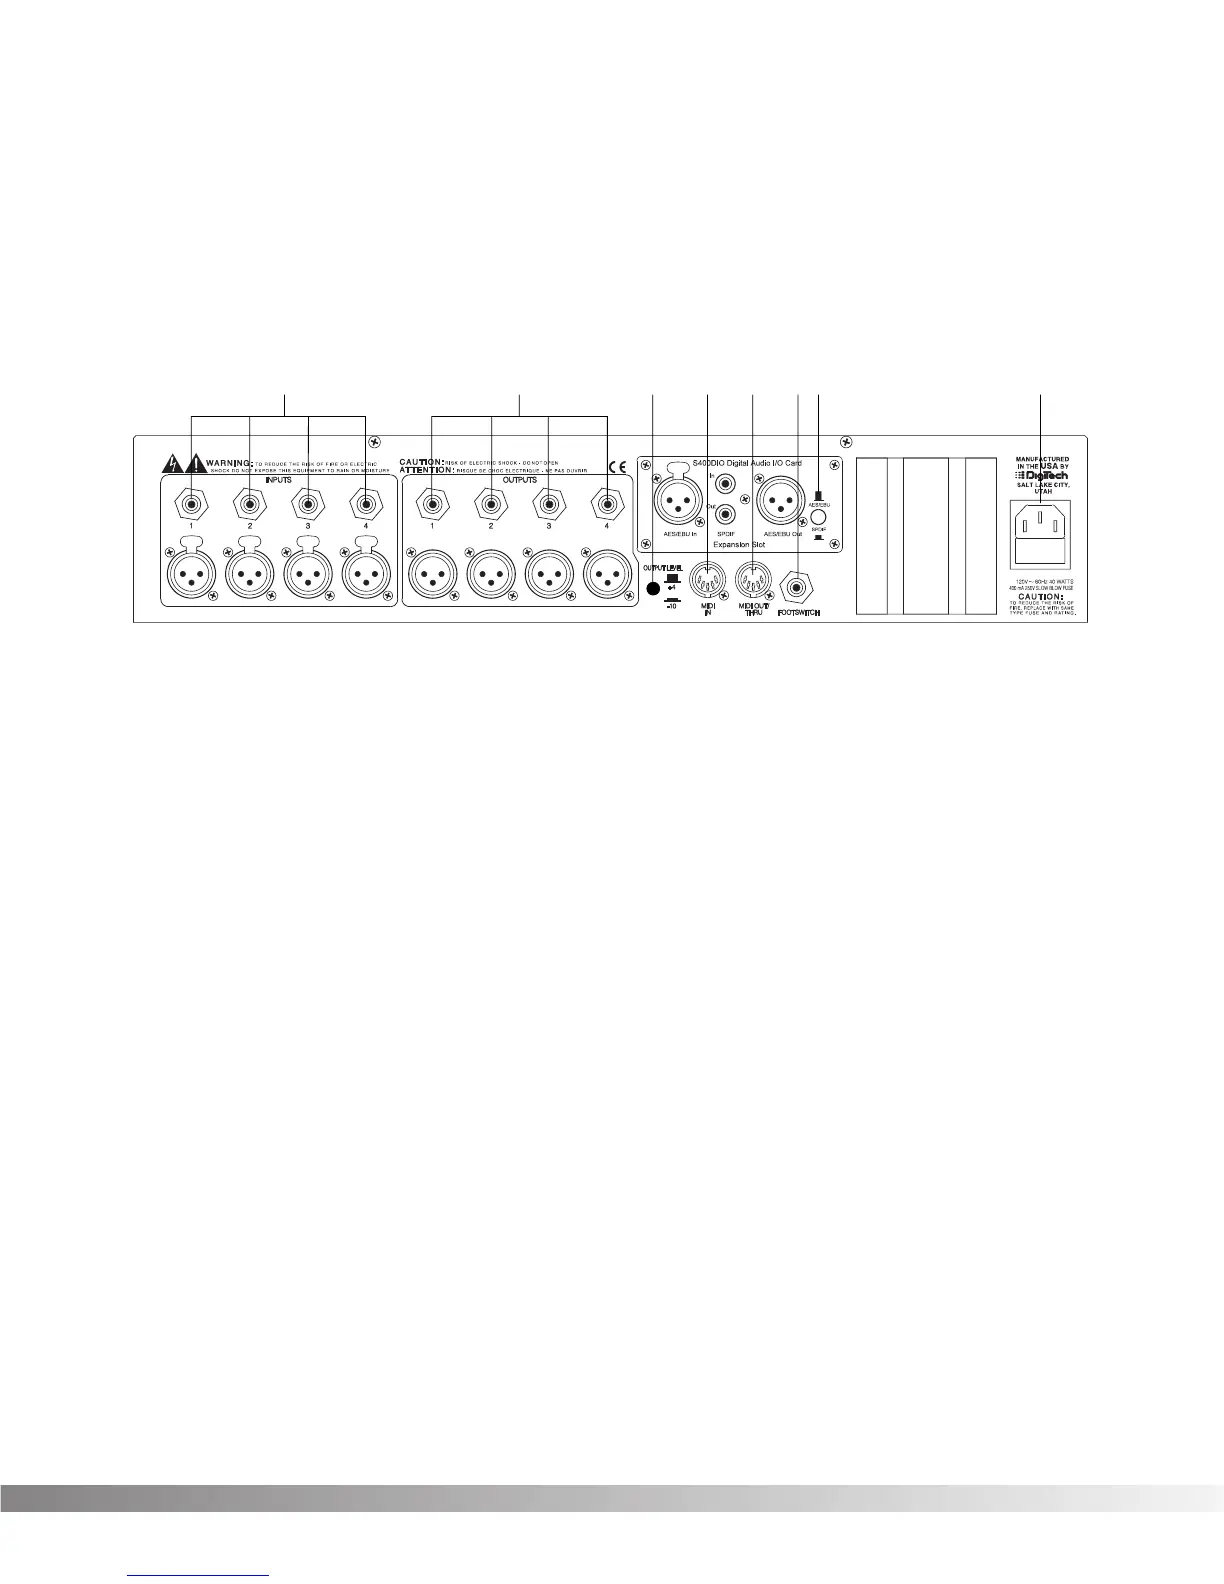
REAR PANEL CONNECTIONS
The layout of the Studio 400's simple and straightforward rear panel is illustrated in Figure 1-2.
Figure 1-2 Rear Panel
1) AUDIO INPUTS - These four XLR or 1/4” balanced inputs can be used for several different combina-
tions of input configurations. The Input Configuration module of each Program defines how each Input
is used. See pg. 11 for more info.
2) AUDIO OUTPUTS - The Studio 400's XLR and 1/4” balanced outputs can also be configured in many
different ways. These settings are found in the Output Configuration module of each Program. See pg.
11 for more info.
3) OUTPUT LEVEL SWITCH - Selects whether the signal is nominally output at line level (-10 dB) or at
professional level (+4).
WARNING: Make sure the Studio 400's audio levels are all down before changing the setting of this switch. Also,
be sure you know which setting is best for your particular equipment setup, as setting this switch to +4
can overload the inputs of some line-level equipment. DigiTech is not responsible for any damage to
speakers or components due to misuse of this switch.
4) MIDI IN - MIDI data is received at this port. When MIDI data is received, the MIDI indicator in the dis-
play flashes on and off.
5) MIDI OUT / THRU - Merges MIDI data generated by the Studio 400 with MIDI data received at the
input. Please see pg. 32 for more information.
6) FOOTSWITCH - This jack allows connection of the DigiTech FS300 3-button footswitch or any shorting-
type footswitch. If using the DigiTech FS300, button 1 increments through Programs, button 2 decre-
ments through Programs, and button 3 bypasses the Studio 400's effects. When using any other single
momentary switch device, the switch acts as a Bypass.
NOTE: The footswitch must be plugged in on power up in order for the Studio 400 to detect which type
of switch is being used.
7) POWER INPUT - Connect power supply cord to AC Line input jack on the rear of the Studio 400.
8) DIGTIAL I/O - Optional Upgrade. See pg. 8 for more info.