34
PROGRAM AUTOLOAD
From the factory, the Studio 400 ships with this option turned on. It simply means that any time you
change to a new Program, it is automatically loaded into active memory and begins performing its func-
tion. When set to off, newly selected Programs must be loaded manually using the <PROGRAM> button.
This is a great feature for live sound reinforcement situations where the engineer can skip to a non-con-
secutive Program number without hearing the effects of all the Programs in between.
To change the setting of the Program Autoload function, do the following:
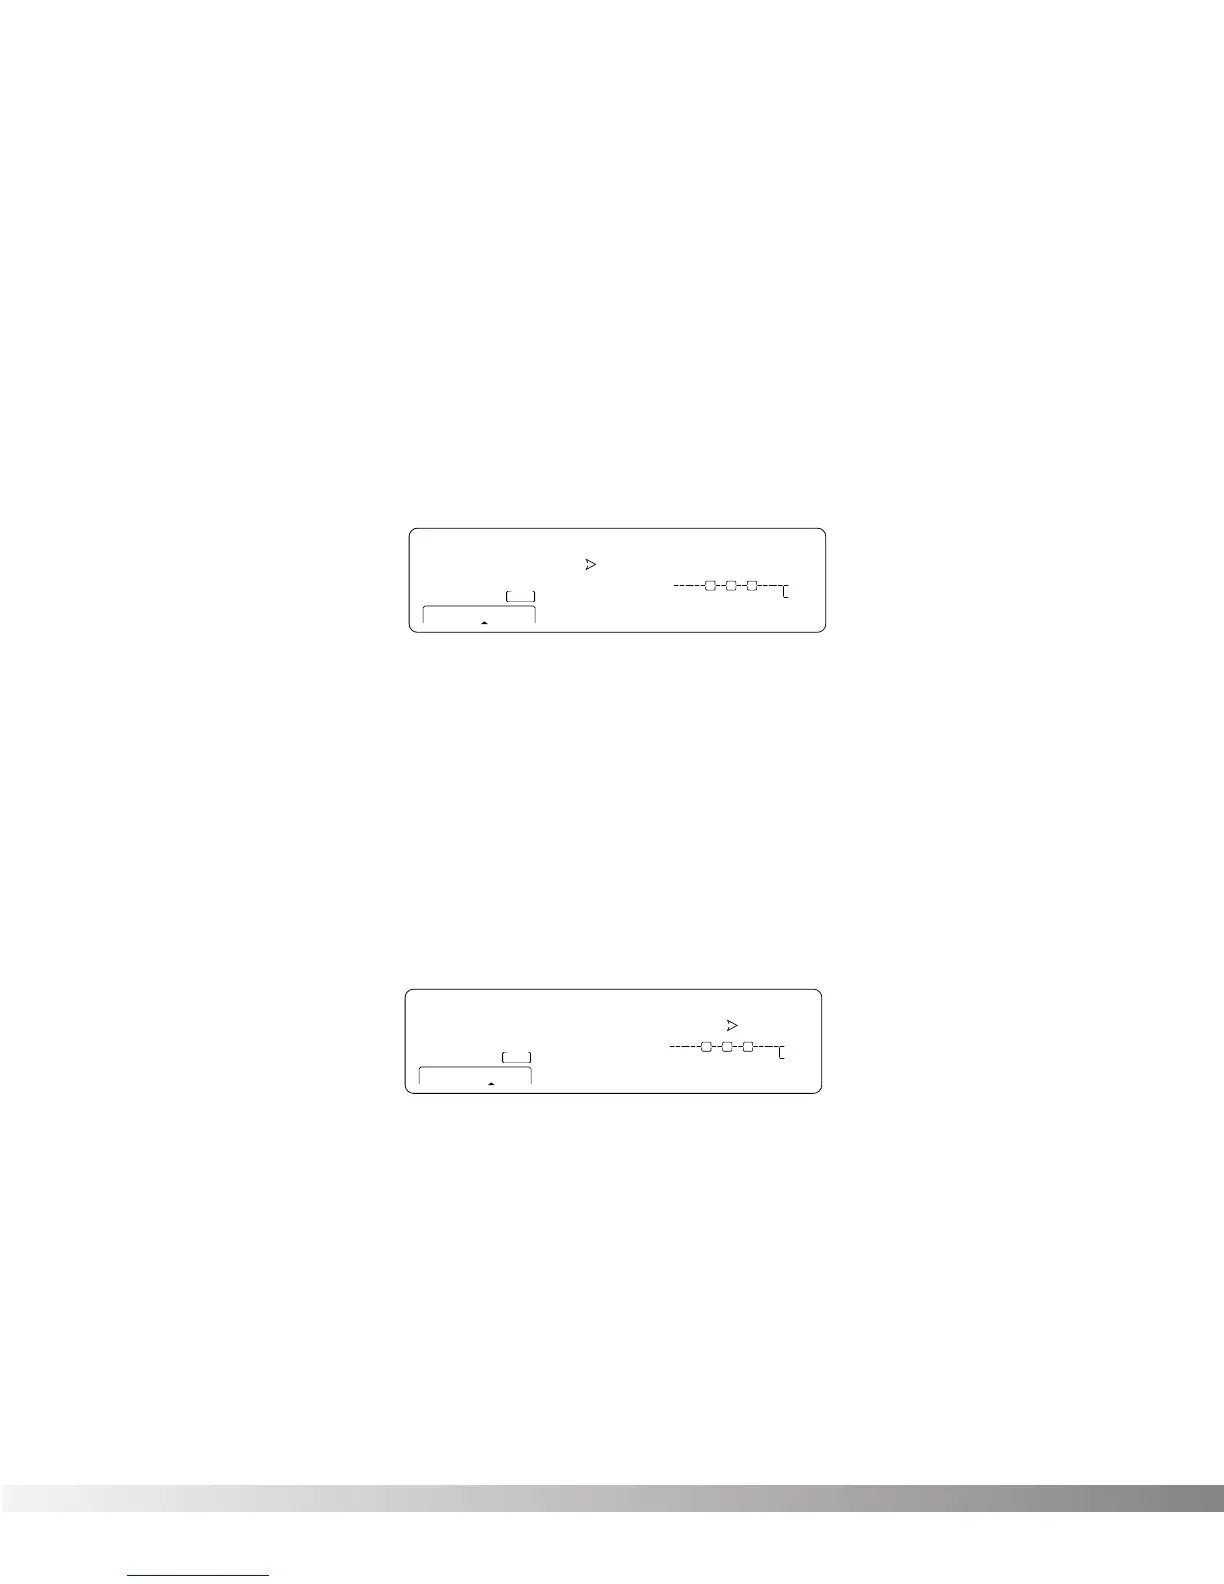
• Press <UTILITY> and scroll to Page 6 of the Utility Menu using the <NEXT PAGE> and <PREVIOUS
PAGE> keys. The display reads:
• Use the Data wheel to turn the option on or off.
• When you're finished, you can return to Program mode by pressing <PROGRAM>.
FACTORY RESET
Allows you to erase all User Program and Utility settings at once and restore the Studio 400 memory to its
factory condition.
WARNING! This procedure will destroy and reset ALL User Programs in the Studio 400's memory. Be sure
you want to erase the memory, and start fresh before continuing with this procedure.
To perform a factory reset, do the following:
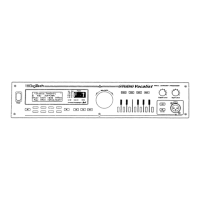
• Press <UTILITY> and scroll to Page 8 of the Utility Menu using the <NEXT PAGE> and <PREV
PAGE> keys. The display reads:
• To initiate the reset, press <4>.
• This is your last chance to change your mind. If you are sure, press <3>. If not, you can abort the
procedure by pressing <4>. If you press <3>, the Information line of the display briefly reads: FAC
TORY RESETTING... after which the unit resets, and returns to Program 1.
In extreme situations, the Studio 400 can be reset using a special power-up procedure. This will also com-
pletely reset the Studio 400, eliminating any custom settings created by the user. The procedure is as fol-
lows:
• Press and hold the <1> Parameter button while applying power to the Studio 400.
• Release the <1> Parameter button after an asterisk appears in the information line on the screen.
• Press the <Program> button, and the Studio 400 will re-initialize itself.