13
• Press <4> to select the Maximum Value Parameter.
• Use the Data wheel to select the maximum Parameter value you want when the controller is in the
maximum position.
• Press <2> to select the Modifier Type Parameter.
• Using the Data wheel to scroll through the Modifier types. Select a MIDI CC number 0 -127 and CHP
(Channel Pressure or Aftertouch), L - 1 (LFO1), L - 2 (LFO2), or DYN (Dynamic).
NOTE: Make sure you store any changes. See pg. 14 for more information
SETTING UP AN LFO OR DYNAMIC MODIFIER
To link a parameter, do the following:
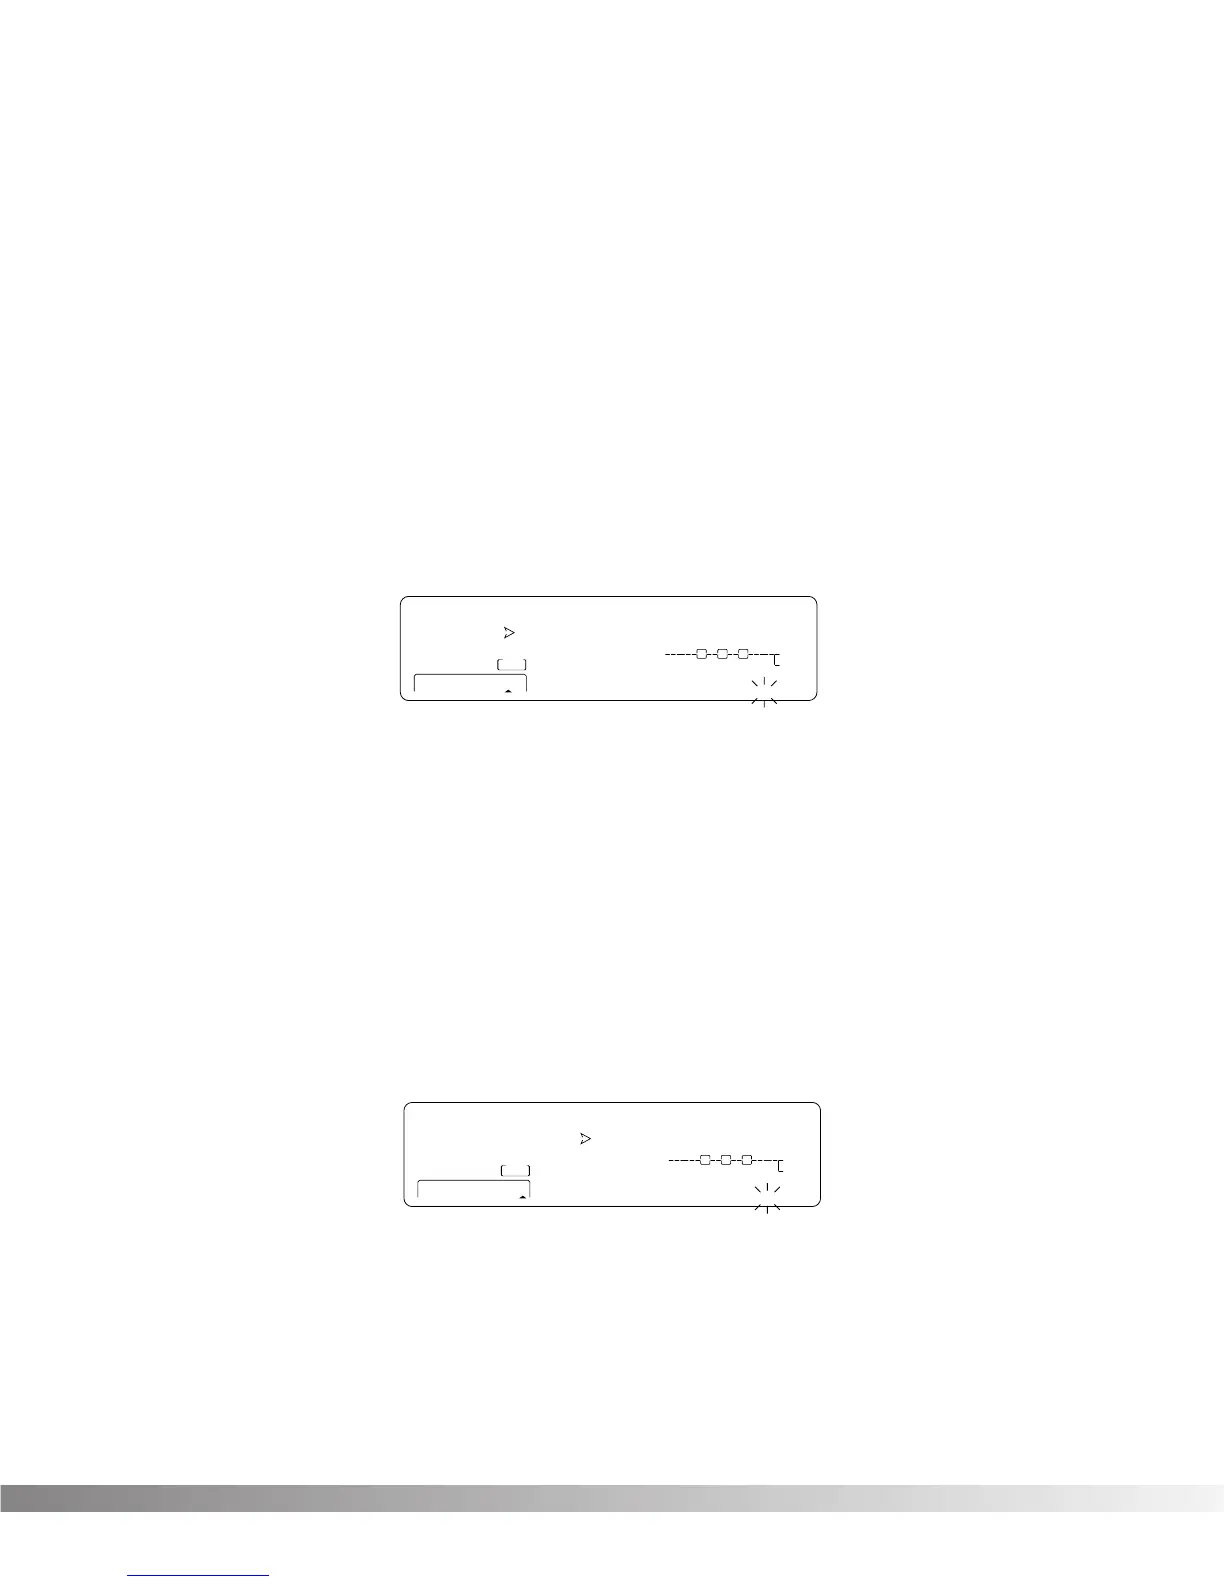
• Press <FX Edit> until you see “modifiers” flashing in the bottom right corner of the screen.
• Use the <NEXT PAGE> and <PREV PAGE> keys to scroll to Page 9. The display reads:
• Press <1> and use the Data wheel to select which LFO you want to adjust.
• Press <2> and use the Data wheel to change the selected LFO's waveform. You can select SINe,
TRIangle, SPecial1, SPecial2 or SPecial3. Refer to pg. 19 for Waveform information.
• Press <3> and use the Data wheel to adjust the speed of the LFO cycle.
The assigned Parameter now follows the modulating waveform of the LFO you selected. See pg. 19 for
waveform diagrams.
To link a Dynamic Modifier to a parameter, do the following:
• Press <FX Edit> until you see “modifiers” flashing in the bottom right corner of the screen.
• To adjust the settings of the Dynamic Modifier, use the <NEXT PAGE> and <PREV PAGE> keys to
scroll to Page 10. The display reads:
• Press <2> and use the Data wheel to adjust LoThrs. This control sets the threshold above which
dynamic modification of the Parameter begins.
• Press <3> and use the Data wheel to adjust HiThrs. The HiThrs control sets the point at which maxi-
mum Parameter modification occurs.
• Press <4> and use the Data wheel to select the source input you want the modifier to "listen" to, or
follow.