`
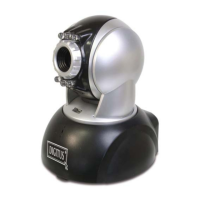
DN-16032 User’s Guide
P
P
a
a
n
n
/
/
T
T
i
i
l
l
t
t
I
I
P
P
S
S
u
u
r
r
v
v
e
e
i
i
l
l
l
l
a
a
n
n
c
c
e
e
C
C
a
a
m
m
e
e
r
r
a
a
DN-16032 USER’S GUIDE PAGE 13/61 Rev. PV1.0
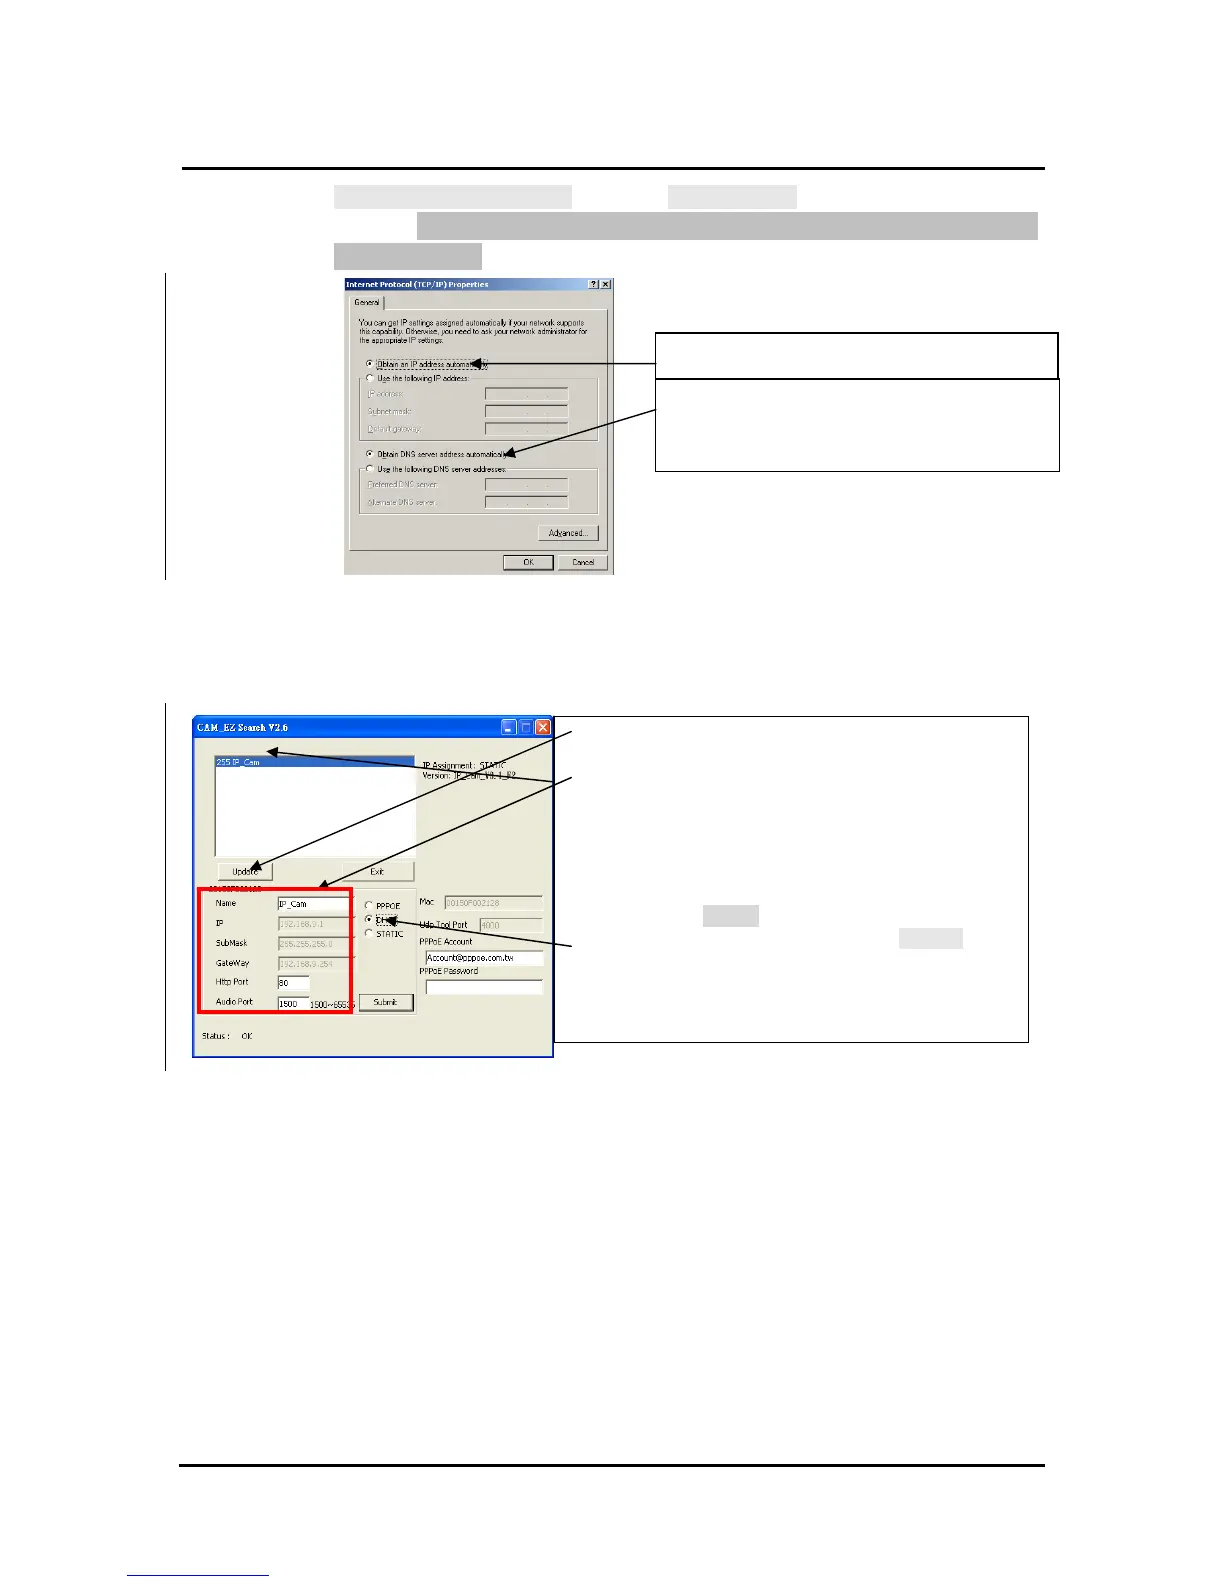
Internet Protocol (TCP/IP)---> Select Properties(R)
--->Click Obtain an IP address automatically(O), Obtain DNS server address
automatically(B).
Open and execute CAM_EZ Search (as shown in Figure 3). Press Update
to scan the IP-CAM that you just installed automatically. Then, you will find
255DN-16032 in the column of Camera Lists. Click 255DN-16032 with left
mouse button. You can see the default settings for IP-CAM.
Obtain an IP address automatically (O)
Obtain DNS server address
automatically (B)
Step 1. Click Update. You can see 255DN-16032.
Step 2. Click 255DN-16032. You can see
Name : DN-16032
IP : 192.168.9.1
SubMask :255.255.255.0
GateWay :192.168.9.254
HTTP Port:Http communication port. The
default setting is 80.
Step 3. Choose DHCP.
Step 4. After finishing the settings, click Submit. The
network settings for DN-16032 IP-CAM will be
renewed. (That is, you can obtain a virtual IP
address)