12 www.dimplex.com
2. Lift the rebox into the opening in the frame using the
handles on the back of the replace.
!
NOTE: Ensure the instructions for Preparing the
Firebox for Installation (p. 10) have been completed
prior to installation.
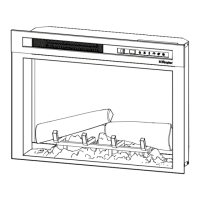
3. Remove the screws that secure the electrical cover to
complete the wiring. (Figure11)
4. Complete the wiring according to instructions in the
Electrical Installation section (pages 14–15). Reinstall
the electrical cover after completing wiring.
5. Level the rebox. A bubble level is included in the
hardware kit provided.
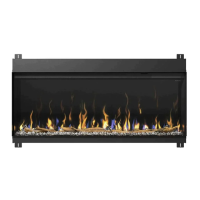
6. For multi-unit installations, install the joining brackets
between adjoining replaces. (Figure12)
Mounting brackets
(center brackets not present on
XLF5017-XD and XLF6017-XD units)
Adjoining brackets for
multi-unit installations
(included in XLFXDLINK,
sold separately)
Electrical CoverElectrical Cover
Figure 12
Installation
Figure 11
7. Secure the mounting brackets to the framing on
both the top and bottom using the provided wood
screws. (Figure13) The mounting brackets will
prevent the rebox from shifting in the framing.
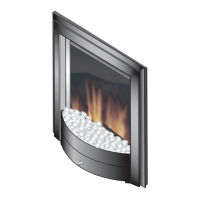
8. Install nishing material up to the trim.
(Figures14 and 15)
CAUTION: Do not drill into rebox housing.
9. Finish the installation using the nishing materials
of your choice.
10. Complete the installation using the instructions in
the following sections: Mirrored Glass Installation
(p.17), Arranging Media (p.17), Front Glass
Installation (p.18), and Side Glass Installation
(p.18).
Figure 13