26
Troubleshooting, cont’d
While performing a remote control procedure, the remote control stops working.
What to do: Start over again. If you don’t press a button for
20 seconds in a programming sequence, the remote shuts off its programming function.
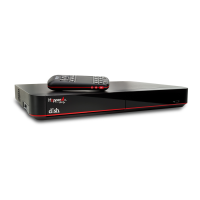
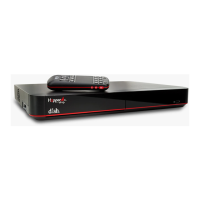
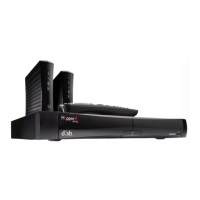
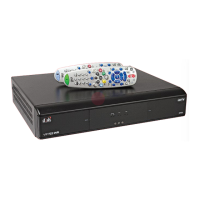
My remote is not working.
What to do: Verify the batteries are installed according to the diagram inside the remote
control’s battery compartment.
Check the Battery Level indicator located in the System Info screen. This indicator
displays three levels: Green (good), Yellow (low), and Red (critical). If this indicator is at
Yellow or Red, replace the batteries with batteries of the same type and size.
Conrmtheremoteisinthecorrectmodeforthedeviceyouwanttocontrol.Forexample,
to control the Hopper 3 receiver, press SAT on the remote before the function you want
performed.
Make sure you are using the correct remote control provided for your Hopper 3 receiver by
pressing the Locate Remote button on the front panel of the Hopper 3 (see Locating the
Remote on page 11).
The remote uses radio frequency (RF) signals to operate your Hopper 3 receiver. Other
equipment is usually controlled using infrared (IR) light signals. If you have programmed
the remote to control your equipment in other device modes, then the remote control must
have a clear line-of-sight to the front of these other devices.
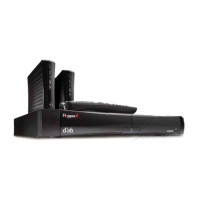
Check that all cable connections to the Hopper 3 receiver and TV are secure.
Press the Reset button on the front panel of the Hopper 3 to reset the system. After the
system comes back up, try the remote to see if it is now working.
If your remote is showing that it is paired but isn’t working, select Un-Pair on the System
Infoscreenandlistenfortheconrmationtone.PressPAIRtopairtheremoteagain.If
you do not hear the tone, continue with the next suggestion.
Hopper_3_UserGuide.indd 26 8/17/2015 1:05:42 PM